A few months ago, my sister and her family moved into a new house. She had just purchased a new bedroom set in gray and yellow and since I had painted a huge canvas a year or two ago that matched perfectly, I took it off my wall and brought it right over to her house (hope she liked it!) Since then, I’ve been dreaming up a new idea for the huge empty space above my bed, including colors and textures and the possibility of new furniture. I’ve now decided what will go up on the huge, new canvas above my bed (that project coming soon!) and today’s DIY is specifically intended to compliment that future project.
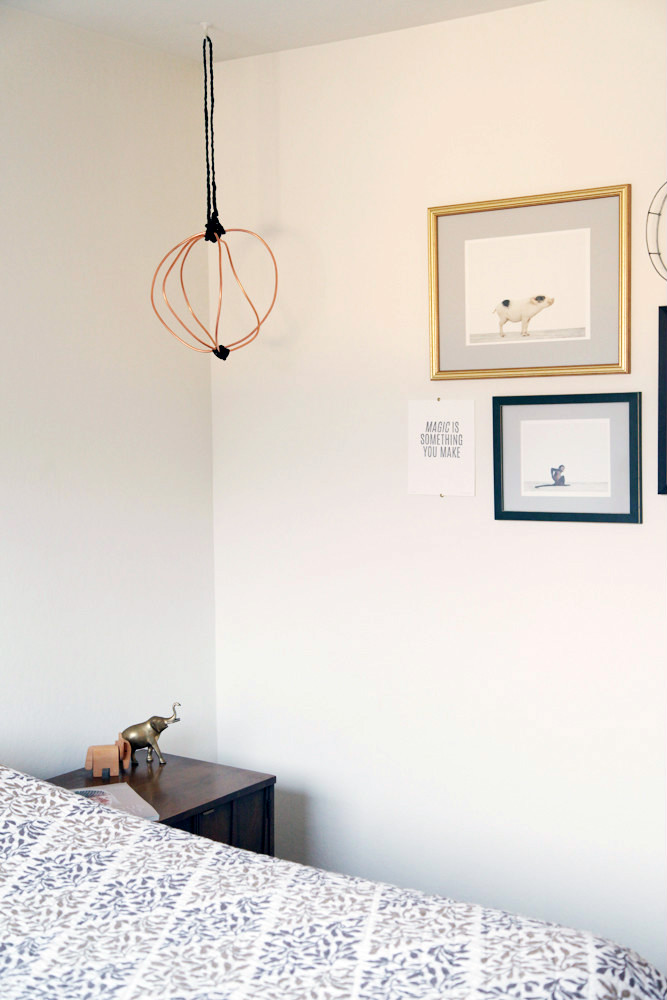
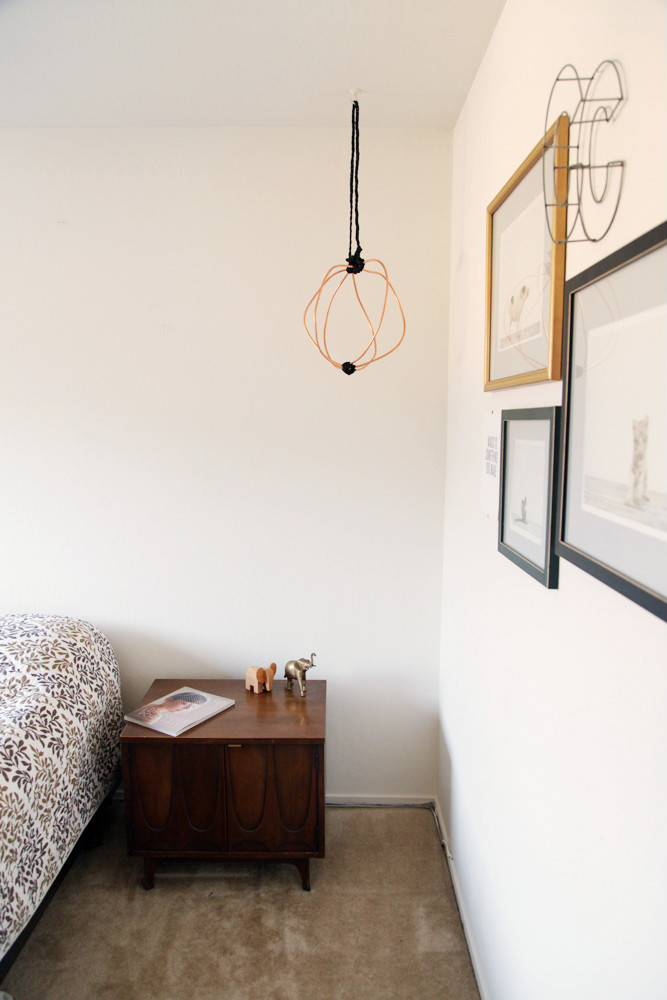
Copper as a decorative accent has gained popularity recently- should we blame it on the Moscow Mule? The drink’s signature mugs have certainly made their way onto lots of designer’s must-have lists. Since my bedroom gets a ton of early morning light, I envisioned some key copper items to reflect warm, happy, reddish tones. An easy add: this DIY decorative copper orb!
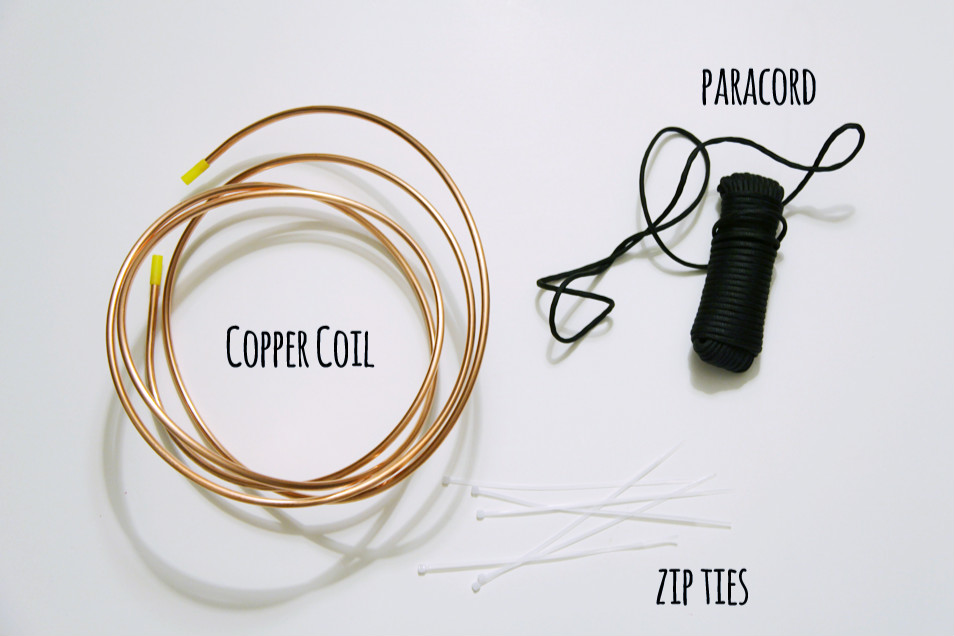
This orb is simple and pretty, plus it only really requires a few supplies! The first step is to visit your local hardware store and look for copper coil. (Mine was manufactured by Everbilt, is 1/4″ in size by 10 feet, and is marked for Refrigeration.) From there, you will only need some paracord in your selected color and a few zip ties!
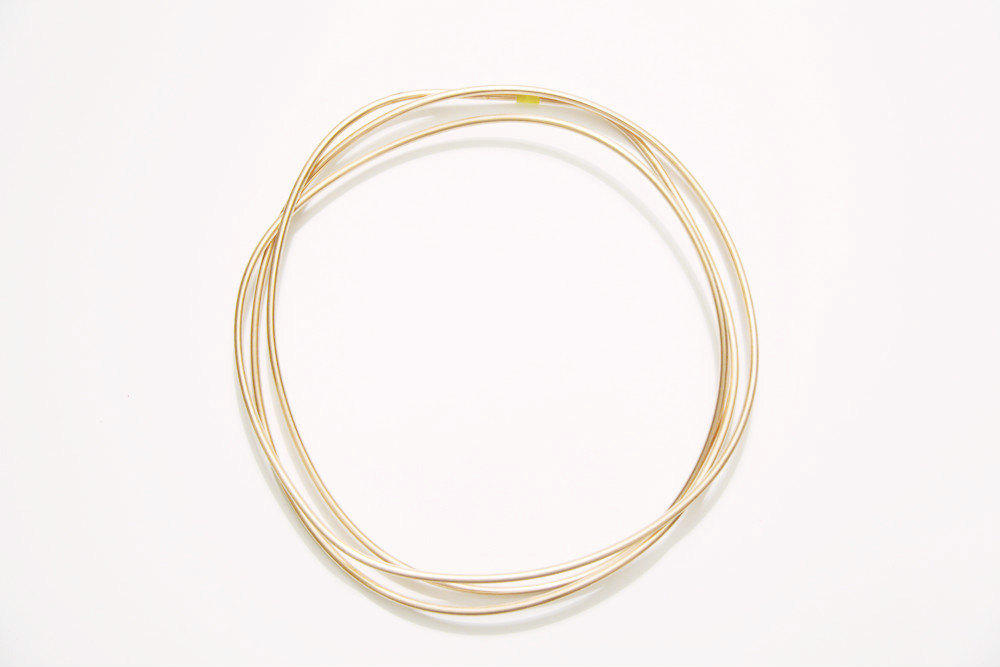
First step: If needed, uncoil your copper into a straight, long piece. You will notice that it came out of the box coiled into four circles- it’s totally ok to use four coils if you want a smaller ball, but I wanted a larger size. Once straightened, I carefully shaped the copper back into three overlapping circles.
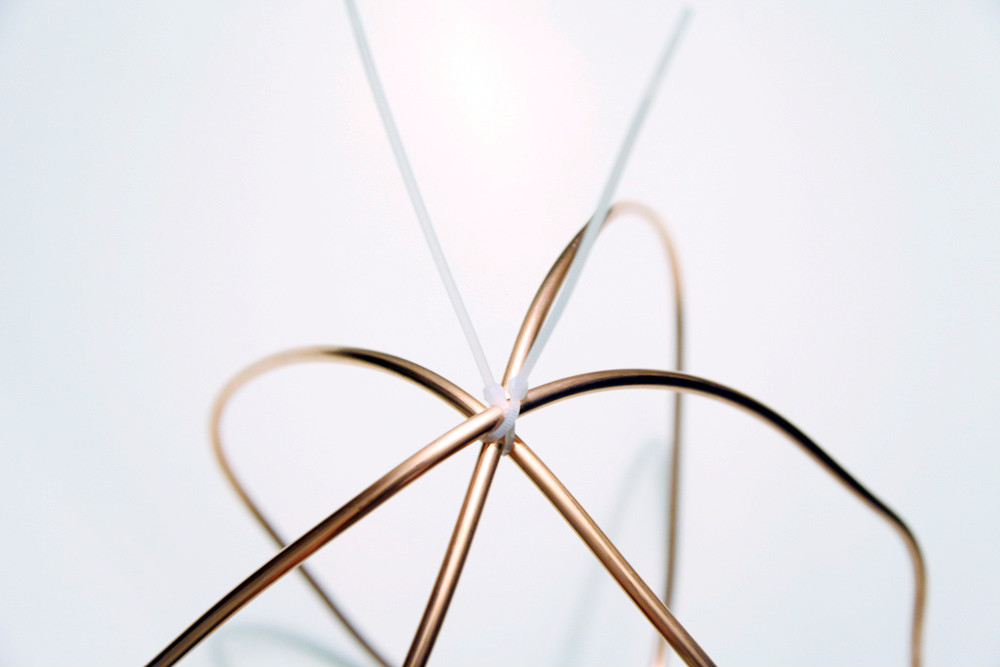
Holding your overlapping circles at the poles, pivot each circle to create an orb. Essentially, you want the three circles to nest within each other and create six segments to create the whole shape. (The photo which accompanies the next step may help you if you’re finding yourself a little stuck.) I liked the charm of irregular, circular shapes, but if you want a clean shape it’s just as easy! Mostly, you’ll want to take care not to twist the copper too much since doing so will cause it to lose its pliability.
Use your zip ties to securely fasten the copper circles into place. (You can skip this step if you like, but I like the added hold.) Once fastened, trim off the excess vinyl tie.
Measure the length of paracord needed for your specified hanging location, then add an additional two or three feet for wrapping. For instance, I wanted the orb to hang approximately two feet from the ceiling. This required 6 1/2 total feet of cord: 4 feet for a loop to hang and 2 1/2 feet to wrap. (I braided my cord to give my hanging loop extra thickness.)
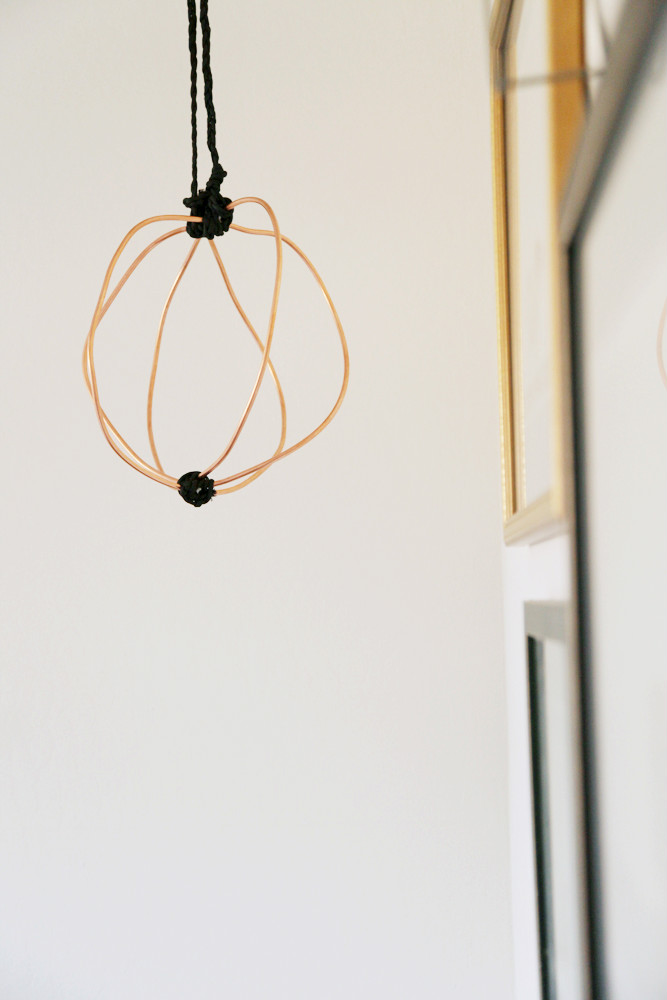
Create the proper size hanging loop with a knot. Set the knot against the top of your orb and use the excess 2 1/2 feet to wrap around the joined copper coil and zip ties, creating a secure warp. No need to be precise here, wrap it until you think it looks good, then knot the cord in place and trim the excess.
Repeat the wrapping process on the bottom of the orb with just enough paracord to hide your zip ties.
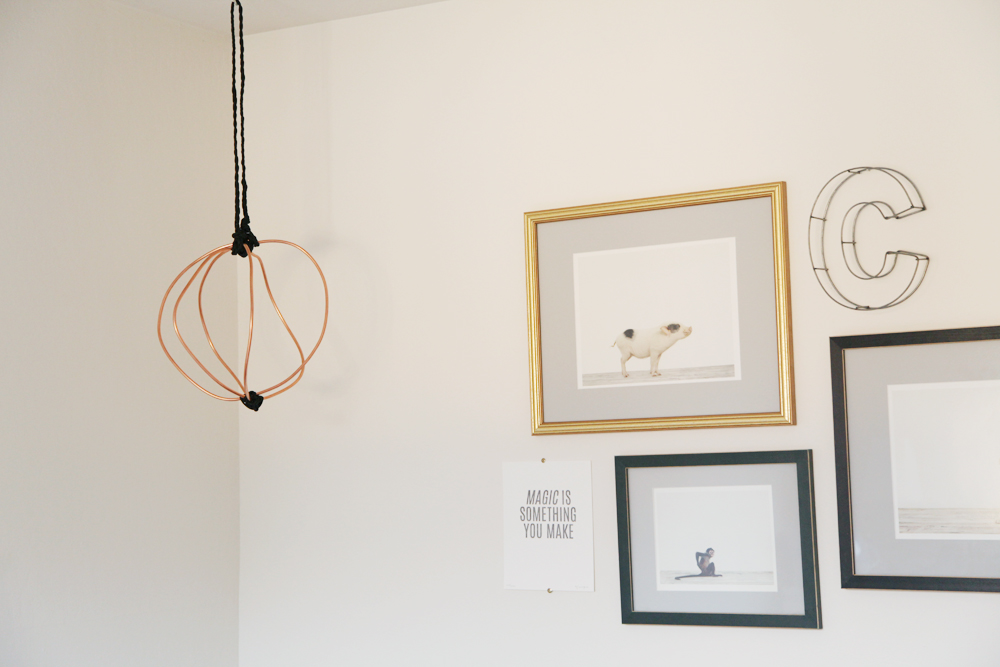
I love how this turned out and it definitely brightens up the corner. While I initially thought black paracord would look best, now that it’s hanging in the room I am probably going to switch it out for a white cord so it’s a bit less dramatic and more casual to go with the adjoining gallery wall.
Stay tuned for copper project #2!