Every year, I forget that you’re supposed to wear green on St. Patrick’s Day. Who can remember things like that?! The only reason I might have remembered when I was in school is due to my wanting to avoid painful pinches. The thing is, apparently those pinches don’t always go away when you’re an adult! GRRR.
Apart from my forgetfulness, there’s also the fact that I don’t really own many colored clothes. I wear mostly neutrals (black) and stripes (black ones) and polka dots (you get the picture). So even if I DID remember, I wouldn’t have a wide range of things to choose from (I own one green sundress and one flutter-sleeved green top from Forever 21 circa 1999). Basically I NEEDED a bracelet.
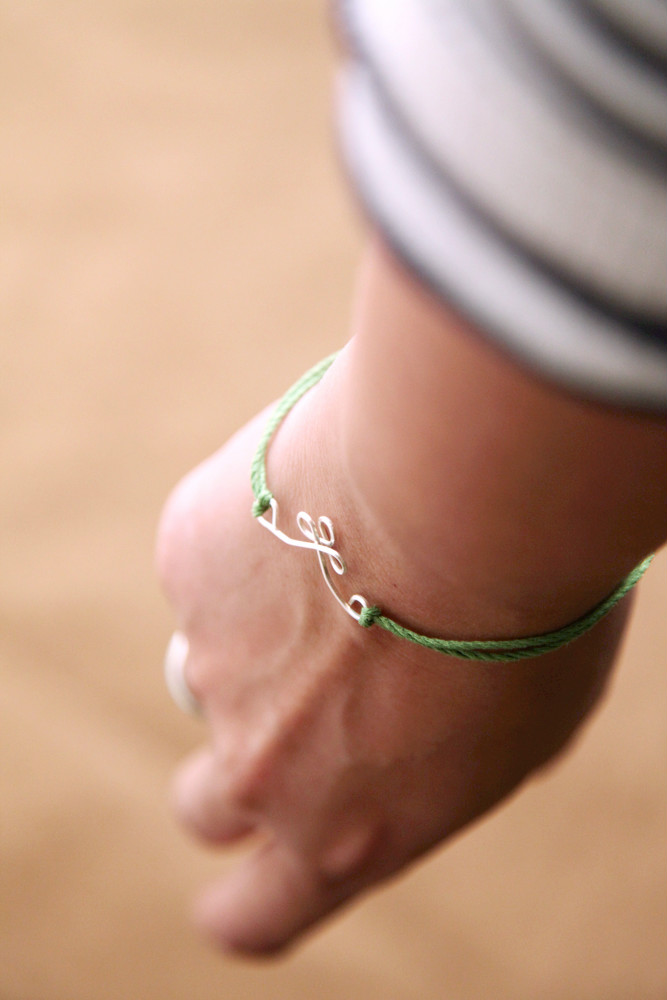
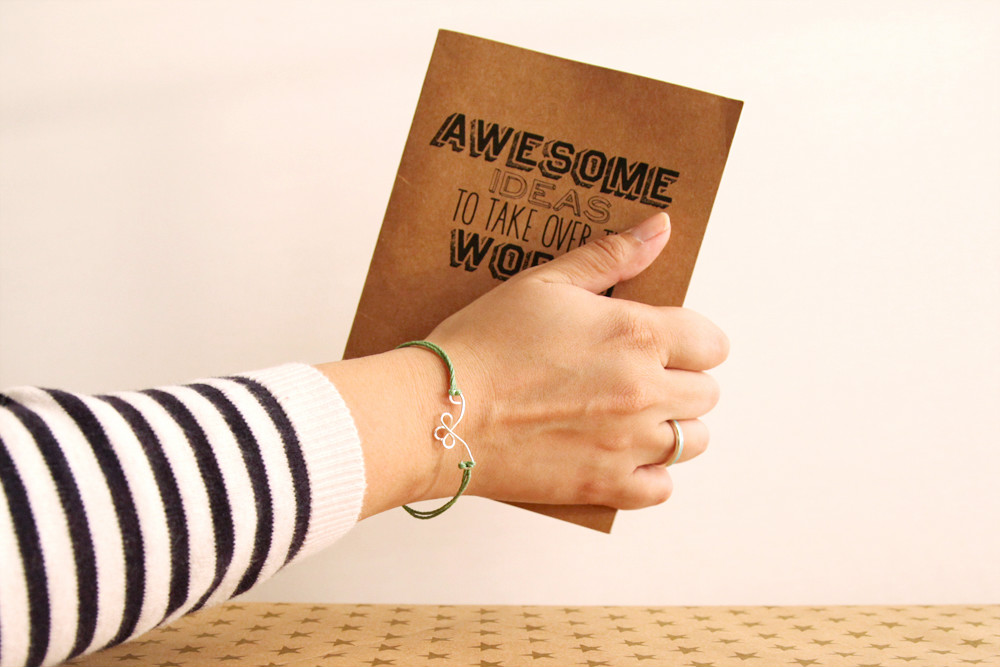
This little wire charm is multifaceted- it looks a bit like a shamrock to fit in perfectly on St Patrick’s Day and a little bit like a swirly leaf cluster for everyday wear. And, as a jewelry making novice, I can also assure you it’s simple! Gather a few supplies, easily available at any craft store:
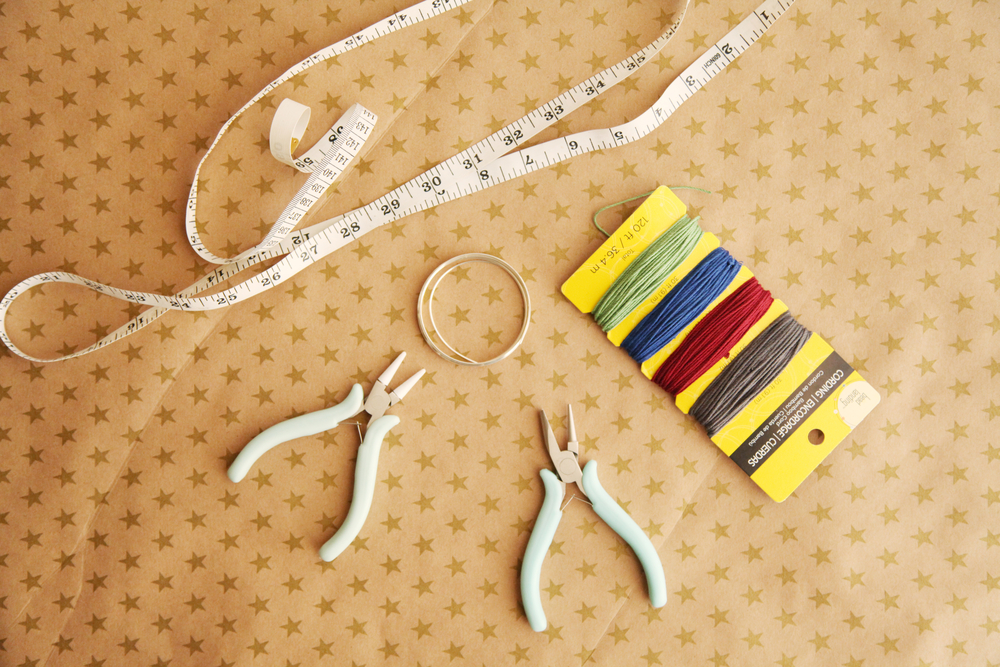
For this bracelet, you will need:
20 gauge jewelry wire
round bending pliers
nylon tipped needle nose or round pliers
cord, about 20 inches (I used eco-friendly bamboo cording, but there are lots of options such as leather and silk)
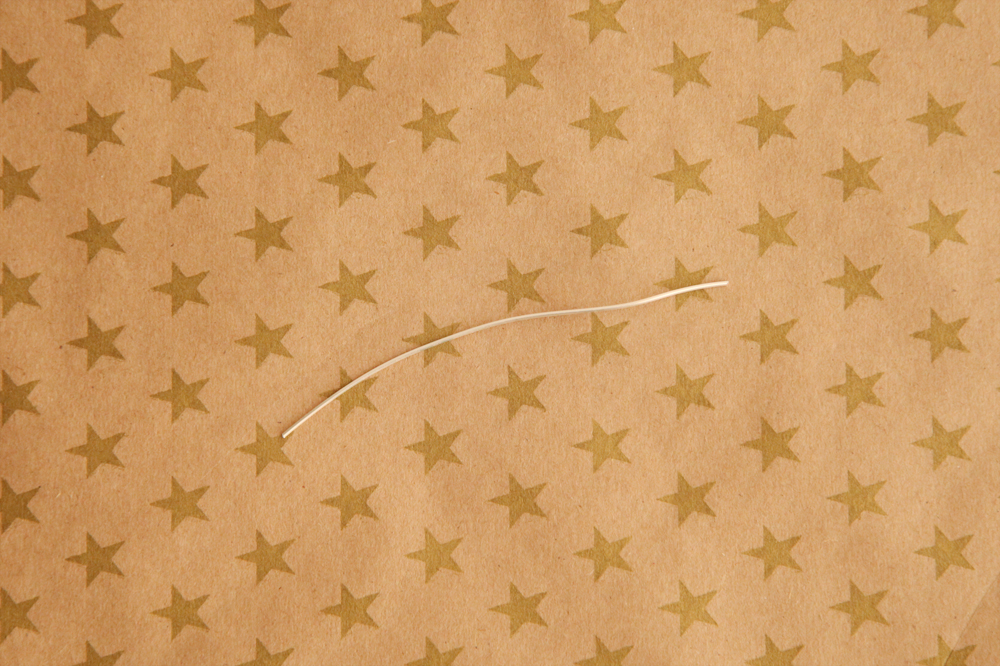
Step One: Cut a piece of wire 4 inches long.
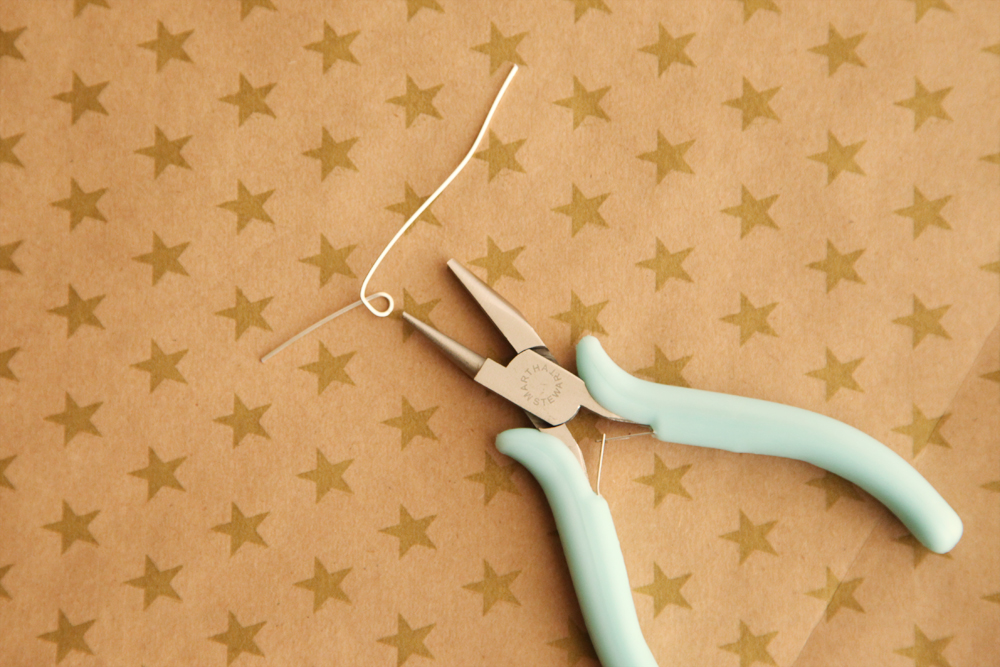
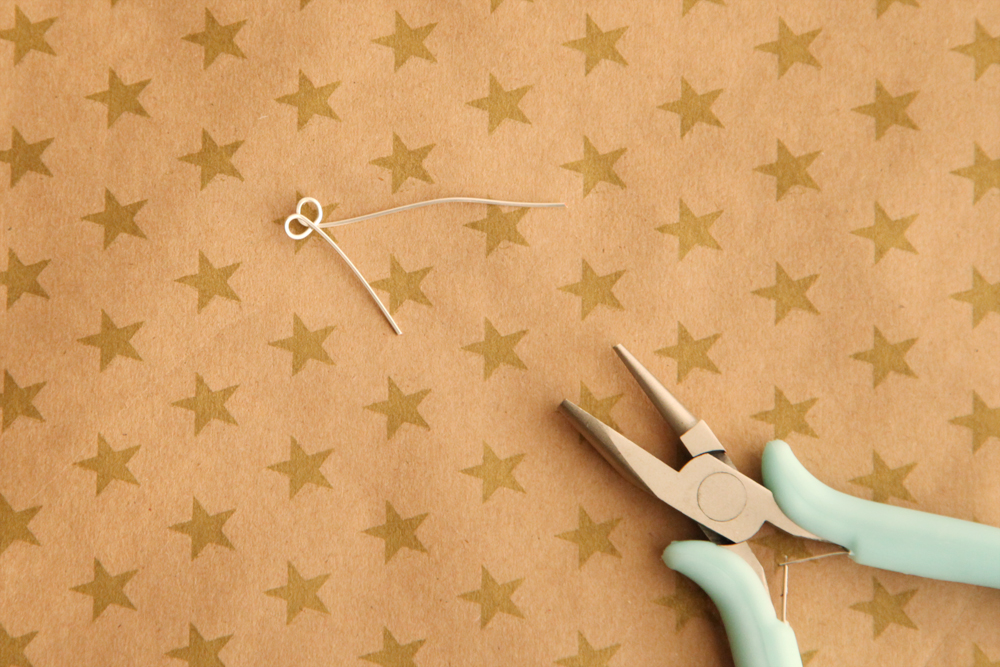
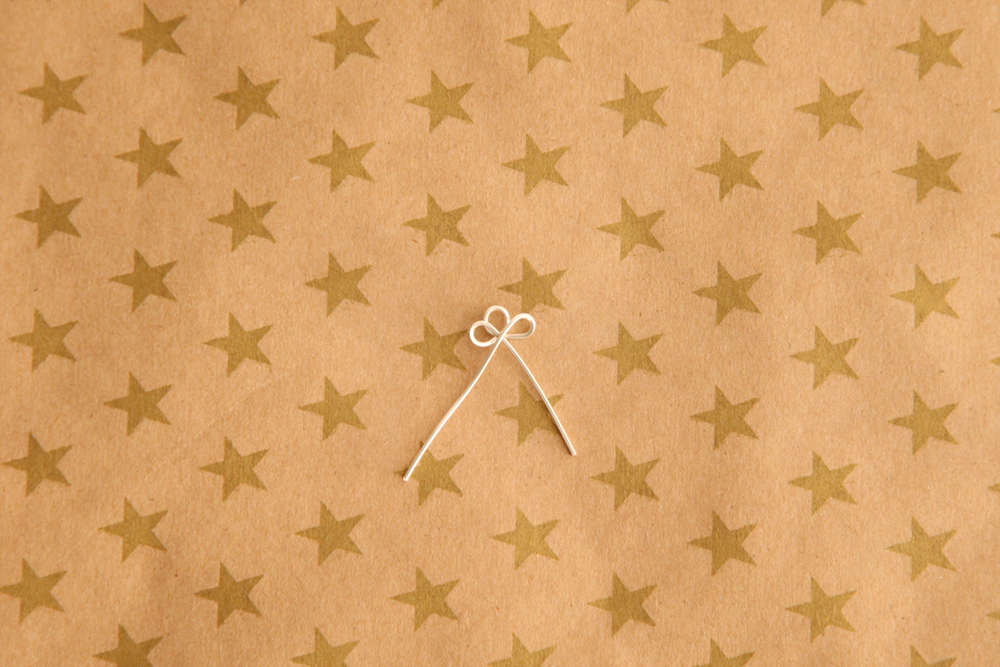
Step Two: Beginning about an inch and a half from one end, create a loop using the bending pliers.
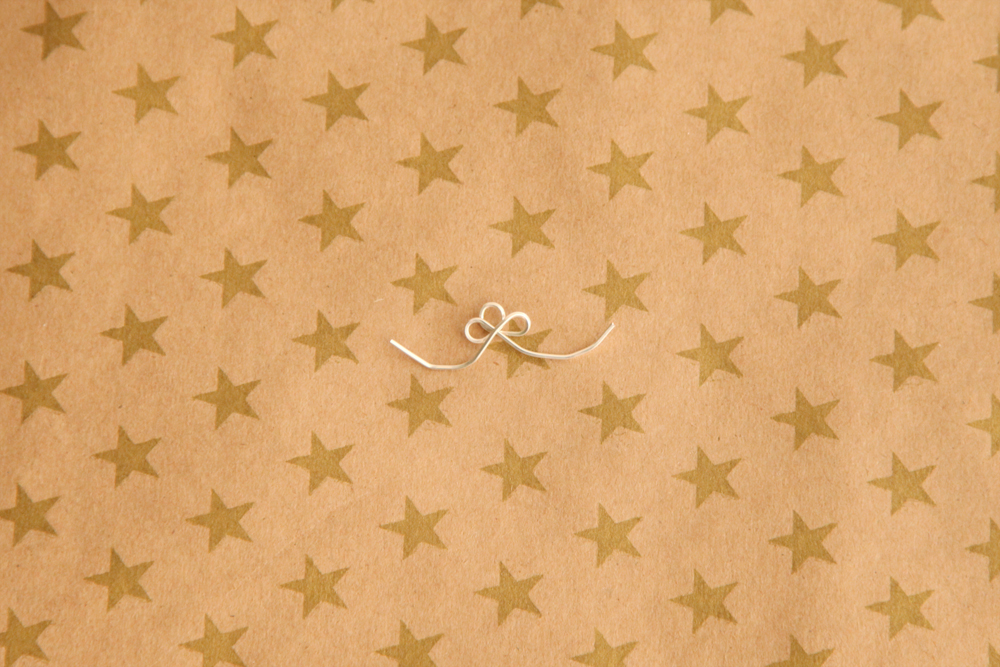
Step Three: Beginning at the base of the loop you just created, create a second loop.
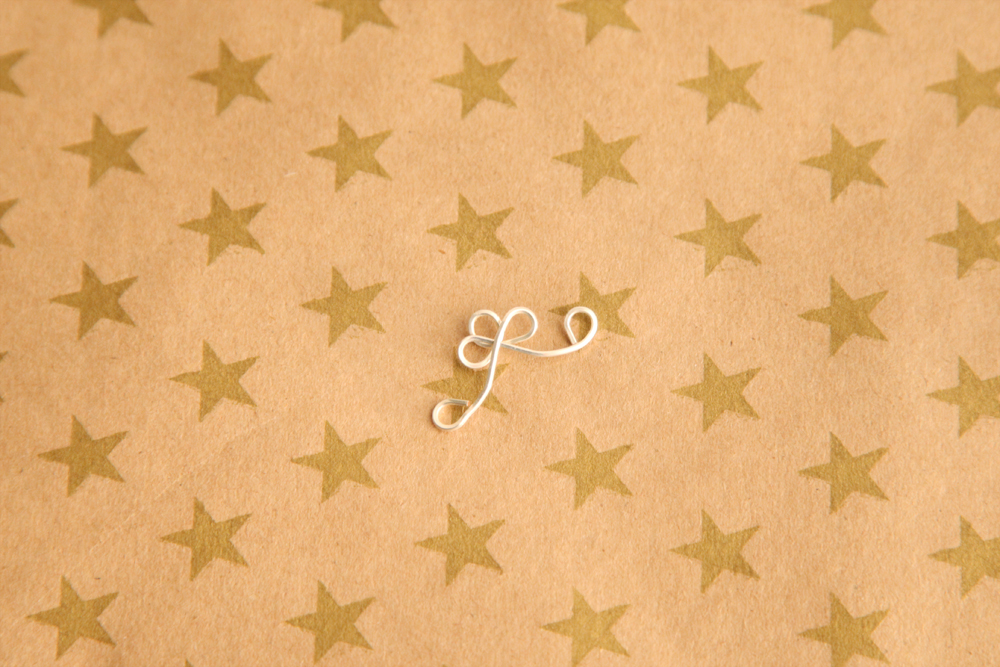
Step Four: Create your third and final loop in the same manner as step three.
Step Five: Use your nylon pliers to shape the ends of your wire to the side. If needed, trim to make them similar lengths.
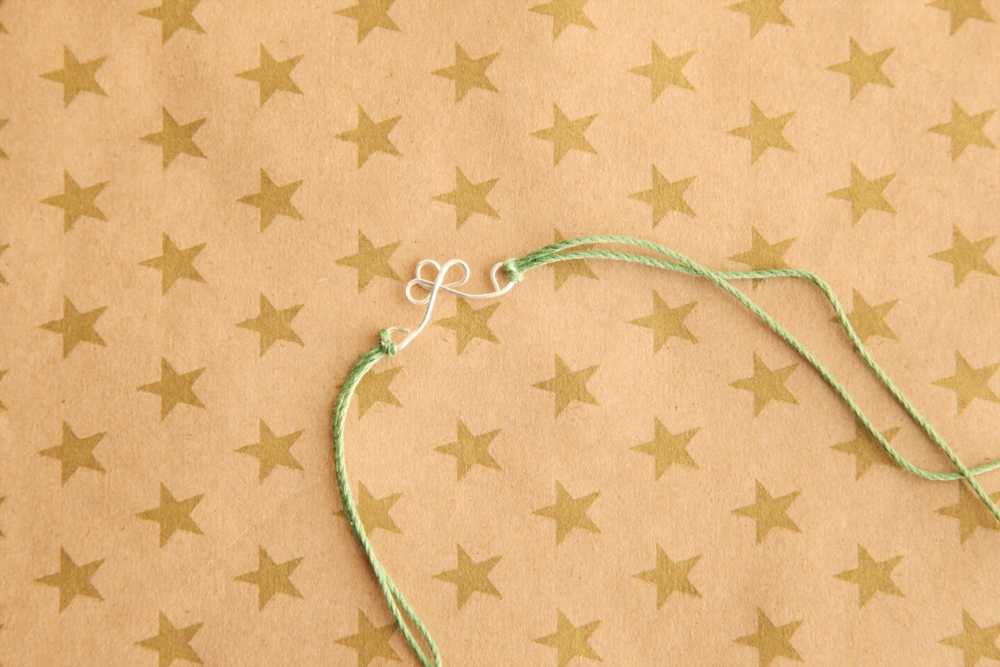
Step Six: Use the bending pliers to create loops for your cord at each end.
Step Seven: Cut two pieces of cord about 10 inches long. Fold in half and thread the folded end through one side of your wire charm. Pull ends back through the folded end to secure. Repeat on the other side.
That’s it! Seven simple steps for this DIY wire charm bracelet and you’re guaranteed to be safe from any pinches coming your way next week. Who knows- maybe I can start wearing colors after all!