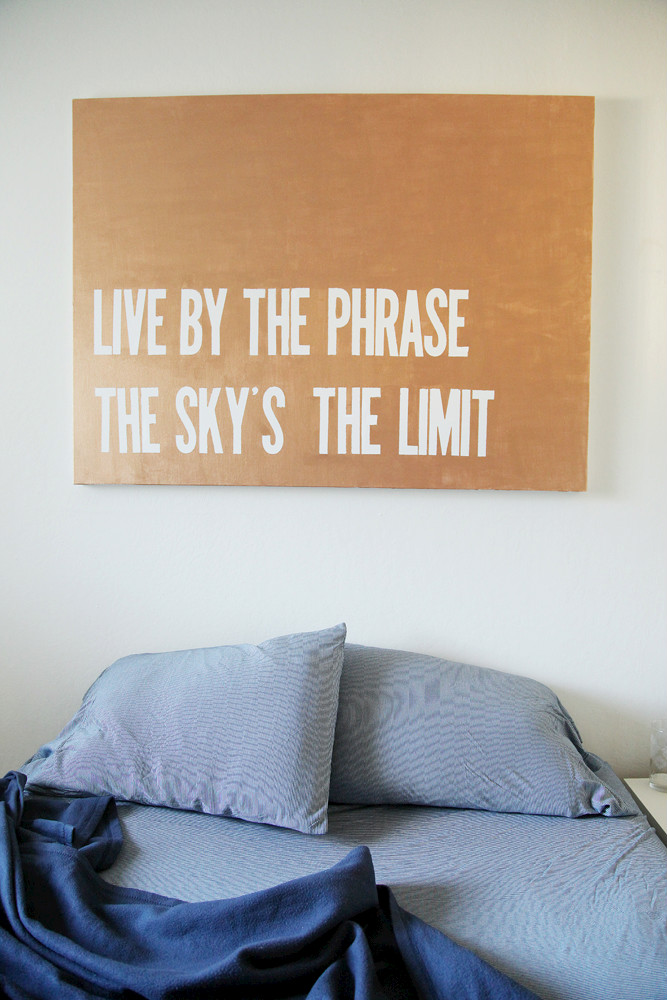
I mentioned a few weeks ago that I’d given my sister the huge yellow canvas I painted a few years ago for the wall above my bed. And today is the day you hear all about the Custom Quote Canvas I hung in it’s place!
I’ve drooled over the large graphic sign my friend Holly made for her bedroom for YEARS. I love the concept, how she integrated it onto the wall itself and her precision (seriously, there is basically homemade graph paper at that link). But I needed to go with something less permanent since I can’t drill directly into the wall as a renter. My version is super similar, but swaps a large canvas for plywood and metallic craft paint for spray paint (since I don’t have the outdoor space for that either).
(Biggie quote optional.)
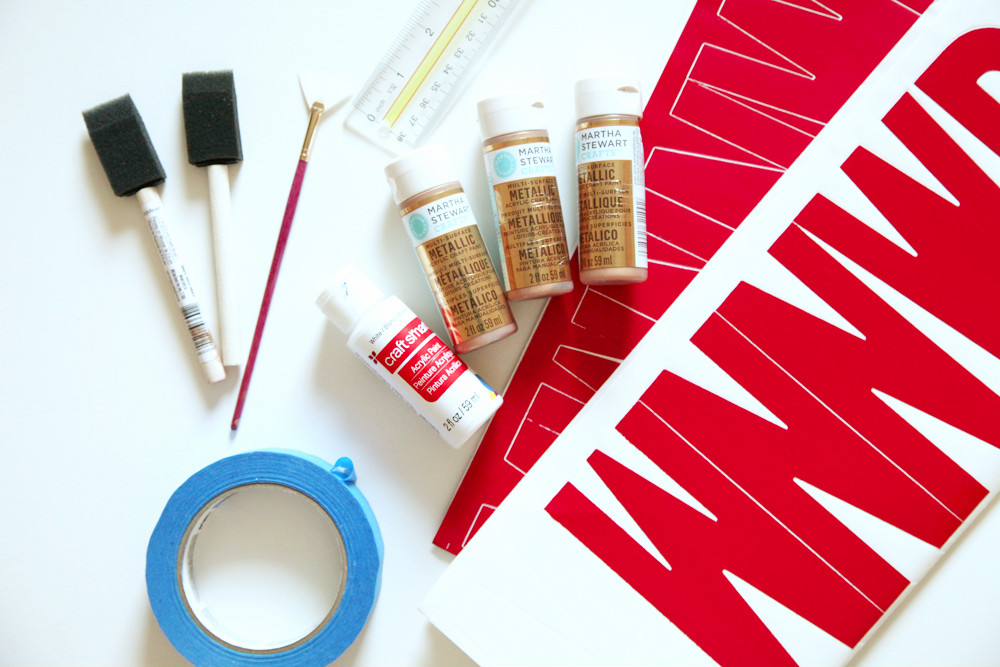
Supplies:
* one really big canvas (Mine is 36″ by 48″ and is the largest I could find at my craft store. Use a coupon.)
* six inch vinyl letters (Holly mentions that she was able to get hers for $3.50 a pack, but I think she got DIYers all over the world making these because the cheapest I could find were red and about $8. Buy as many packages as needed to fit your chosen quote.)
* craft paint to cover the canvas (I needed 3 bottles)
* white craft paint (1 bottle is fine- this is just for touching up any errant paint)
* your favorite kind of brushes (at least one large to paint your canvas and one small for touch-ups)
* a ruler (preferably a yard stick due to the canvas size, but not necessary)
* painter’s tape
I decided that I could fit at least four lines of text (four to five words each) with a three inch border all the way around and two inches in between each line. After you’ve picked out your quote, choose how you would like your text oriented (left to right, right to left, etc). I started at the bottom because I knew I wanted my text in the bottom left, but the procedure is the same no matter where you would like to start.
I preferred to not use pencil lines on my canvas because I wasn’t sure the paint would cover them very well (I was right). To avoid this, I measured each line separately and marked it with painter’s tape. The first line started three inches from the bottom and the first letter was placed three inches from the left of the canvas.
After I finished my first line, I measured two inches from the top of the placed text and moved my painter’s tape up to create the next row. (If totals help you, this line marks 11 inches total from the bottom: three inches of border, six inches of text and the two inch space between the lines.)
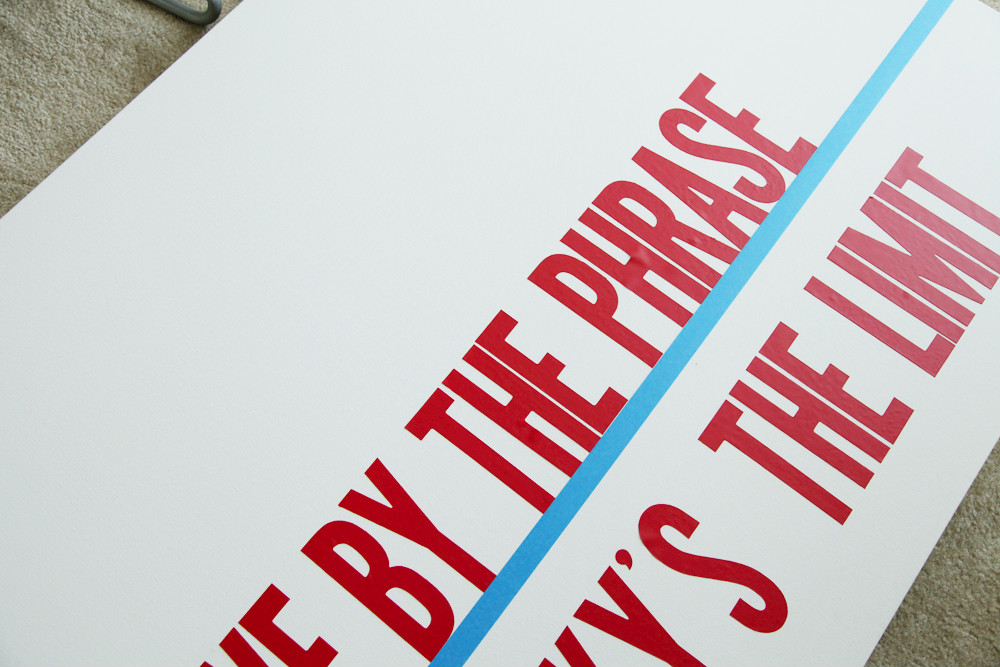
Once you’ve added all your rows of text, press the edge of each vinyl letter very firmly to prevent any paint leaks.
Paint the canvas until it’s at your desired opacity.
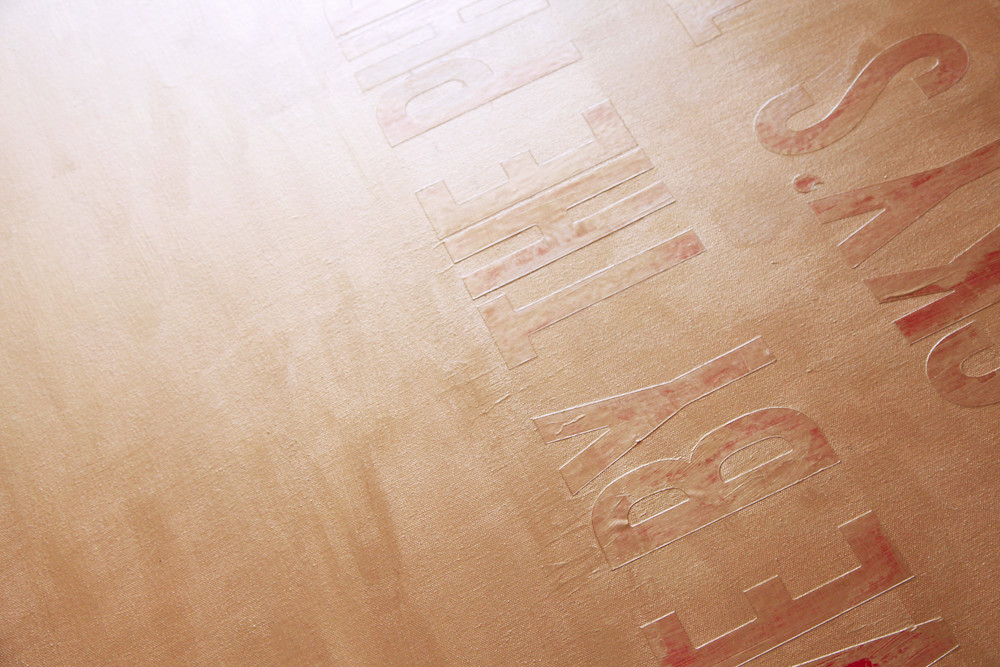
I didn’t bother waiting for it to get completely dry since I wanted to ensure any touch-ups would blend as well as possible. What’s a little craft paint on your fingernails? When you’re ready, go ahead and remove your vinyl letters.
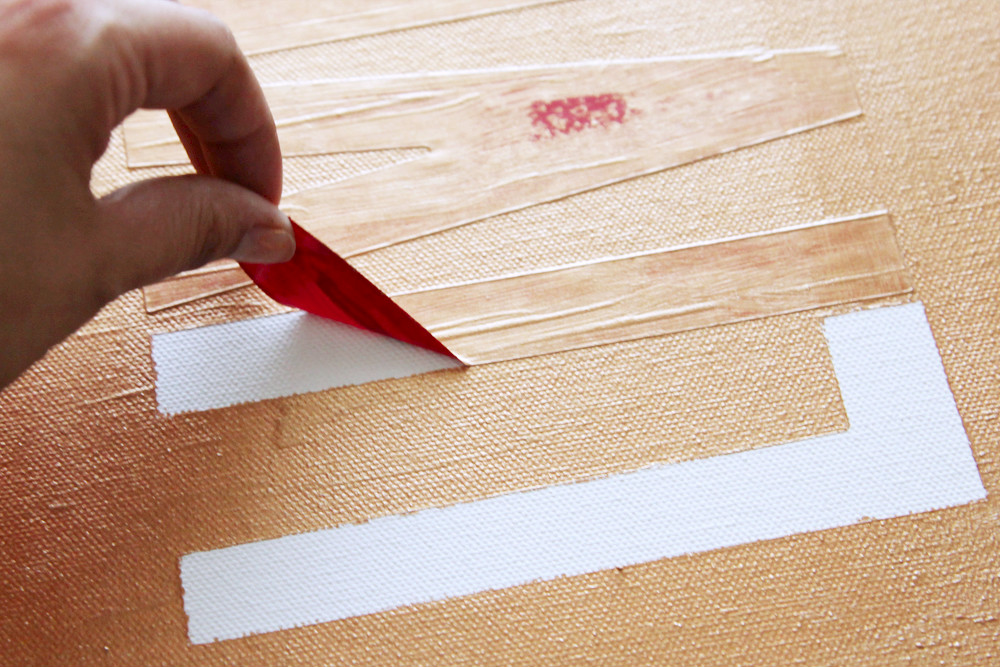
Touch-up the letters with your base color and/or white and a small brush.
Let dry completely and then hang it up! I know I made it and it might be gauche, but. MAN. I LOVE IT.