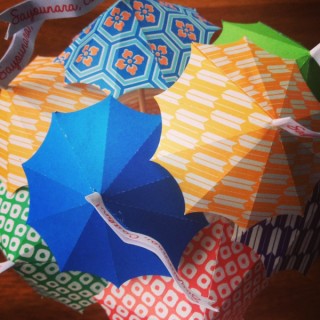
These sleek, modern trees make easy and inexpensive DIY Christmas decorations. You can paint them to match your decor and add fun embellishments like sequins, felt balls, fake snow or bric-a-brac. And you can stack them or leave them separate, depending on your mood!
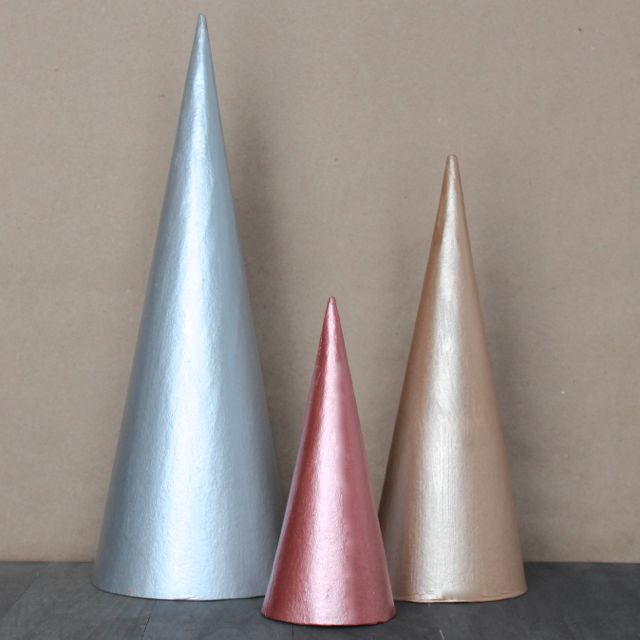
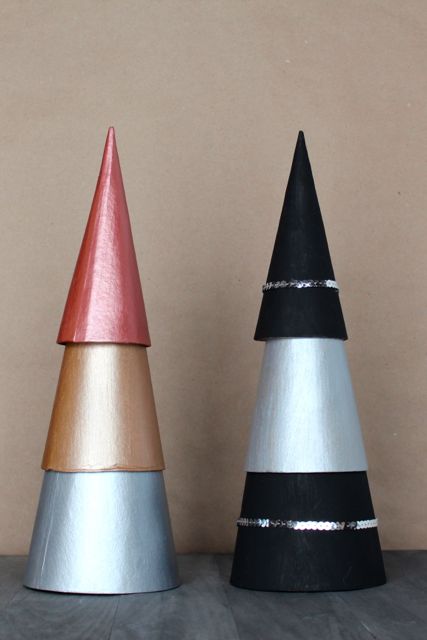
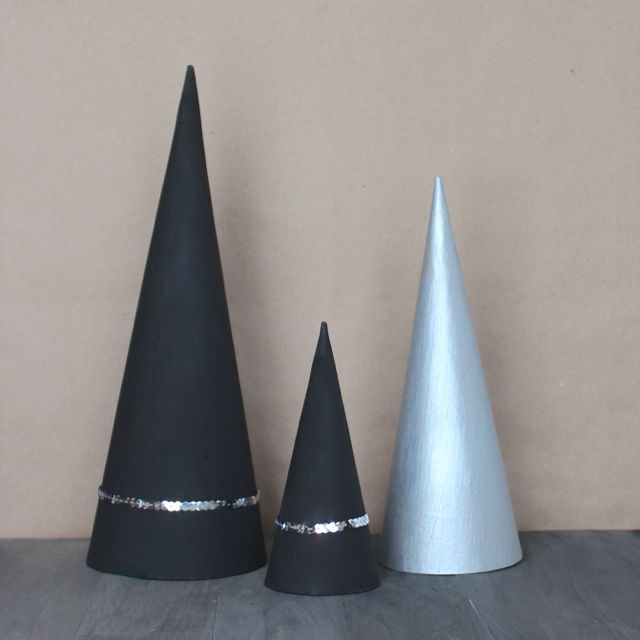
All you need are kraft paper mache cones, some paint and a paintbrush, and anything other decorations are optional. We painted one set of trees in various metallic colors: silver, gold, and rose gold. We liked the clean, modern look and the way the colors looked together so much that we just kept them unadorned. We painted the other set with a matte black and metallic silver. We added silver sequins to the black trees for a little sparkle and to tie them all together.
We just loved the metallic look on this modern shape, but there are so many directions you could take these! It would be fun to use chalkboard paint and draw your own decorations on the trees. You could use a glitter paint for an extra-glitzy version. Or try all white for a minimalist look. We even liked them in their original state, and in fact we used one when we photographed this guest post for Oh So Pretty!
This would be an easy and inexpensive craft to do with kids, as well. You could get a variety pack of sequins or confetti or let them cut ornaments out of construction paper.

- Kraft paper mache cones (sometimes sold as "doll cones"). We used 3 different sizes that could stack into 1 big tree.
- Paint
- Paintbrush
- optional: decorations for the tree, such as sequins, glitter, bric-a-brac, etc. And glue to attach them.
- Paint the cones. Let dry completely.
- Decorate your trees, if you'd like.
- Stack them or display them separately, whatever your mood!