One of my nieces has a birthday coming up in a few weeks and every time I see her we try to hammer out a few more specifics about her party. Her birthday seems to have developed into a nice tradition: a small family picnic in a big park in the hills near us. In the spirit of making the details a touch different from year to year, I’ve started planning a few tiny surprises- like a special drink with paper straws in her favorite color (orange!)
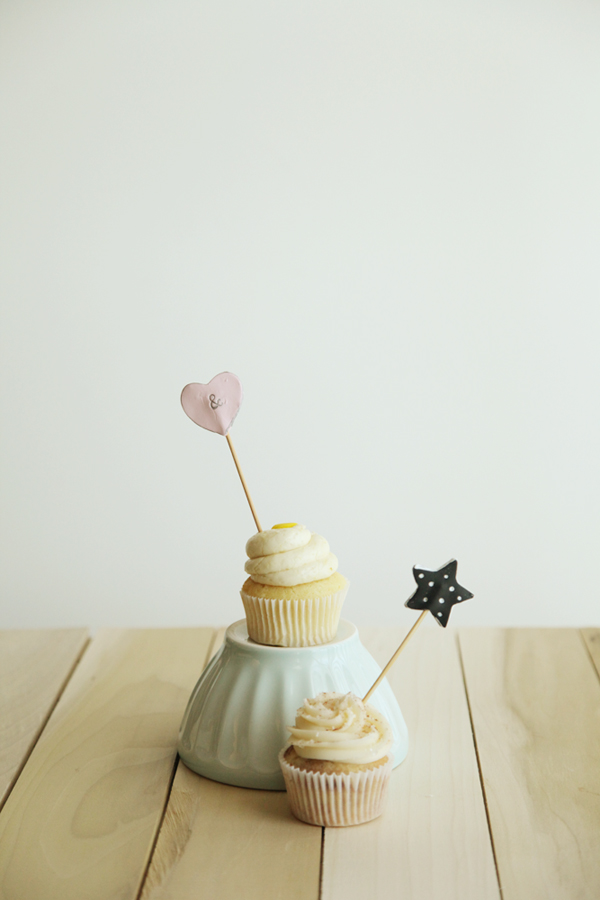
I spent a few hours experimenting with some personalized cupcake toppers when she made a last minute decision that she would rather have cake pops instead. (Naturally.) But that doesn’t mean I can’t share these sweet (and resuable!) little toppers with you!
First gather these supplies:
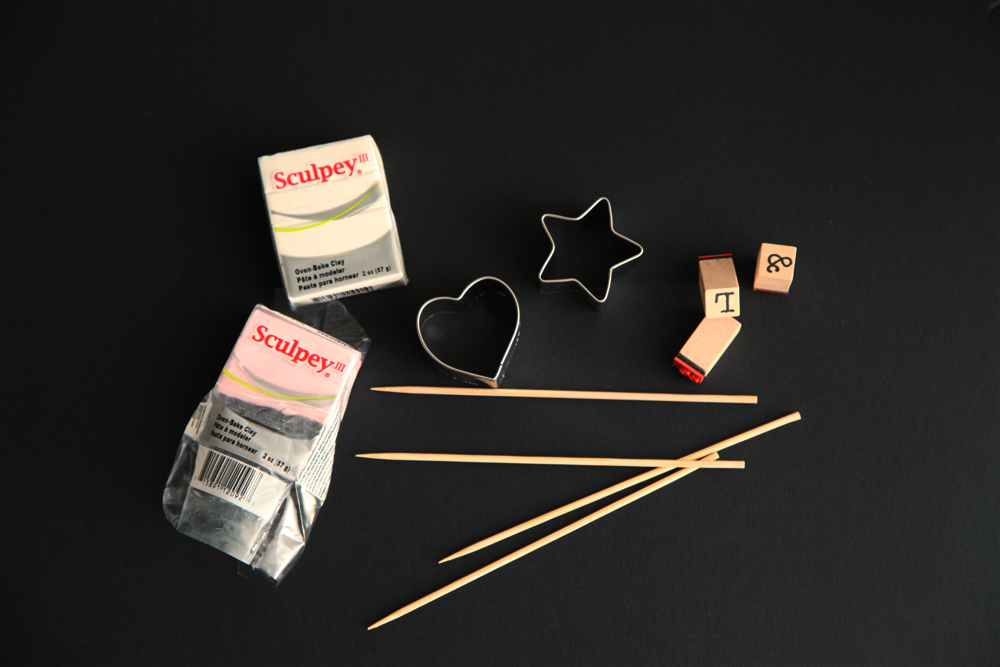
* polymer clay (which hardens in the oven)
* small cookie cutters (mine are actually meant for cheese!)
* bamboo skewers in your desired length
* Optional: letter/number/shape rubber stamps, paint, small paintbrush
For each topper, you will need to roll out your clay to approximately 1/8 inch thick. Use your cutters to create two shapes. (Of course, if you’re handy with a plastic knife, you can cut out your own shapes as well!)
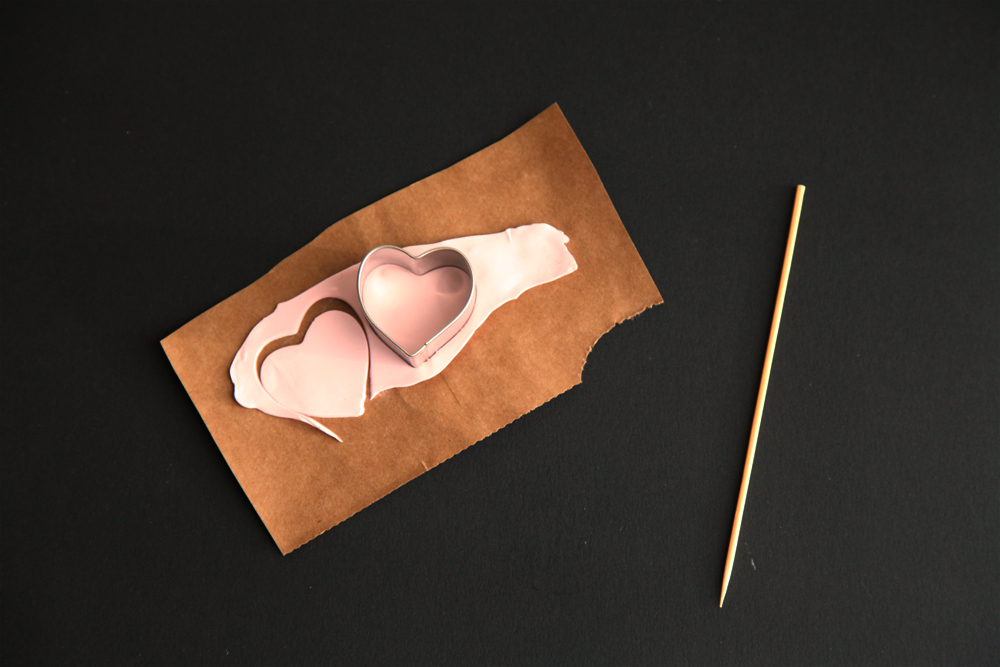
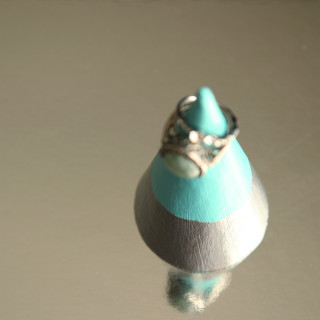
If you are using rubber stamps to decorate your toppers, press gently into the clay now. Once the imprints have been made, sandwich the end of the bamboo skewer between your two clay shapes. Press gently to adhere the clay pieces to each other around the skewer, but don’t press TOO hard onto the skewer itself. If you leave a little room, the skewer can be easily slid out for reuse!
Bake in the oven according to the instructions on your package of clay. (I simply stood mine up in a mason jar!) Keep a very close eye on these- they will burn extremely easily, especially if you’re using light colors! Although my package called for 15 minutes per 1/4 inch at 275 degrees, I only needed to bake for about 7 minutes for them to harden.
Once solid, set out to cool for about 15 minutes.
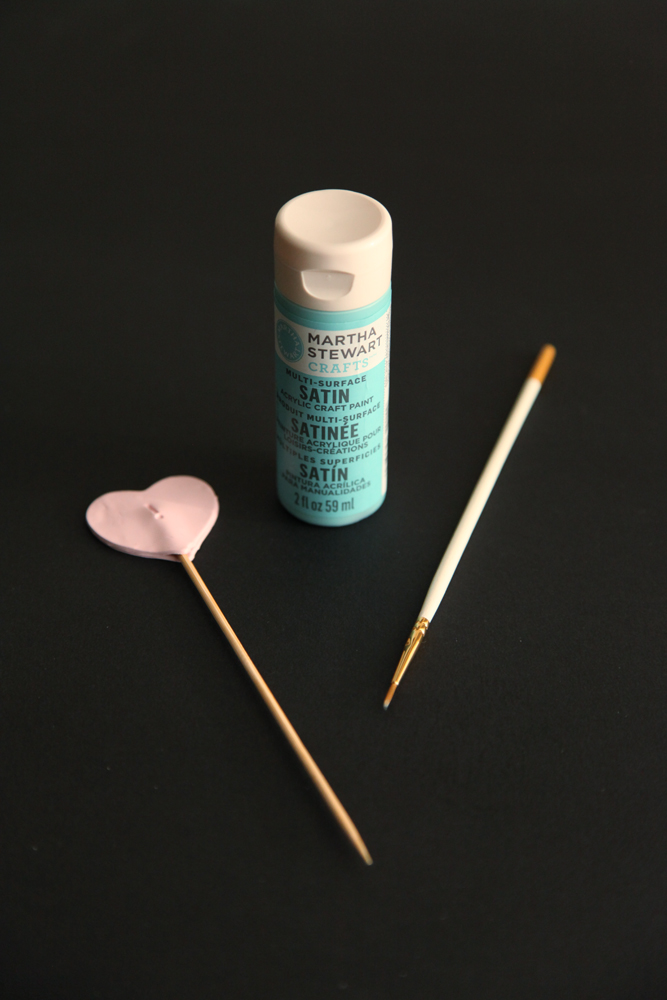
Now that the clay is cool, paint the topper however you’d like!

If you don’t go for cupcakes, I love the idea of sticking these into a short stack of pancakes on a birthday morning- or into the center of a burger at a celebratory dinner!