

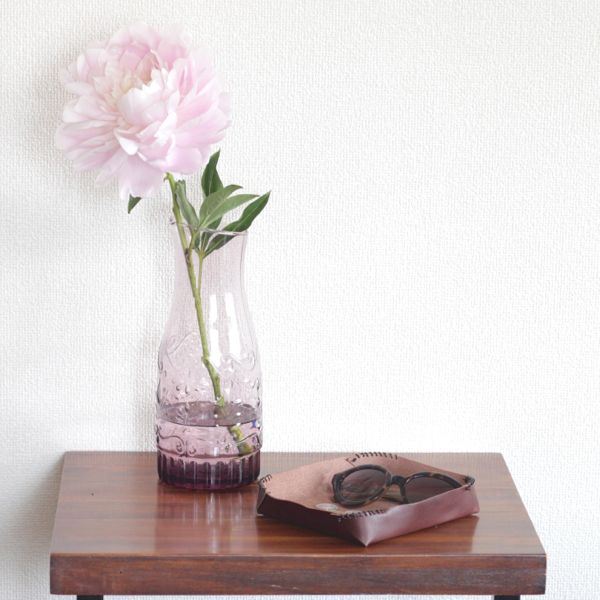
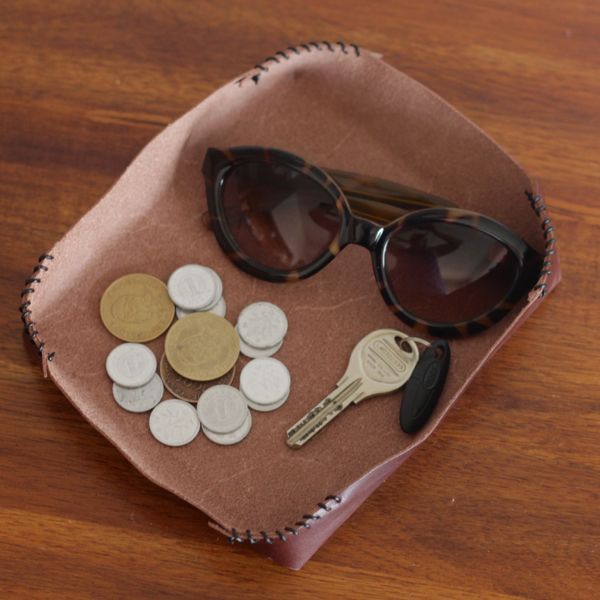
My dad’s desk is a MESS. In fact, I recently learned that he’s stopped using it entirely because there’s no room left on it. Well, we can’t have that, can we? Father’s Day seems like the perfect opportunity to give him back his work space, so I persuaded my mom to send me the photo above so I could know what we were up against. I wanted to make a masculine desk accessory to help him get organized. I know, how nice of me, right? Don’t worry, this leather catchall is not the only thing he’s getting for Father’s Day.
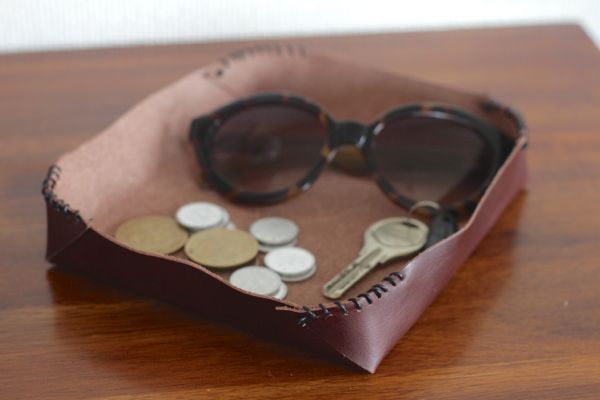
This project was my first time working with leather, and I love it! My leather may have been a little on the soft side for this catchall, honestly. I think something a little more rigid would keep its form better. I actually started out with a bigger, rectangular shape but ended up cutting it down because the sides were just bowing out. So keep that in mind as you choose your leather: you can use soft leather for smaller pieces, but get stiffer leather for larger pieces. The tutorial is written for a medium rectangle shape, but you can do a square if you prefer.
I also learned that an exact-o knife is the perfect way to cut leather. I tried scissors as well, but I don’t recommend them! The blade gave me clean edges, and because my leather was soft it cut through like butter. I also found that I didn’t need any special equipment, because I had a small hole punch that worked perfectly.
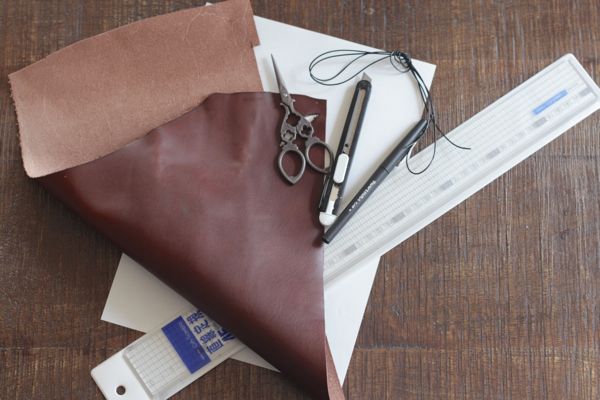
What you’ll need:
A piece of leather, about 20 cm x 30 cm
A piece of paper or cardstock
A ruler
An exact-o knife
A marker
A 2mm hole punch
About 80 cm of 1.2mm-thick leather cording (small enough to snugly fit through a hole created by the hole punch)
Scissors
What to do:

1. Cut the piece of paper or cardstock into a square 20 cm x 30 cm. Use this paper as a template and trace the square onto the reverse side of the leather with the marker.
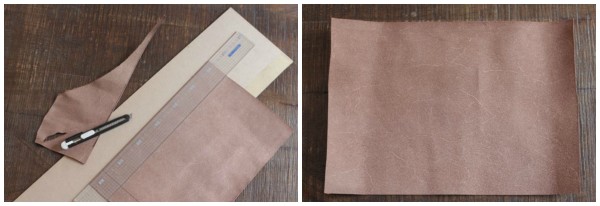
2. Place the leather on a cut-safe surface, like a cutting board or foamboard. Use the ruler to create a straight guideline, and cut the square out with the exact-o knife.
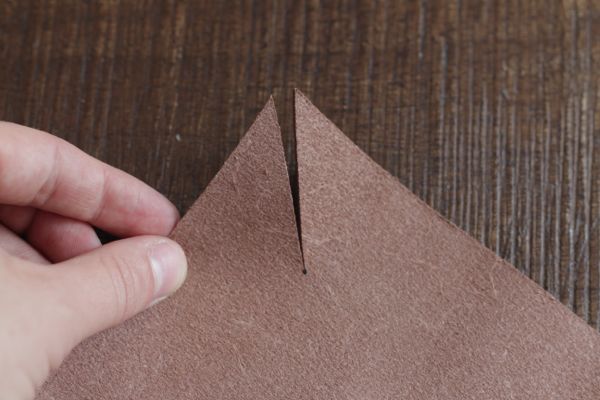
3. Cut a 5 cm slit into each corner, at a 45 degree angle.

4. Draw dots on the reverse side of the leather to guide the hole punch on each corner. Place the first dot 1 cm from the corner and about 3 mm from the edge. Place another dot 1/2 cm over, also 3 mm from the edge. Continue placing dots at 1/2 cm intervals until you have a total of 10 dots on each side. Repeat for every corner.
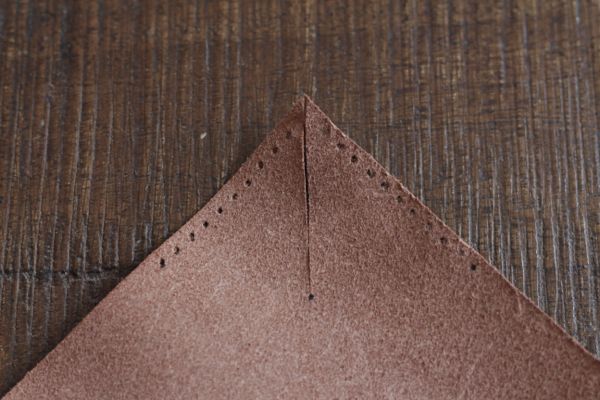
5. Use the hole punch to make the holes where marked.
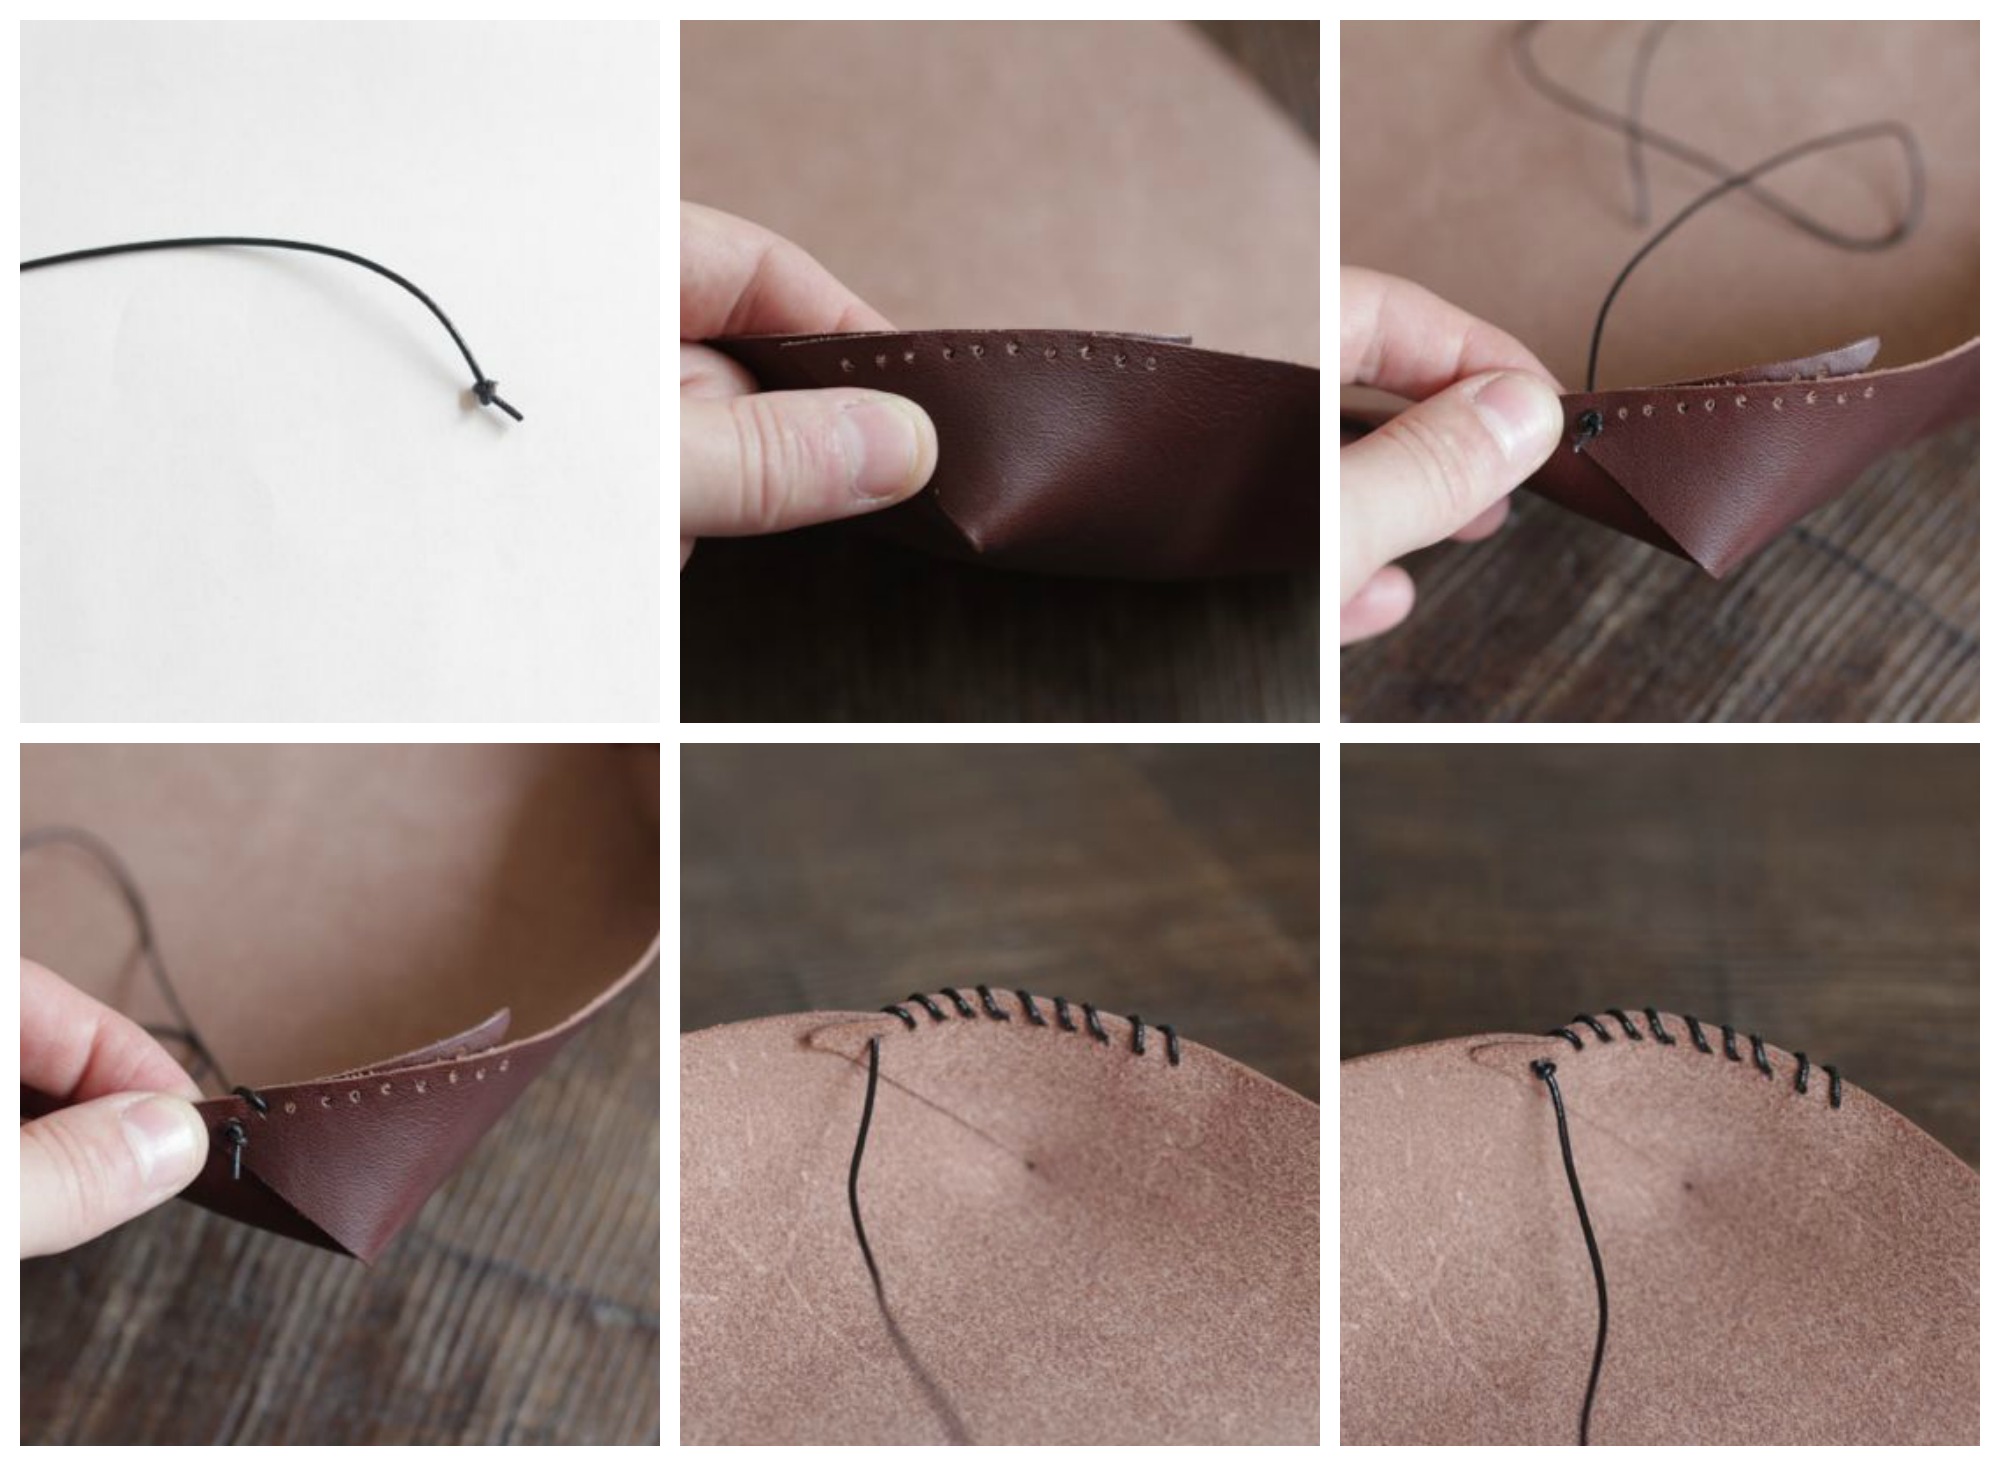
6. Tie a tight knot into one end of the cord. Working one corner at a time with the reverse side facing up, overlap the two flaps of the corner and line up the holes on each flap. Thread the cord through the holes to “sew” the corners. Keep the cord tight, and tie a tight knot close to the leather after the last “stitch.” Repeat for the remaining corners. Trim the tail of the knot close to the knot.

One year ago: DIY wooden plant markers and watermelon aqua fresca.
Two years ago: a Japanese festival food photo roundup


I love this idea, simple but something a father will actually use and a one of a kind piece. Thanks for sharing ;o)
Thanks, Yaitza! I hope he’ll use it 🙂