I’m not sure if you’ve noticed, but we really, really like mason jars here at A&C. So when we saw these DIY travel cups crop up on Pinterest, we knew that we had to try them.
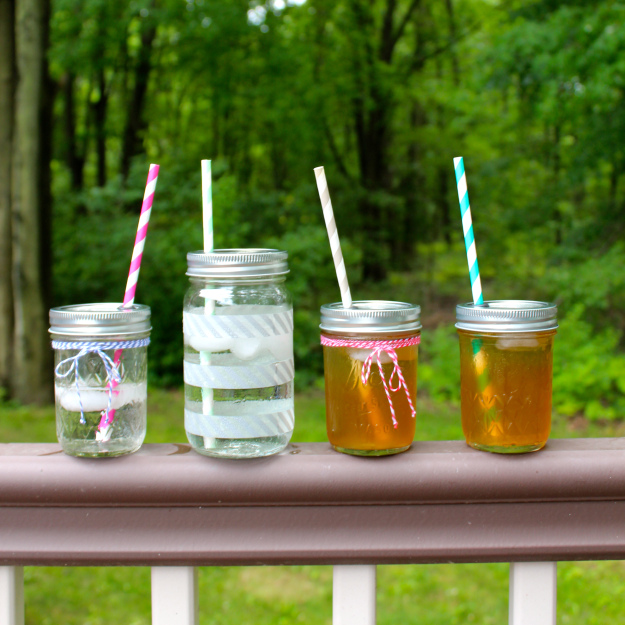
They’re an easy, quick project. And so charming! You do need a power drill, however. This tutorial has instructions for a hard-core hole punch that we didn’t have, but that you might be lucky enough to own.
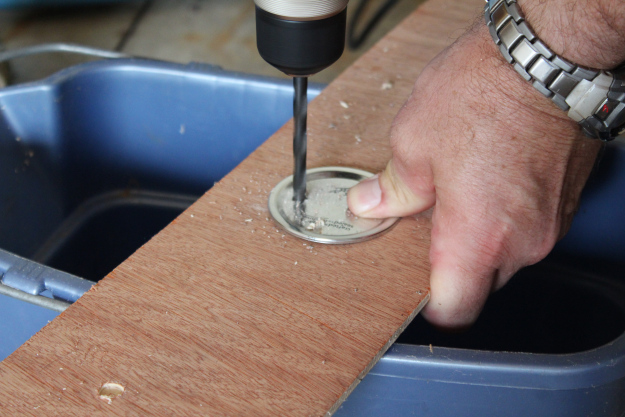
My dad worked the power tools, so that’s his huge hand you see in the drilling image below (just in case that photo raises concerns about my testosterone levels). I have a mild fear of cutting off body parts or drilling holes where they don’t belong (like in thumbs), and he’s really good at these sorts of “dad” things. Oh, and he’s very patient. And he has always been ridiculously supportive of all of my creative ventures, which have included (among other things) helping to build a very detailed miniature replica of a Pompeiian Villa for my Latin class in high school. Yes, I was that cool. Thanks, Pops!
You’ll need:
Mason jars with lids (we used two-piece lids but the one-piece ones should work just fine)
1/4 inch rubber grommets (I found them in the plumbing section of the local hardware store)
A power drill with a 5/16 inch drill bit
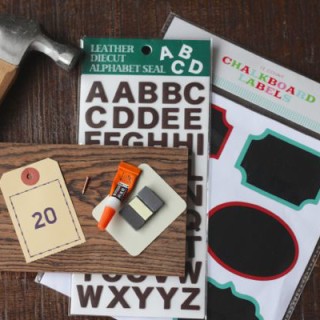
Decorative string, washi tape, ribbon, etc. And cute straws
Here’s what we did:
Drill a hole off-center in the mason jar lid. I tried centering them, but they really look better off-centered. My dad used a slightly smaller drill bit to make the initial hole, then enlarged it to the 5/16 inch size. We found that we got a cleaner edge that way, but it would still work if you cut only one hole since you’re going to cover it up with a grommet anyway.
Work the rubber grommet into the hole. Don’t be afraid to squeeze it in there!
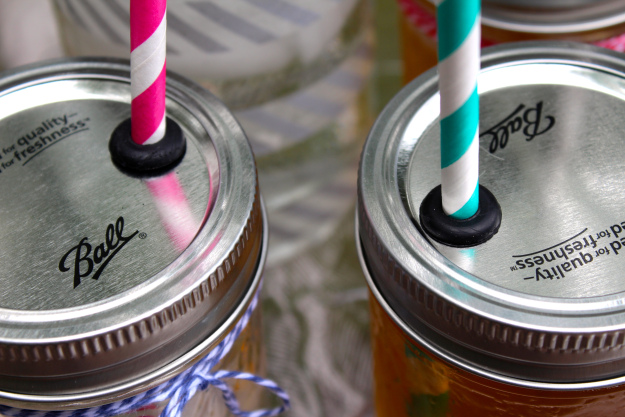
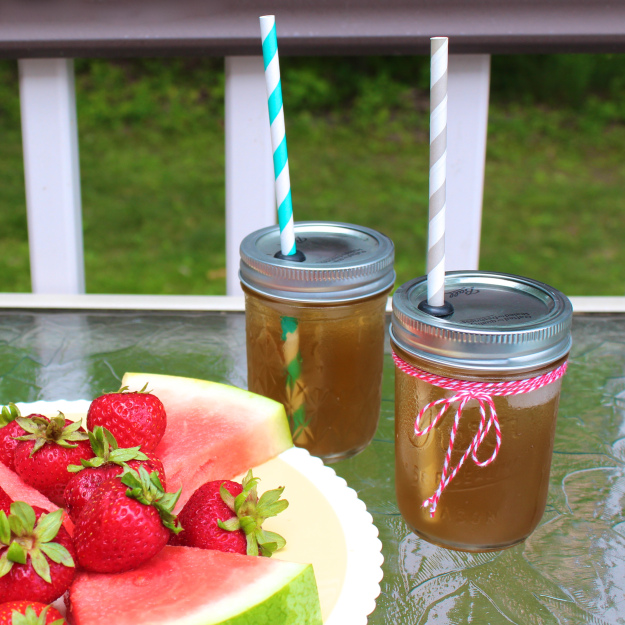
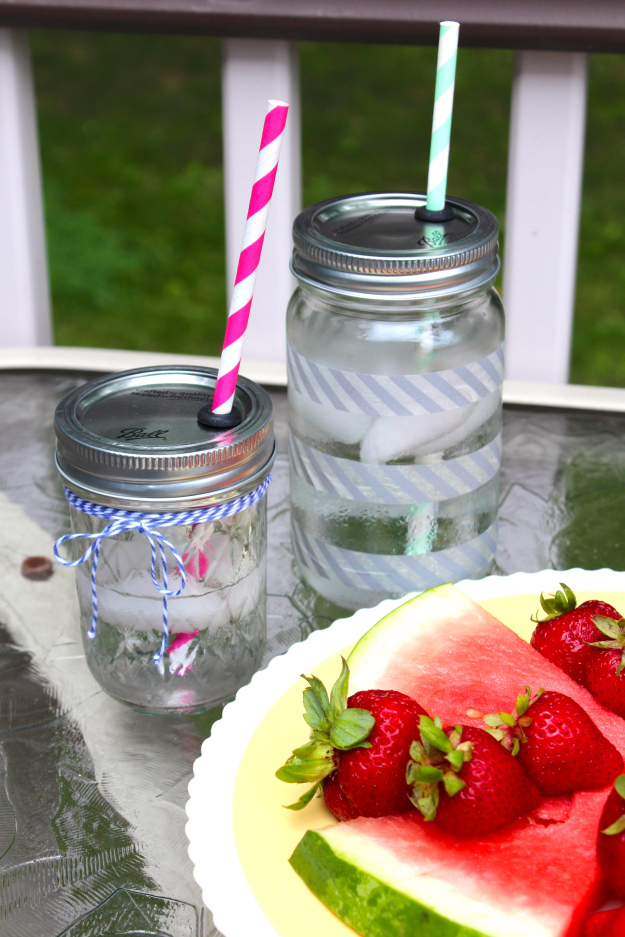
Add a straw and decorate the jars however you please. Enjoy!
We think that they would make fantastic (and affordable) wedding favors. Fill them with flavored ice water to hand to your guests as they leave, so they can hydrate on their way home! You could order custom straw flags on etsy (or make your own, if you’re savvy like that!), or you could design a sticker to put on the lid or glass.
Hi Carla and fellow Merry Mail partner! I love mason jars and jelly jars! My husband and I used them in our wedding centerpieces. This is a must DIY project, although I’m not so great with a drill but I’ll learn (: Excited to exchange ornaments!
Hi Jamie! We’re very excited to exchange ornaments, too! And we love your blog, it’s so positive 😉 Can’t wait to get to know you better…
We made these for my daughter’s wedding in August. They were a hit once guests figured out what they were for!
Great idea! Would love to see a pic if you are interested in sending us one 🙂 alyssaandcarla(at)gmail.com