The lucky part about acrylic pieces showing up constantly in design inspiration over the past few years is how incredibly easy they can be to duplicate on your own! A few years ago, I spent ages finding a mirrored cosmetic tray for my bathroom. I’m not joking- the endeavor required tons of thrift store visits and EBay auctions. I still love the look of it, but recently I’ve wanted something a bit more modern and bright.
There are lots of ways to DIY acrylic trays, but most of them involve using a sheet of paper to personalize the bottom of the tray. I love all the ways people personalized the paper with things like monograms and printed digital artwork. The only problem? I know exactly how dusty and damp these trays can get in a bathroom! So, I added another step to the project and came up with this water resistant acrylic tray.
To get started, you will need:
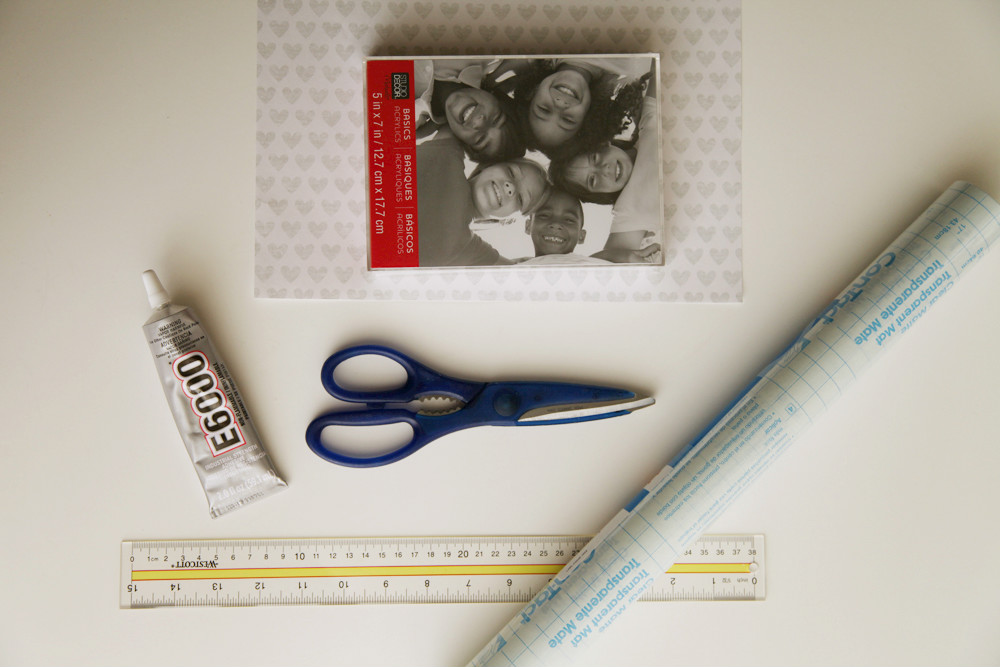
– one acrylic block picture frame in your desired size
– paper (I used scrapbook paper, but there are so many options here! Consider foil paper for a metallic look or origami paper.)
– Clear Cover contact paper
– glue
– scissors
– ruler
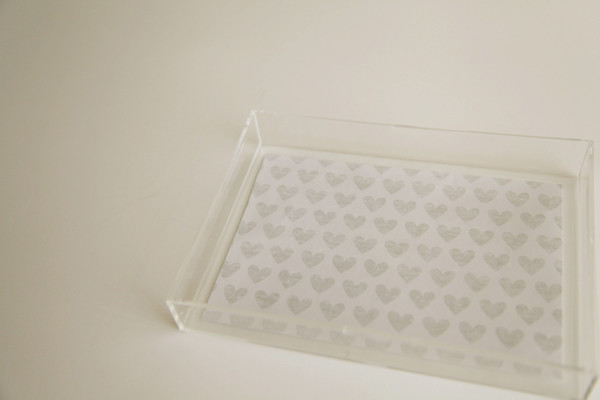
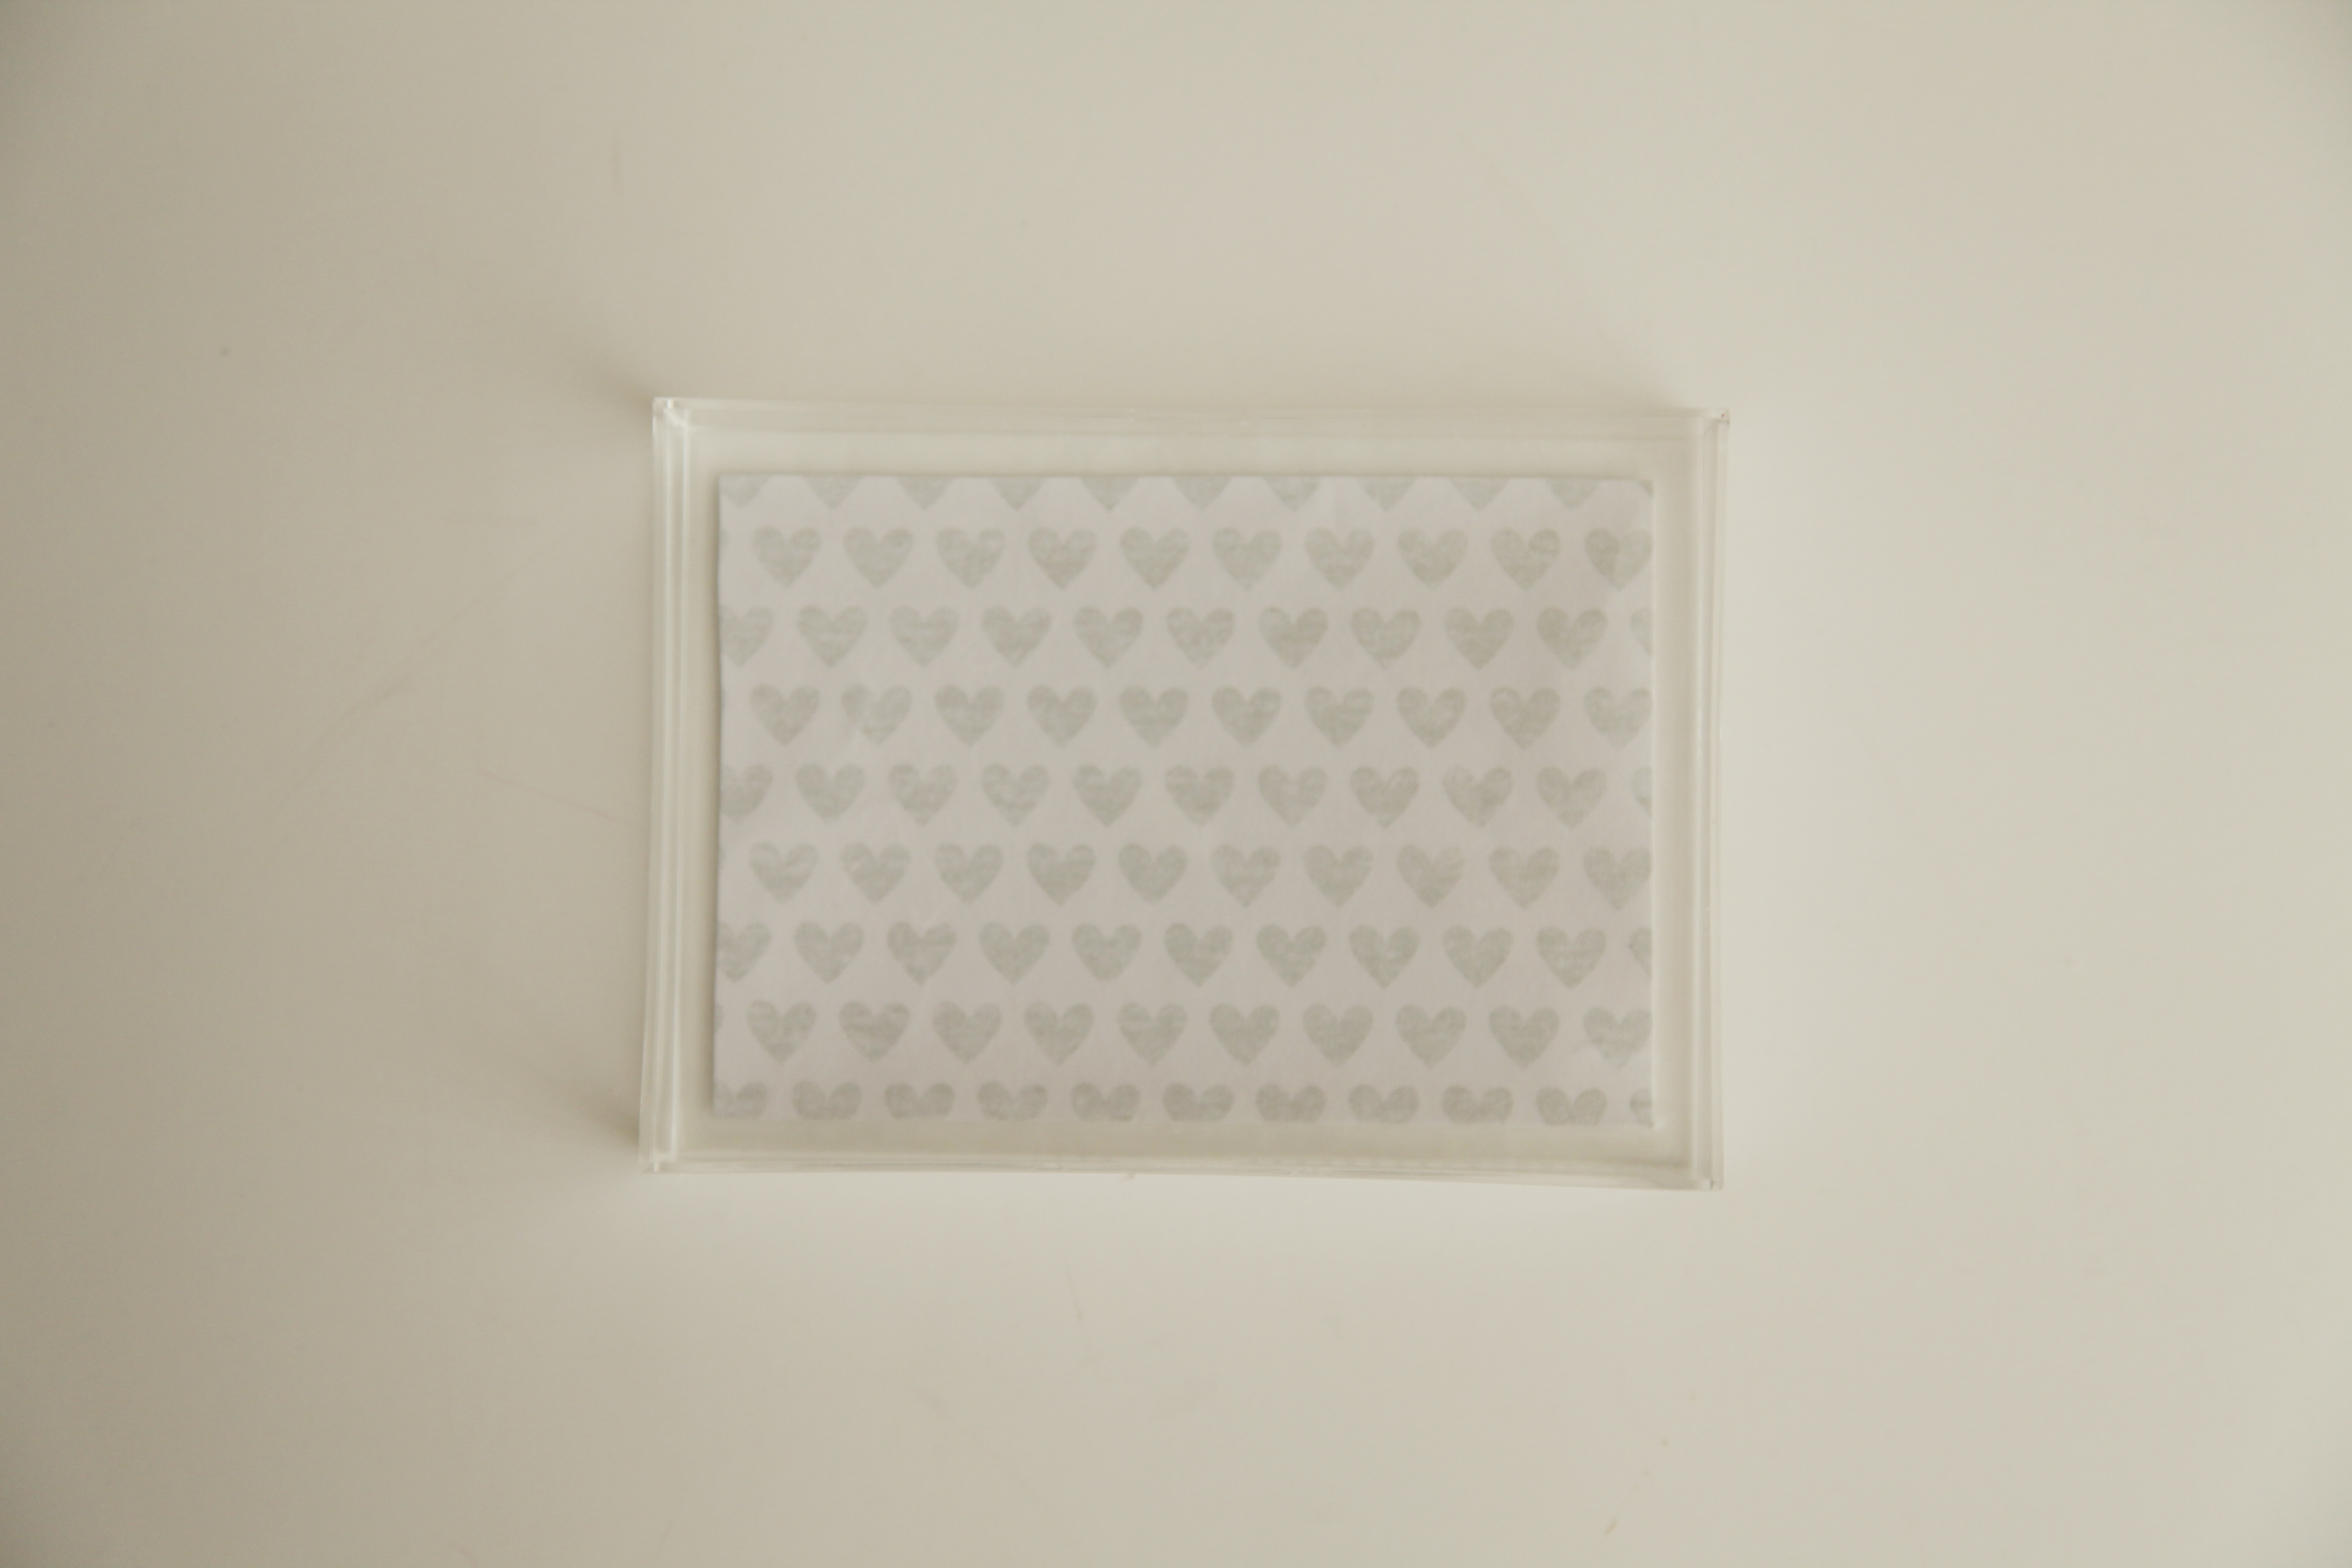
First, open up your photo frame and discard the cardboard contacts. Cut your paper to fit the inside of the tray, allowing for a small border all the way around. For instance, for my 5 inch by 7 inch tray I cut my paper to 4 1/2 inches by 6 1/2 inches. If your tray is larger (8×10), I would use 3/4 inches to 1 inch.
Center the paper in the middle of the tray bottom and secure with a small drop of glue in the center. (This doesn’t need to be super well adhered, it will become more secure in just a moment.)
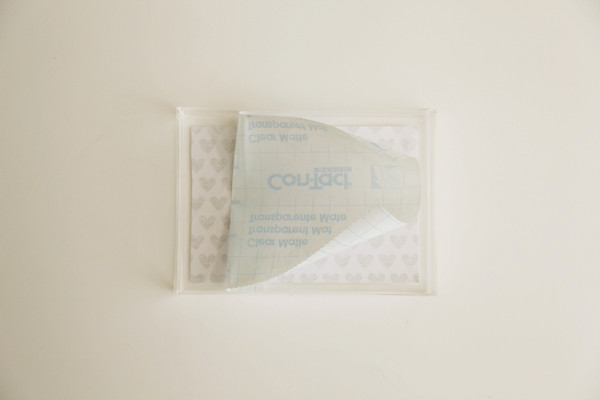
Cut your Clear Cover contact paper the same size as the frame (in my case, 5 x7 inches). Ensure that it will fit easily into the bottom of your tray. If it doesn’t, trim carefully until it does.
Peel off the backing of the Clear Cover at one end of the tray. Secure to the bottom, peeling back the paper backing and pressing down firmly as you go to eliminate air bubbles or wrinkles.
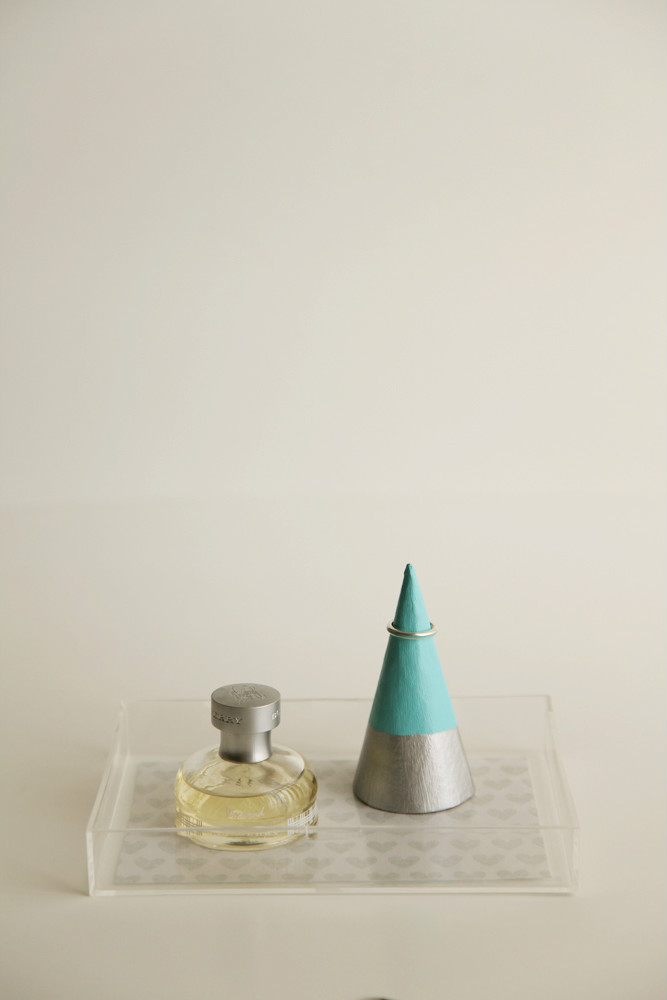
Once done, press extra firmly a few more times to be sure the cover is adhered and as clear as possible. Ta-da! Your tray is ready to go! You can wipe it easily with a damp cloth, so it’s just as well suited to your bedside table as to your nightstand.