My dad’s birthday is coming up, and I was looking for a birthday card for him here in Tokyo. And let me tell you, I hit some pretty big dead ends. I think I’ve already given him all of the remotely masculine birthday cards from my go-to stationary stores. The remaining cards seem to all have flowers or glitter or cartoon characters. And he’s a pretty manly man. A let-me-fix-that-for-you, softball-team-coaching, meat-and-potatoes kind of guy. I’m having a hard time envisioning him opening a card with pink cherry blossoms accented in glitter, which is all the rage in Tokyo right now (and understandably so! The cherry blossoms are about to open!).
So I turned to the internet to help me find a good DIY card for him. That was almost as unsuccessful! Again, most of the handmade cards were either not very masculine or they were really cheesy. And that was simply not going to work either. Oh yeah, or you needed a Cricut to make them! Sigh. I have insane Cricut envy these days. I really must get my hands on one. Ok, the internet search brought me back to the drawing board. I needed to come up with a more masculine handmade card.
What you’ll need:
1 piece of heavier paper, such as cardstock
an envelope
washi tape
pens or letter stamps/stampad (I used paint pens)
scissors, a ruler and a pencil
What to do:
1. Measure your envelope. Cut your cardstock down to size so that the folded card will fit into the envelope. Use the ruler and pencil to ensure you’re making straight lines.
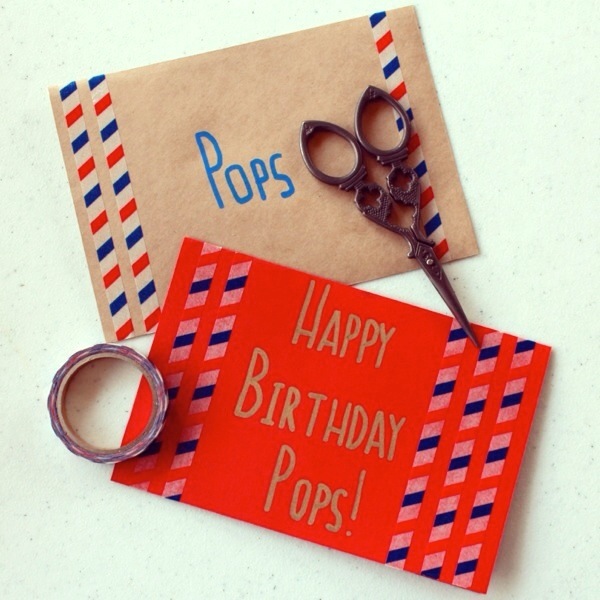
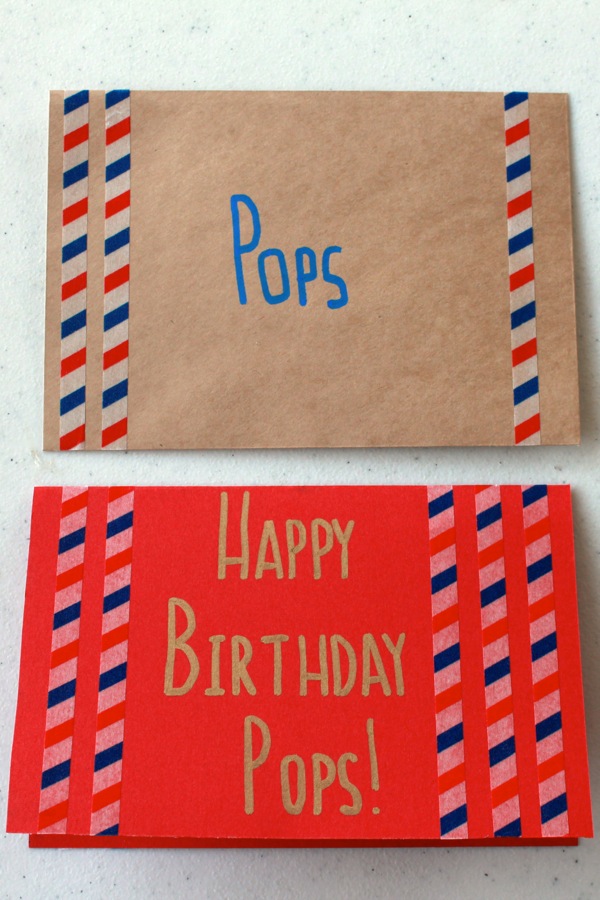
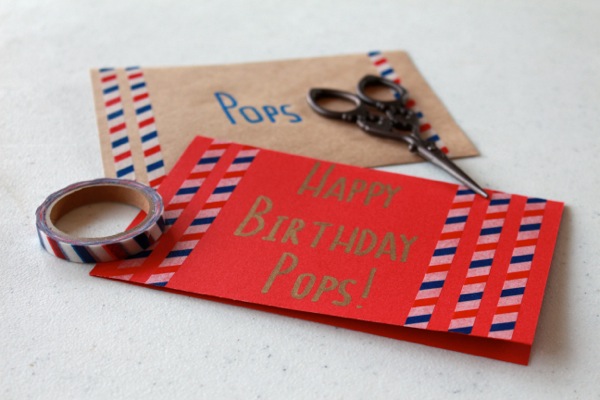
2. Write or stamp on any lettering that you want onto the front of the card. I used a gold paint pen to write “Happy Birthday Pops!”
3. Create stripes on the front of your card with the washi tape. If you have more room, you can do a plaid pattern, like I did in this tutorial.
4. Add a coordinating stripe or two to the envelope and address it in the same style as the lettering on the card.


My dad’s birthday is coming up, and I was looking for a birthday card for him here in Tokyo. And let me tell you, I hit some pretty big dead ends. I think I’ve already given him all of the remotely masculine birthday cards from my go-to stationary stores.