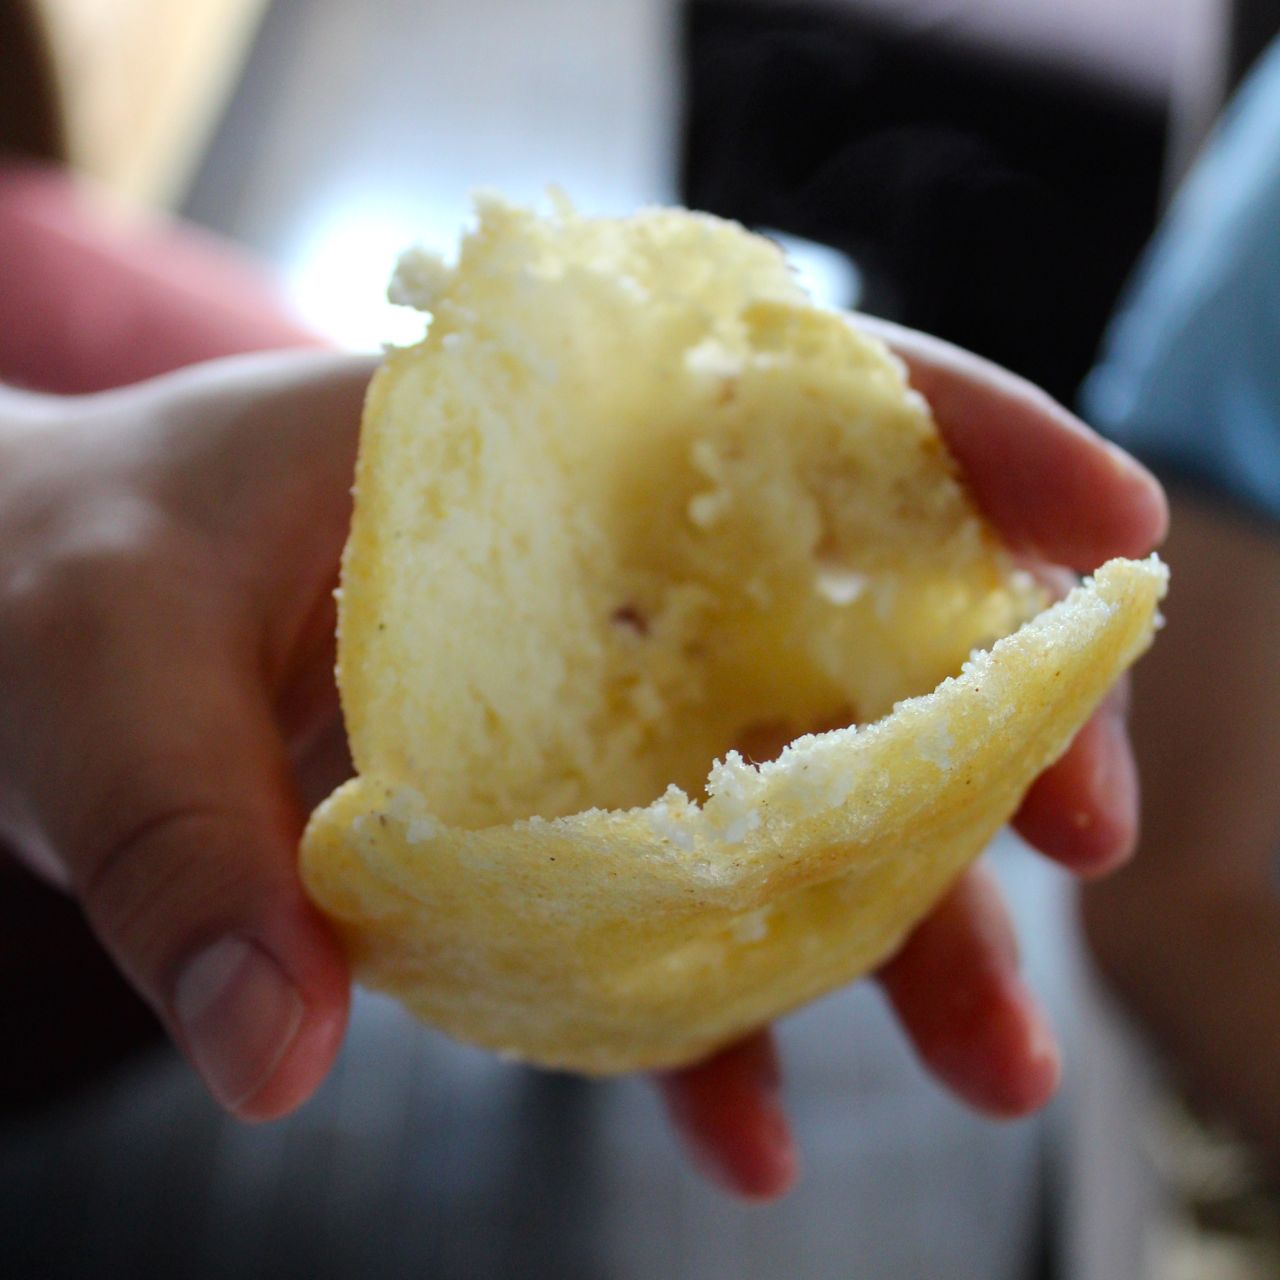
Arepas are traditional Venezuelan street food. My husband is Venezuelan, and they are one of his favorite meals of all time. They are generally baked or cooked on a griddle, but my mother-in-law has always fried them. I’ve tried them prepared several different ways, and as an objective judge I can honestly say: there’s no question that frying is the way to go!
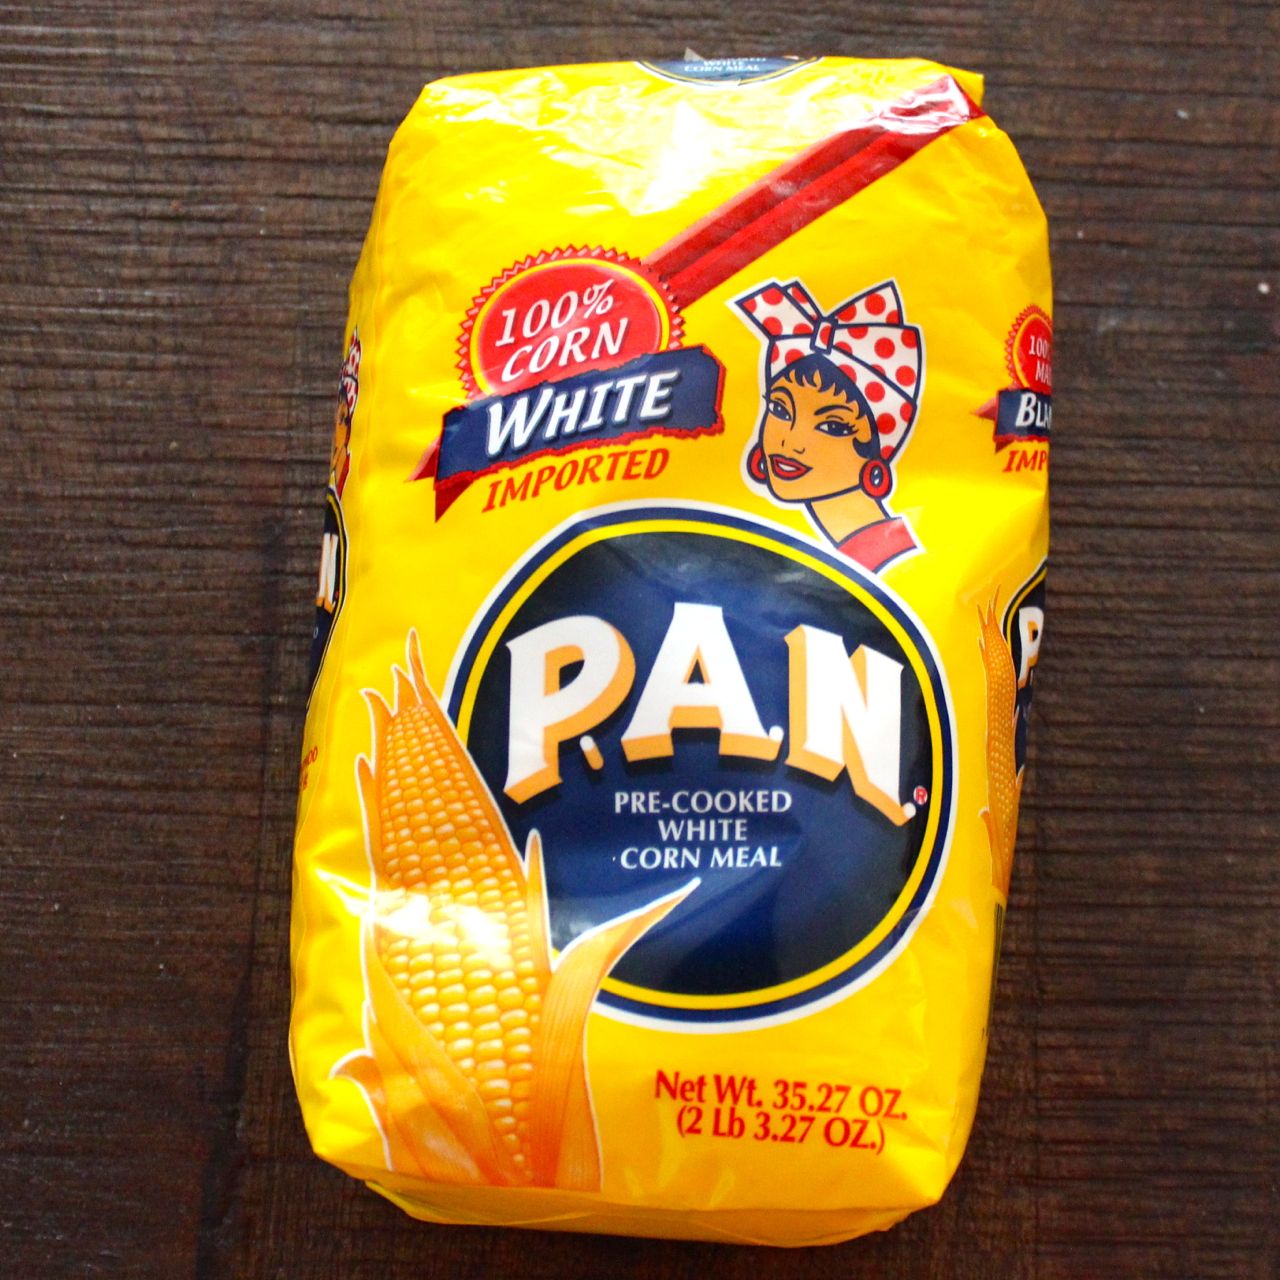
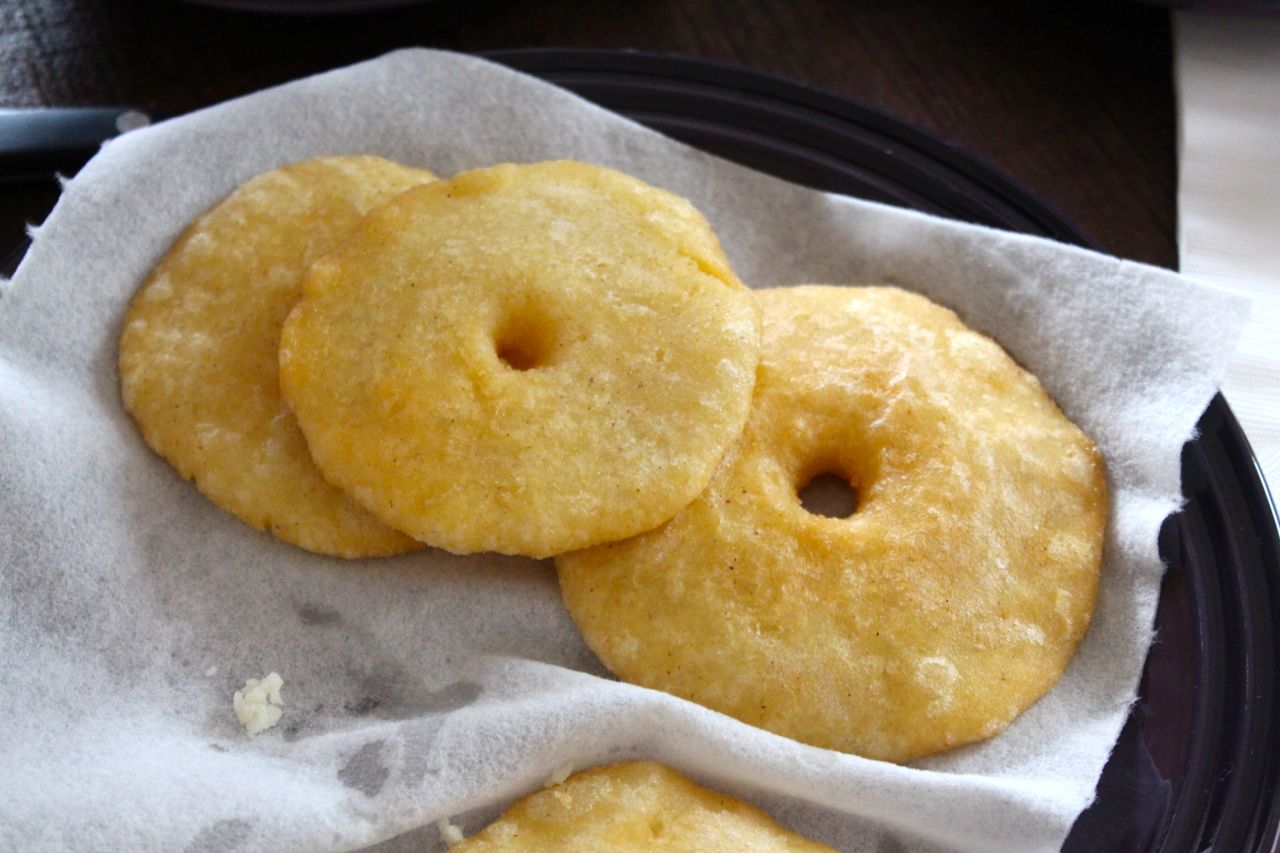
They’re quite easy to make, but you need the right kind of flour. Masarepa is a very finely ground white corn flour, which you can find in most Latin grocery stores (we use the brand P.A.N.). It makes very tender dough and fries up into a crispy exterior with fluffy, light insides.
First, you form the dough into thin patties. If you’re going to fry them, you also need to poke a hole in the center (like a donut) or they will puff up when you cook them. Then you fry them, cut them into pockets (like a pita), and stuff them with any variety of fillings. For dinner, we use a pork chili, braised chicken, or thinly sliced steak. We’ll add cheese and sometimes beans. A very traditional Venezuelan dish involves stuffing them with a chicken salad and avocado.
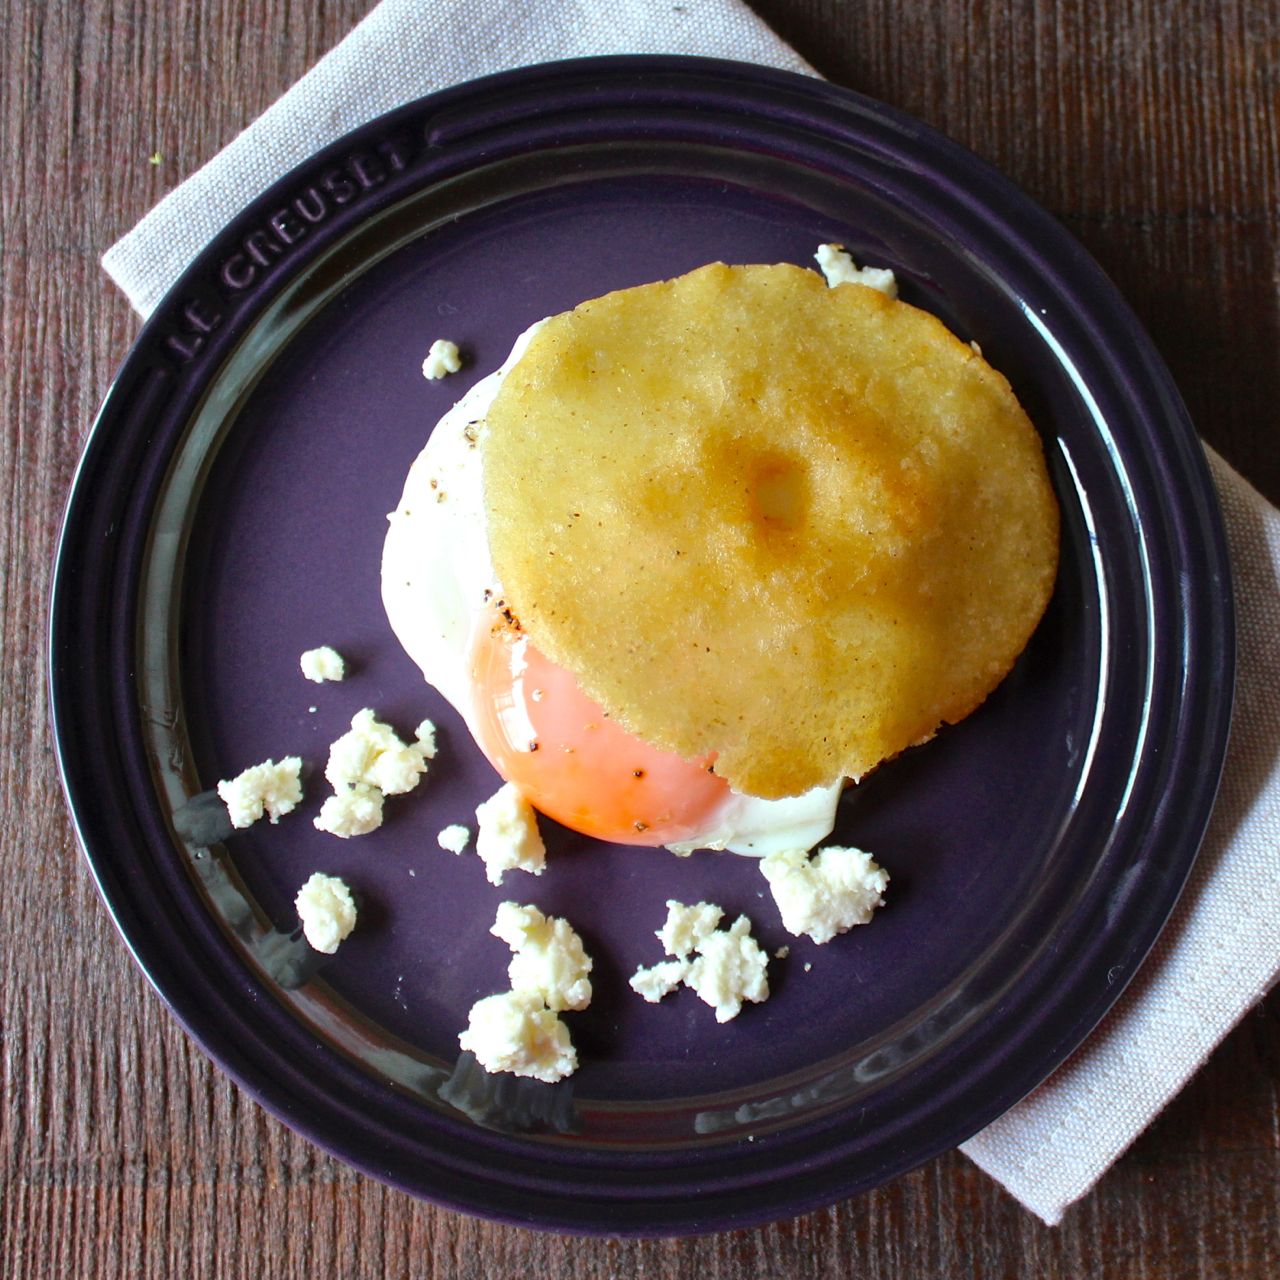
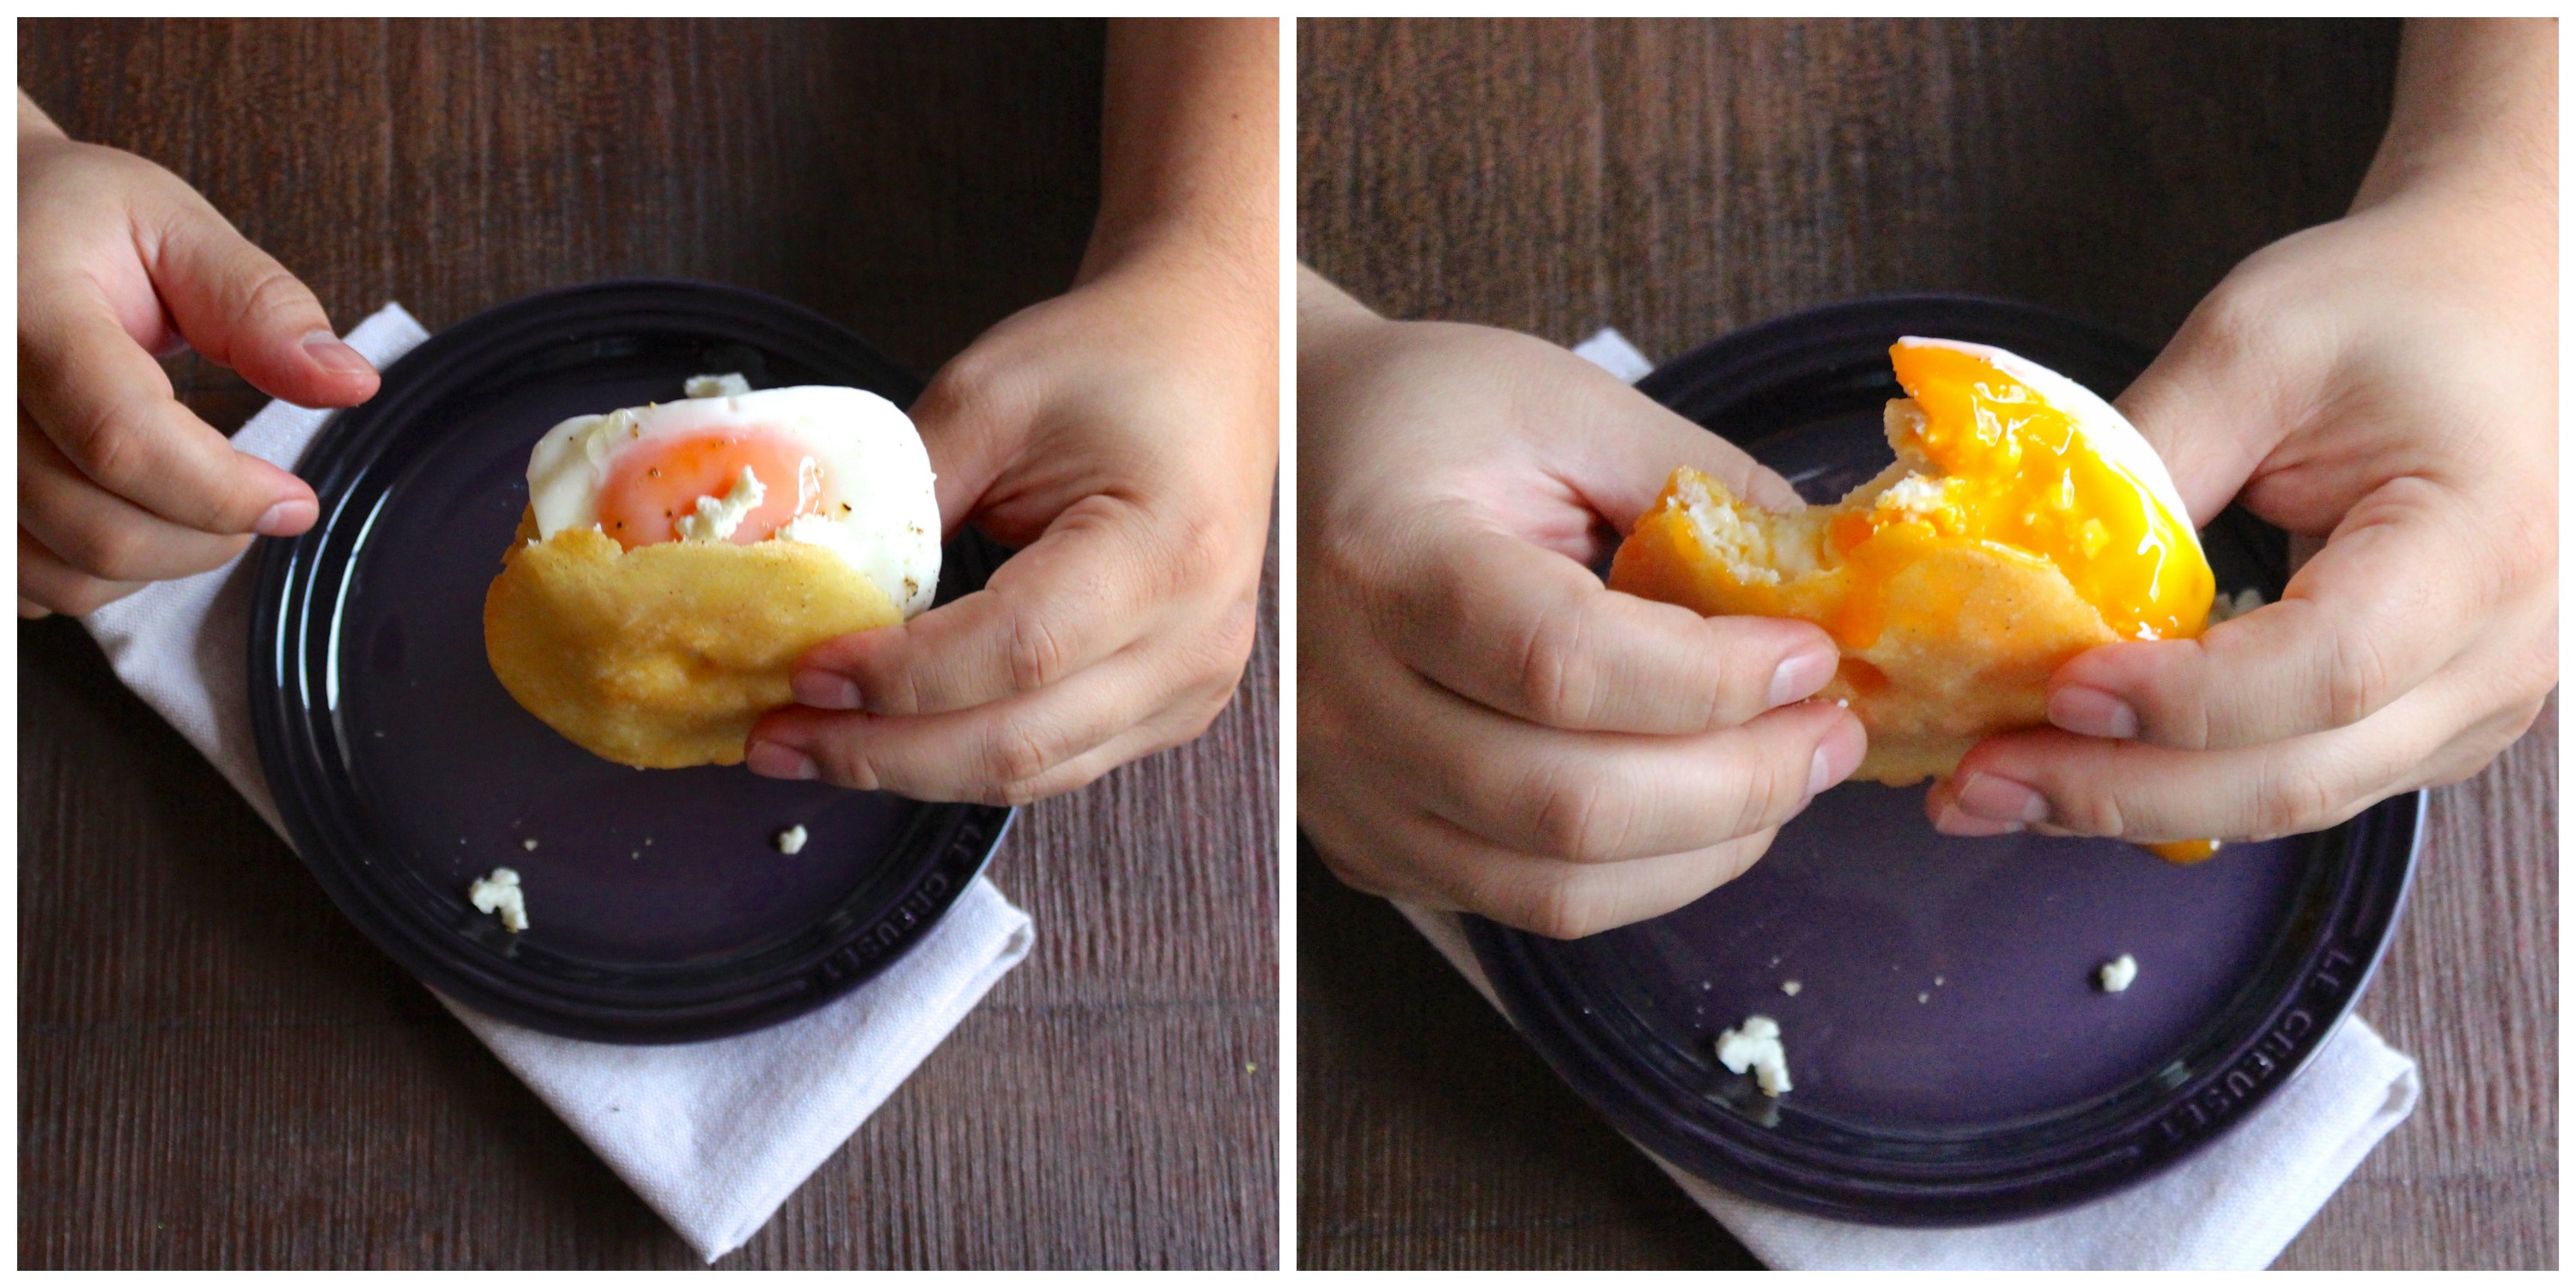
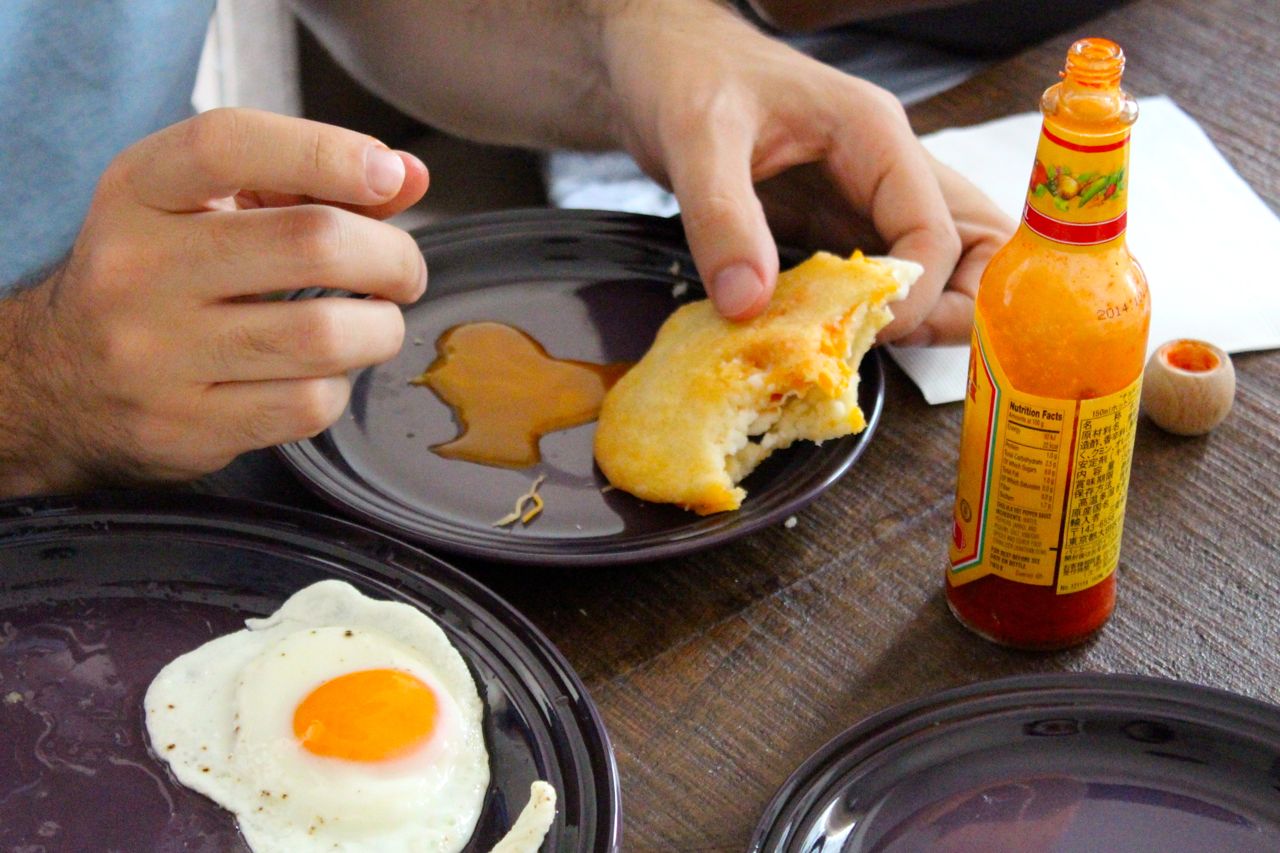
But breakfast arepas are a real treat, because they’re not something you can eat every day without gaining 50 pounds. My husband grew up stuffing them with butter and a salty, harder Venezuelan cheese (similar to ricotta salata). We can’t find that cheese here, so we use feta or a melty smoked cheese. Add a fried egg with soft yolks, and you’ve got a ridiculous breakfast sandwich.
Arepas
makes about 6 arepas, assume you’ll need 2-3 per person
1 cup harina PAN
1 1/4 cup hot water
pinch of salt
Neutral oil (for frying)
Place the water and salt in a large bowl. Stir to dissolve the salt. Slowly pour in the harina PAN and mix with your hand to fully incorporate into a dough. Be sure to knead out any lumps.
Divide the dough into 6 balls. Moisten your hands with water and flatten the dough out into disks that are about just over 1/4 inch) thick (1 cm or so). Poke a hole in the center with your pinky. Note: if your edges are cracking or splitting, it means your dough is too dry and you need to add more water.
Pour about a 3/4 inch of oil into a frying pan over medium heat. When the oil is hot, fry the arepas, flipping occasionally, until golden brown (about 12 minutes).
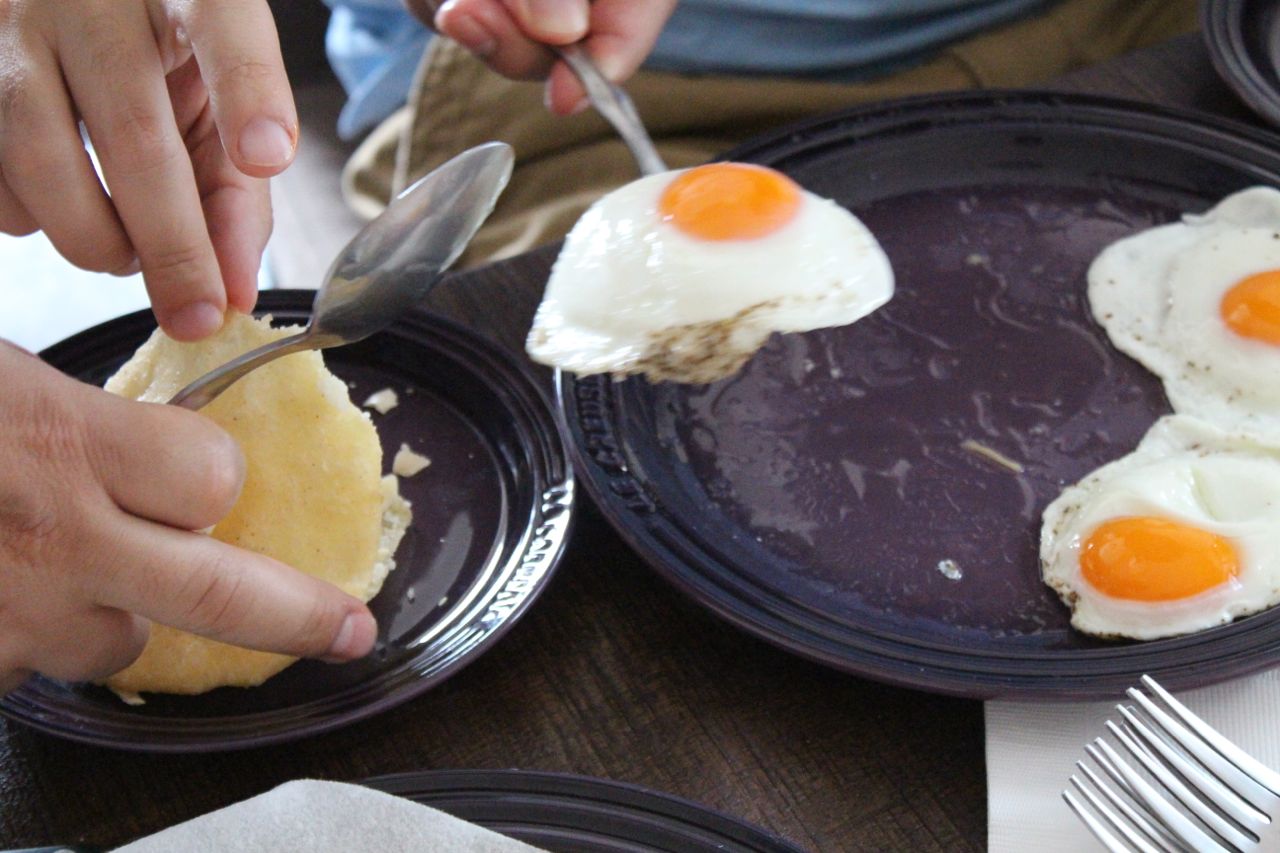
Use a sharp knife to carefully cut a pocket into the arepa and stuff with the fillings of your choice.
Filling suggestions:
fried eggs
scrambled eggs
beans
your favorite cheese (suggestions: smoked cheese, feta, queso fresco, ricotta salata, parmesan)
bacon or ham
hot sauce
P.S. I did not manipulate the color on the egg yolks in these photos! For some reason, the yolks on Japanese eggs are unbelievably orange/yellow.


YUM! Can’t wait to try this!
Let us know if you do! Would love to hear what you think 😉