I, like most people who just really like pretty things, tend to buy all sorts of items without a plan. Several months ago, I picked up this frame at the Alameda Point Antiques Faire. But what could I do with it?
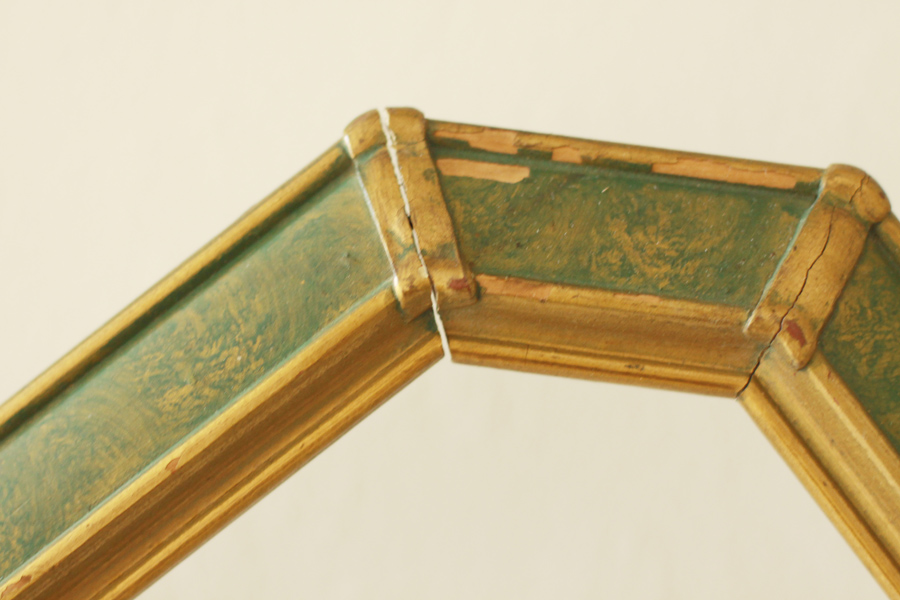
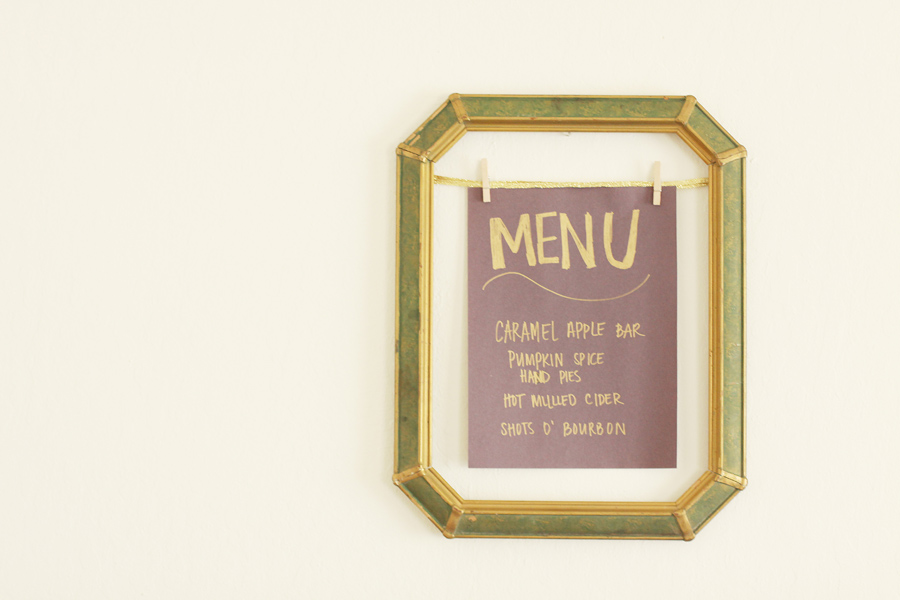
It’s a beautiful old wooden frame painted in gold and green with these great rounded-ish corners. I initially hoped it could become part of one of my gallery walls, but even though it came with glass the dimensions are awkward. Any type of photo or print would look best with a mat, but that just starts a whole extra project wormhole.
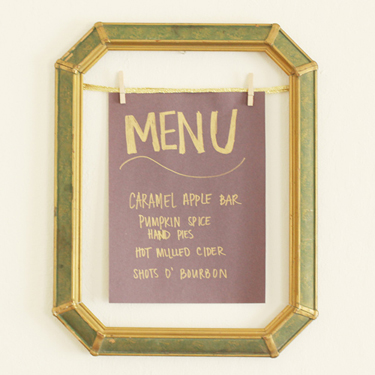
As I was thinking up party ideas for a hopefully upcoming Happy Hour bash, I decided this frame would be perfect for displaying an easy menu! It took just a few simple items, but I think it looks WAY fancier than that sounds.
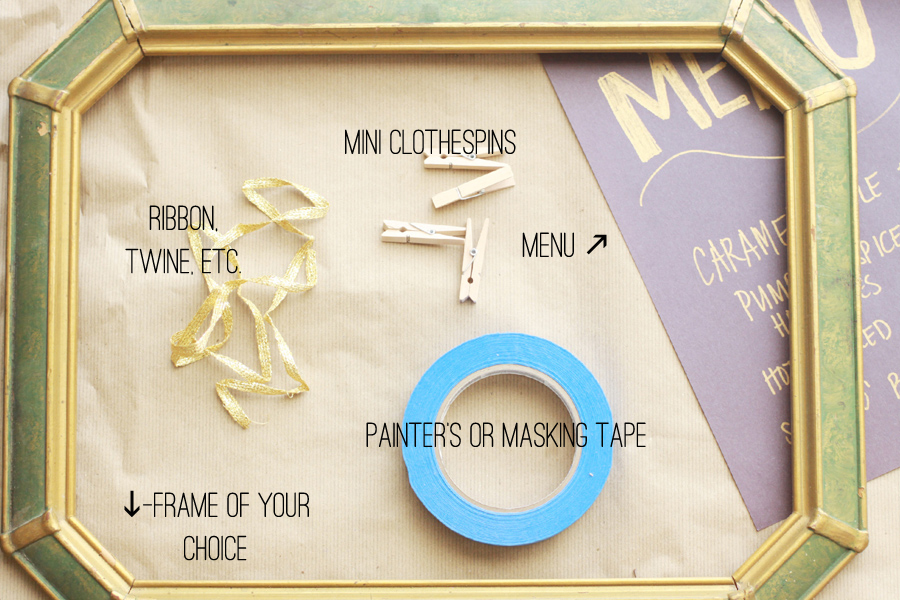
- frame
- ribbon or twine
- mini wooden clothespins
- painter's or masking tape
- menu (I made this one super easily with a sheet of black construction paper and a gold Sharpie, but you could of course print one out as well.)
- Remove any glass in your frame.
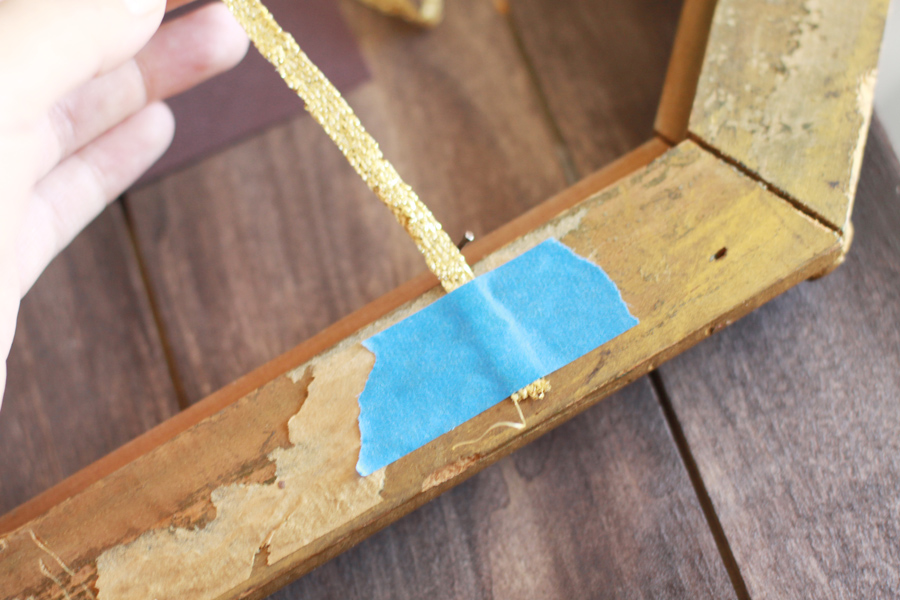
- Tape your ribbon/twine to the back of the frame at the appropriate height to center your menu.
- Use the mini clothespins to hang your menu from the taped ribbon.
- That's all! Hang it! Lean it against a wall!
- Extra Credit: Decorate your mini clothespins! They could easily be colored with a metallic sharpie or covered with washi tape.
What’s great about this project is that it’s totally temporary- if you decide that you want to use the frame for something else it’s ready to go! I may still find some future use for this charming wooden one, but for now I love the character it will add to a fall/winter bash.
Cute idea. Since you have the glass, you can also write your menu with dry erase or wet erase pens right on the glass, with or without a paper background, and change it later. I actually use a frame for the daily dinner plan at our house, and for the the background I used a page I like out of an expired Sandra Boynton calendar; it’s an animated picture of two pigs hanging from either end of a trough, which I figured was apropos.