I am seriously into lists. I have 3 different apps on my phone for lists, and I use all of them for different things. In addition to those lists, I have a notebook dedicated entirely to my “to do” lists. I have notepads with specific list-making topics. It’s a problem. I’ve had Carla on the lookout for cute post-it note to do lists in the Target dollar bin in the Bay Area after I bought out all of the Targets in Northeast Ohio when I was there in December.
But there’s always SOMETHING wrong with the store-bought ones. They’re not wide enough. There aren’t enough lines for me (I need at least 10). The sticky back doesn’t actually stick. They’re not cute. And what do I do when faced with the inability to find exactly what I want? I make it myself.
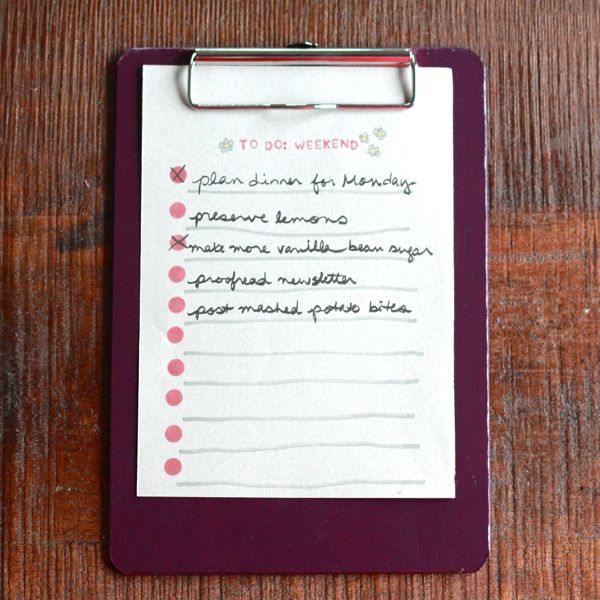
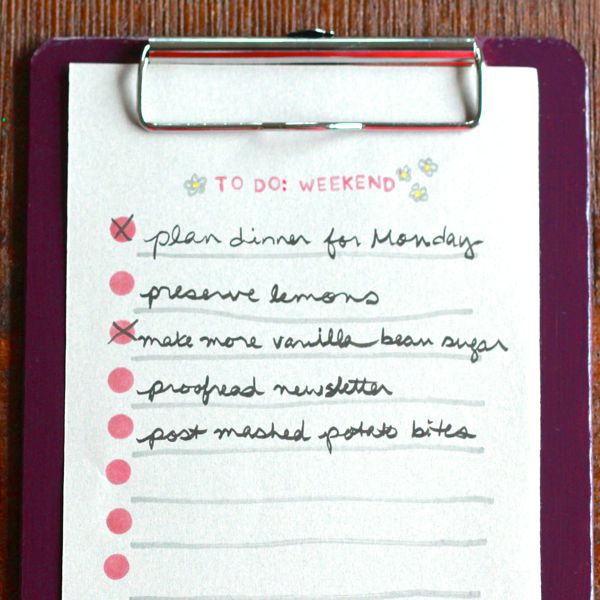
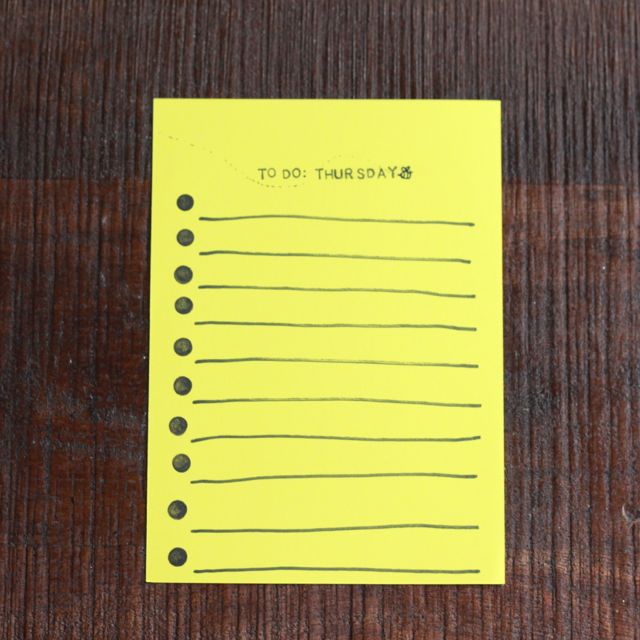
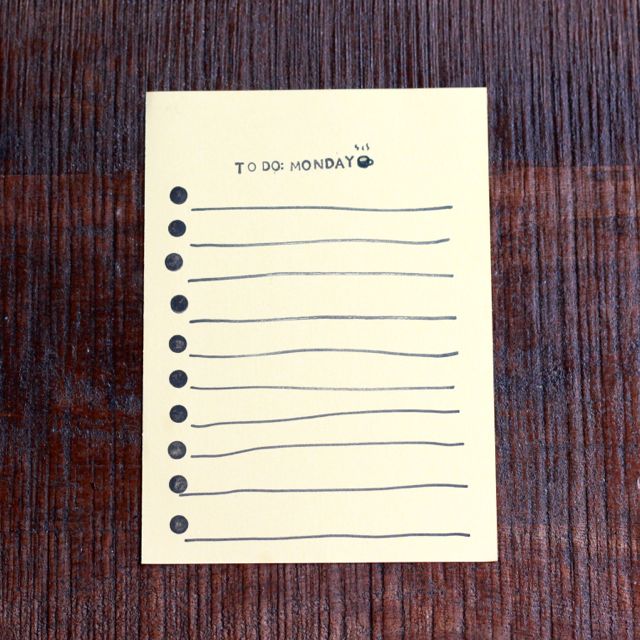
So here are my ideal to-do lists. They’re big, but not too big. They’re cute, but still fairly clean and simple. Using a clipboard means that I don’t have to worry about the stickiness factor. And there’s just something about a clipboard that makes you feel like you’ve got it together. I one wireless headset away from turning into Monica from Pheobe’s wedding episode. You know what I’m talking about. “Pee on your own time!”
I really wanted a handmade look with these, so I didn’t attempt straight lines or perfect margins. But if you’d like a neater look, you can draw the lines with a ruler and mark off margins for the bullet points and ends of the lines.
What you’ll need:
-A clipboard. And maybe paint and a brush if you don’t like your clipboard; I painted a plain chipboard dollar store clipboard dark purple because it makes me happy.
-Paper that fits on your clipboard. You could cut some down to the correct size if necessary, but I managed to find some that fit well.
-Letter stamps and stamp pads in colors that coordinate with your paper.
-Pens or makers that coordinate with your stamp colors and paper.
-A fresh pencil eraser to use as a stamp to make the bullet points. If you’re more of a “check a box” kind of person then you can draw boxes with your pens/markers instead.
-A ruler
Instructions:
1. If you’re painting your clipboard, get that started first so it has time to dry.
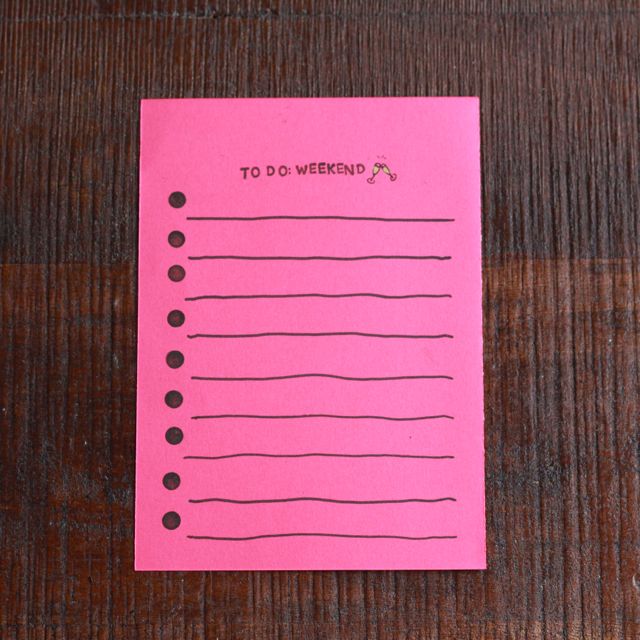
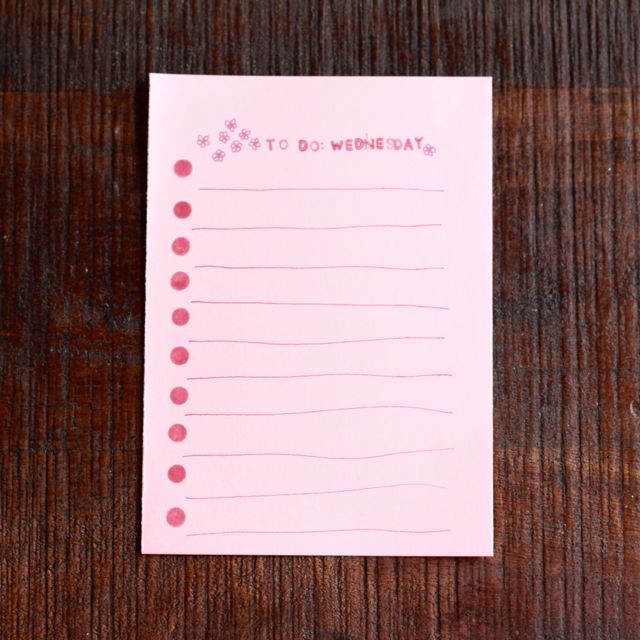
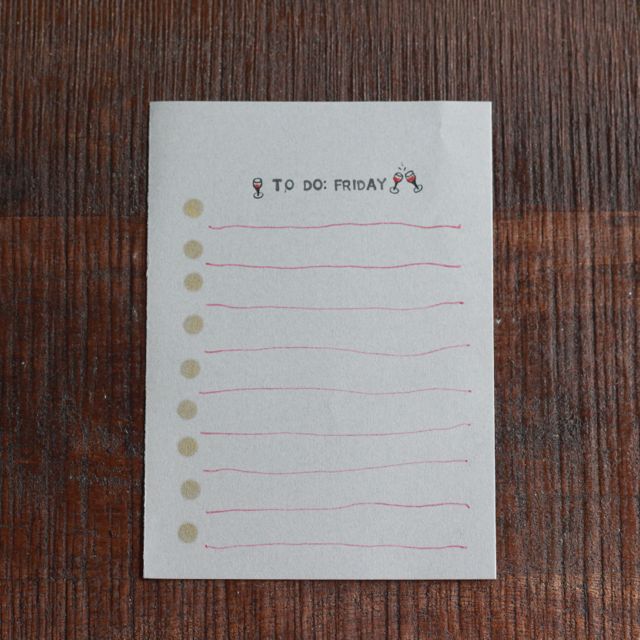
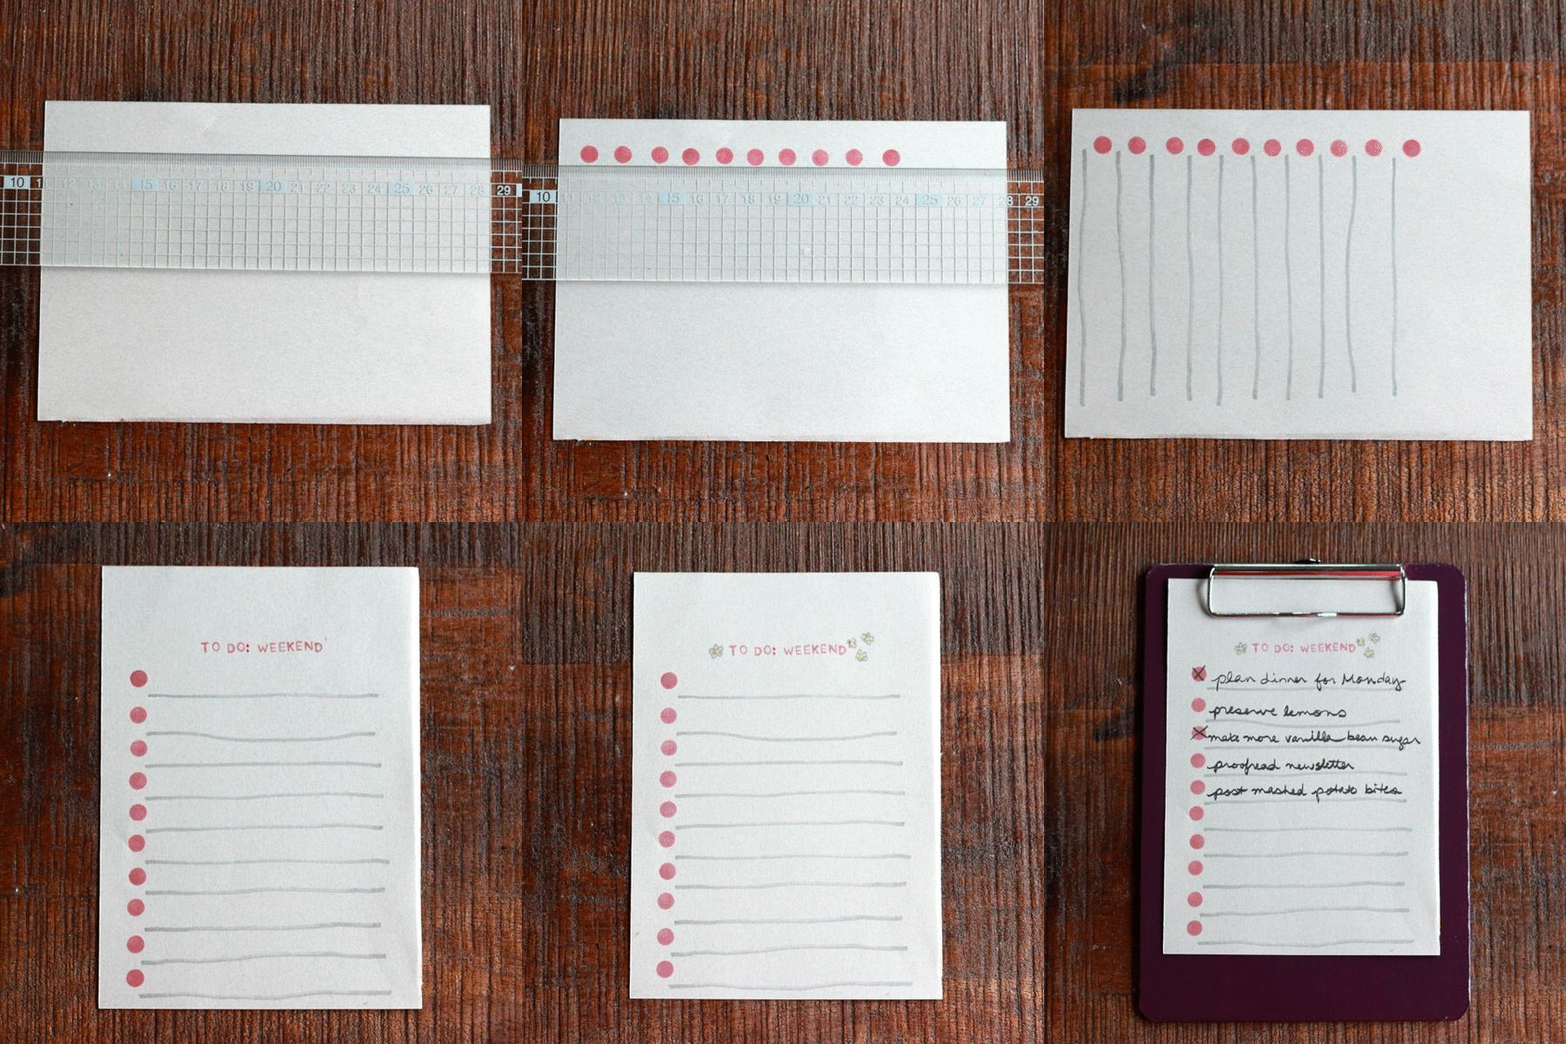
2. Using the ruler to guide you so that your dots are relatively evenly spaced, create the bullet points on the paper. Use the pencil eraser as a stamp and stamp out as many bullet points as you would like.
3. Draw lines in a coordinating color. If you like the handmade look, don’t worry too much about them being perfectly straight.
4. Stamp out your header.
5. Add any other flourishes or drawings that you’d like. Attach to the clipboard and enjoy being organized AND creative!


Very cute! I need these, I’m always super unorganized. 🙂
These are so cute! I need to make these, I’m always very disorganized. 🙂
Sorry, I didn’t realize I commented twice!