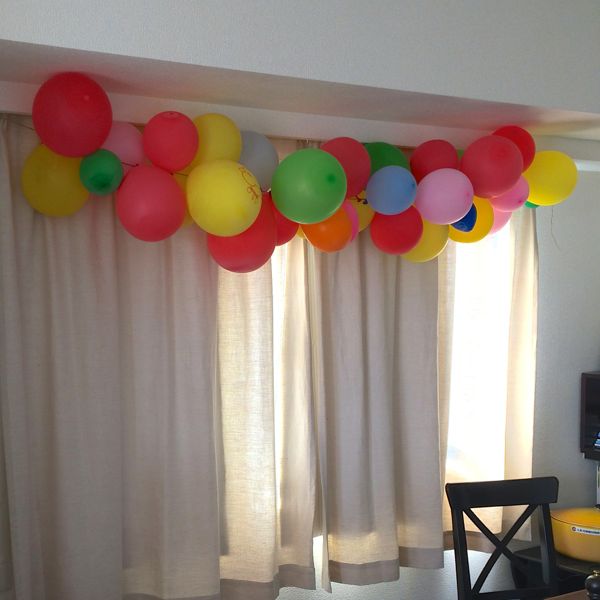
A friend had a birthday recently, and I wanted to do something special to celebrate. To decorate our apartment, I made a balloon garland and a happy birthday banner. The ballon garland was so much fun! I blew up about 35 balloons to different sizes and tied them closely onto a piece of twine. That yielded about 5 feet of garland, and I would have done twice as many if I’d had more balloons! (Terrible iPhone photo of the balloons at the end of the post.)
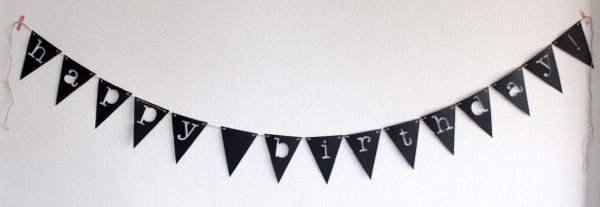
For the happy birthday banner, I used my Silhouette Cameo to cut simple letter pennants out of black cardstock. My friend is not a girly-girl, so I kept it simple with black paper, cutouts and twine. You could go a lot of different directions with this though! You could use printed paper, or you could back the pennants with colored paper to make the letters stand out more. Use colored string or yarn to hang the pennants. Finish with tassels on the ends. So many ways to personalize this!
Here are the files. The only way I can figure out how to share them is via Google Drive, so please don’t be alarmed when the links lead to away from the site!
h and b
a and i
p and r
y and t
d, ! and blank pennant
One year ago: Homemade furikake, a Japanese condiment made of nori and sesame seeds that may become your secret ingredient.
What you need:
5 sheets of 8 1/2 x 11 cardstock
about 10 feet of string, twine or yarn
optional: additional paper to back to cutout letters
What to do:
1. Download the studio files above into your silhouette software.
2. Cut out the files on the cardstock.
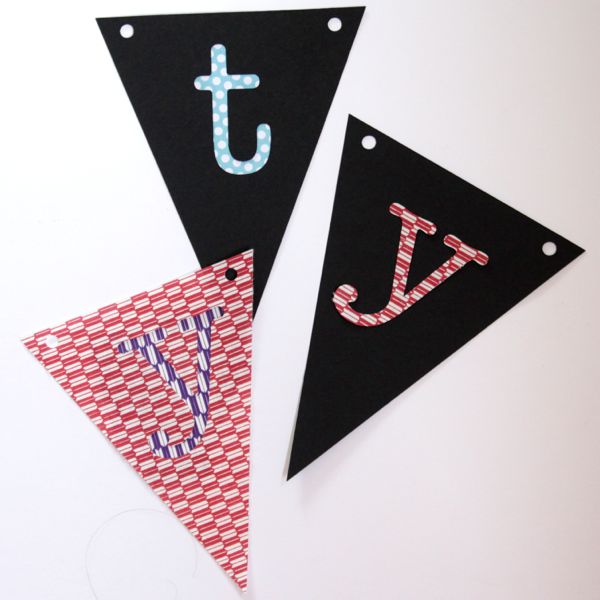
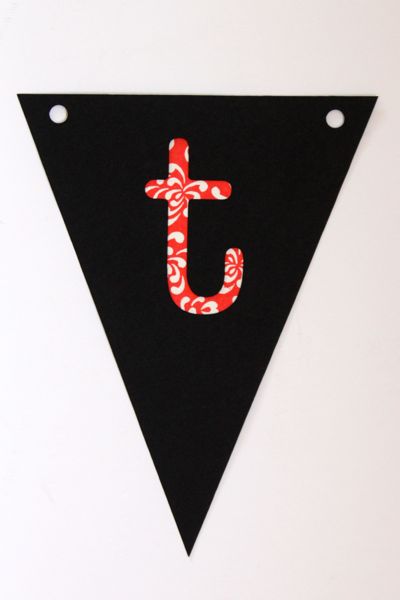
3. Optional: back the letters with paper to make them stand out more by gluing paper onto the back of the pennants. Glue the center pieces of certain letters (a, p, b, d) onto the pennants.
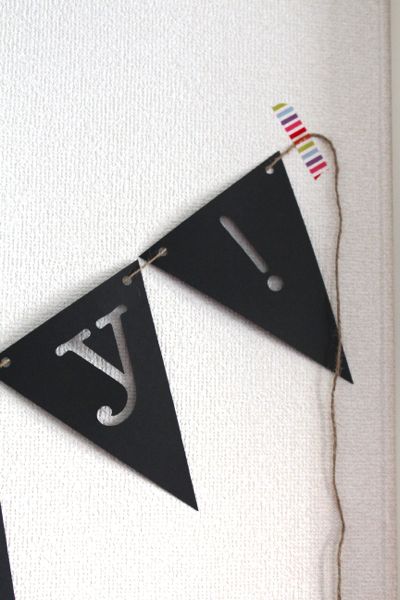
4. String the pennants on the twine and hang by tying the ends onto something or by using washi tape to secure.


LOVE this banner!! Planning on copy-catting you but for Halloween 🙂 Thanks for the inspo!
xx Katie
lovely letters
Good idea, Katie 😉 Can’t wait to see pics!