You know that Coco Chanel saying where you put on all the accessories you want and then look in the mirror before you leave and take one thing off? I need a mantra that is pretty much the exact opposite of that.
I LOVE jewelry, but an unfortunately metal allergy means that a lot of it isn’t available to me. I’d love to be able to pick up some pretty jeweled necklaces (I’m looking at YOU, J Crew and Kate Spade), but most of those statement necklaces involve a metal chain. You’re cute, statement necklace, but you’re not quite worth a rash.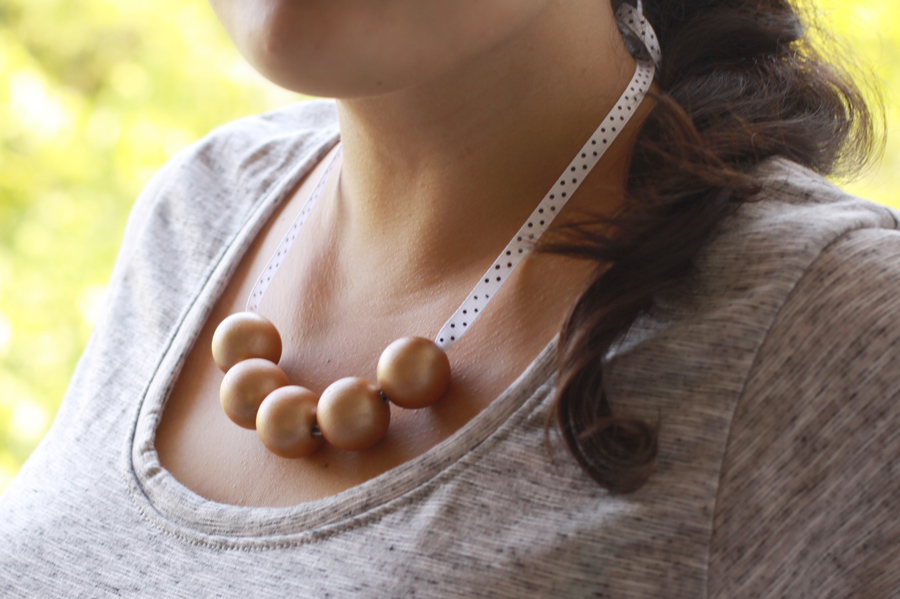
Every so often, I find a beaded or ribbon version that fits the bill perfectly. And recently I happened upon a DIY option that not only is perfect as it relates to cuteness and easiness, but definitely makes a statement.
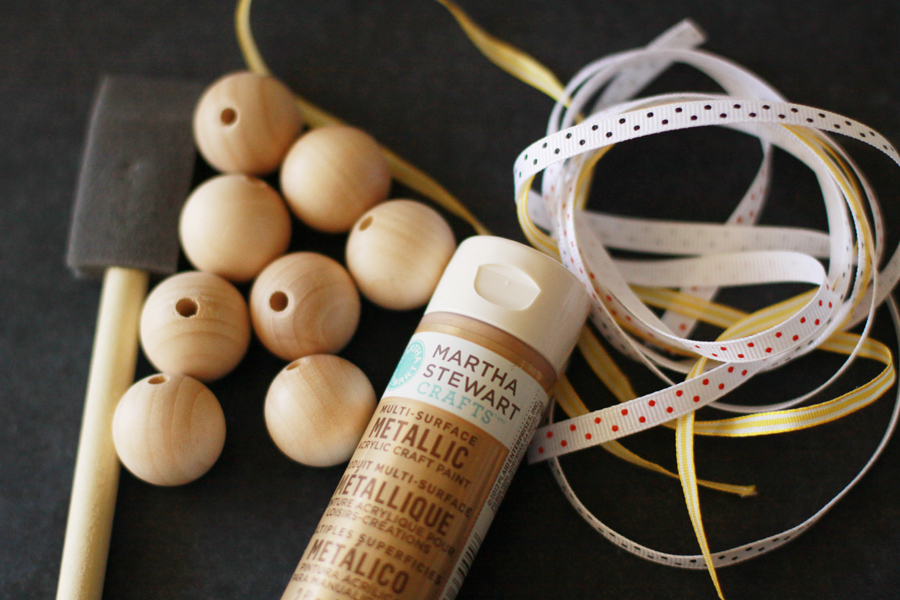
Supplies:
- wood beads (mine are 25mm)
- coordinating thin ribbon (you could also use leather or silk cord- I bought a yard each of some thin, decorative ribbon in polka dots and stripes)
- acrylic paint
- foam paint brush
- Use the foam paintbrush to paint your wood beads. Because acrylic paint dries quickly, I was able to apply a coat and then set it gently on a folded plastic shopping bag to dry. The amount of coats needed will depend on the paint you use and the look you’re hoping for.
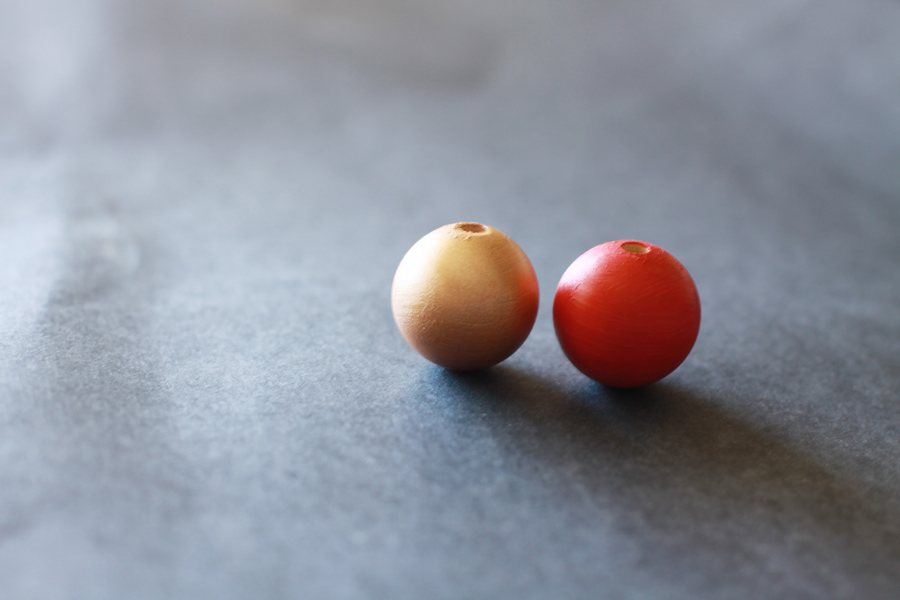
The bead on the left is the pictured Martha Stewart paint with a Metallic Finish in Rose Gold. (Side note: ROSE GOLD! It’s gorgeous!) I used three coats to achieve a smooth look with very little wood grain and a shiny-ish finish.
The bead on the right was painted with some leftover cadmium red acrylic paint, similar to something you would find in student grade at an arts supply store. I liked the look of one coat to create a matte finish that still let a little bit of the grain shine through.
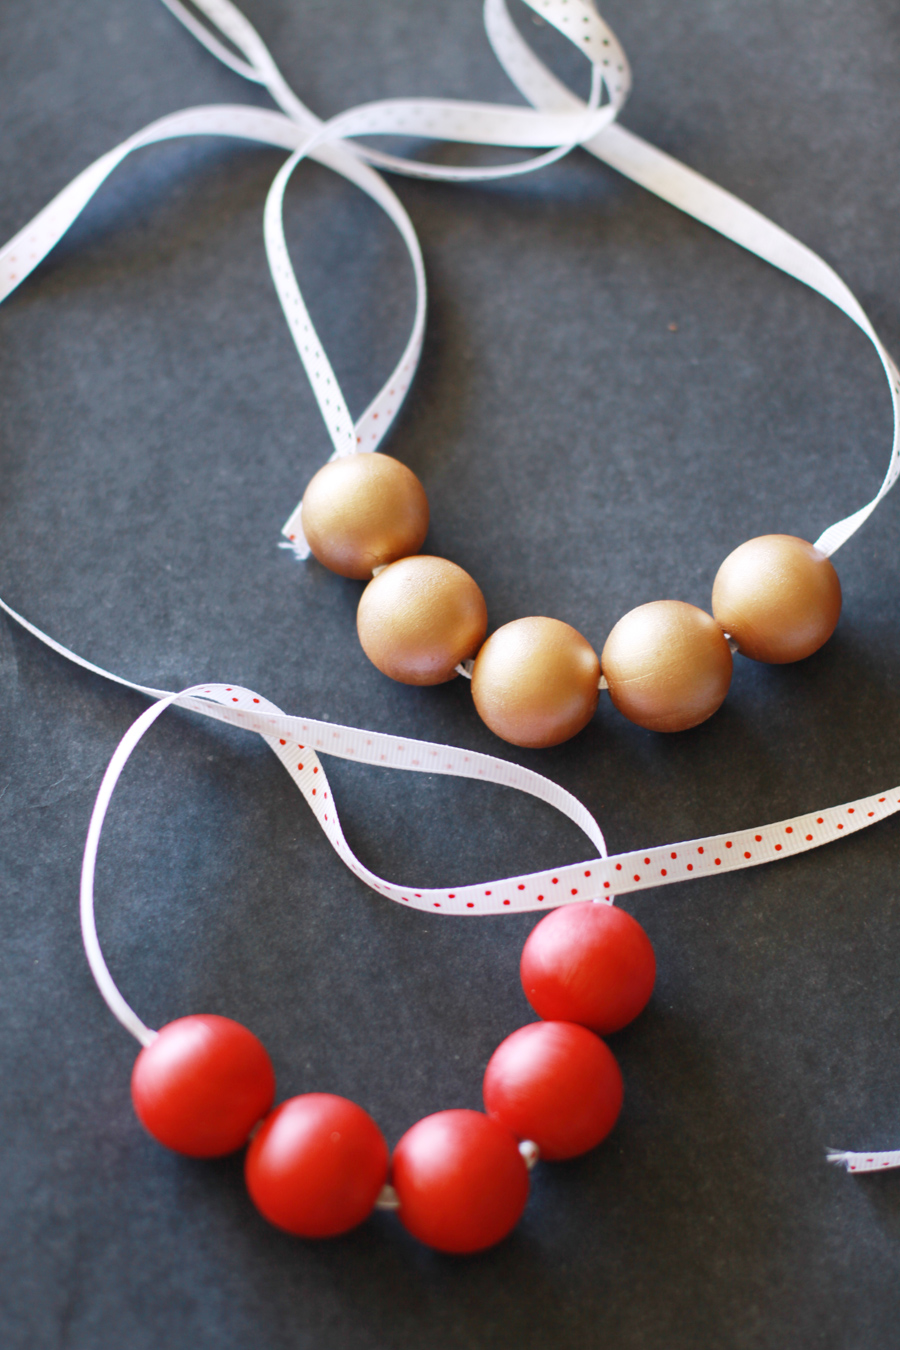
- Finish your desired coats and let your beads dry thoroughly, about an hour. This will ensure that no paint will transfer onto your ribbon when you pass it through.
- String your beads onto your ribbon. If you like, cut the ends of the ribbon at an angle and finish with a bit of clear nail polish so the ribbon won’t unravel.
Make a bunch in several different hues for yourself, share them with friends and pass the idea around- these are way too easy and too much fun to miss out on.