There have been a lot of beautiful party place card posts cropping up all over the internet lately. I love them and appreciate a gorgeous table just as much as the next blogger, but I also like to have some fun with our guests sometimes. I find that makes for the most memorable parties! Here are a few easy DIY place card ideas for your holiday parties this year.
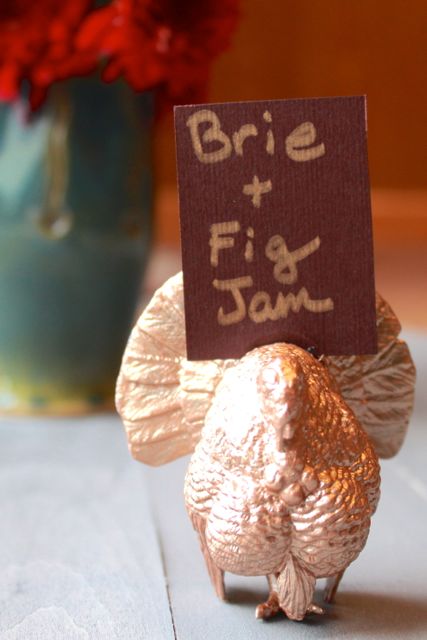
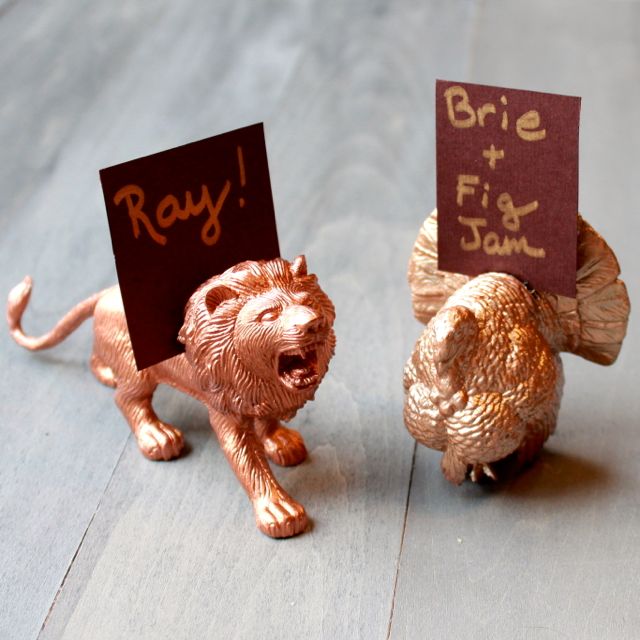
My personal favorite is this gilded turkey. He can be a place card holder or a fun way to label your dishes so your guests know what they’re eating.
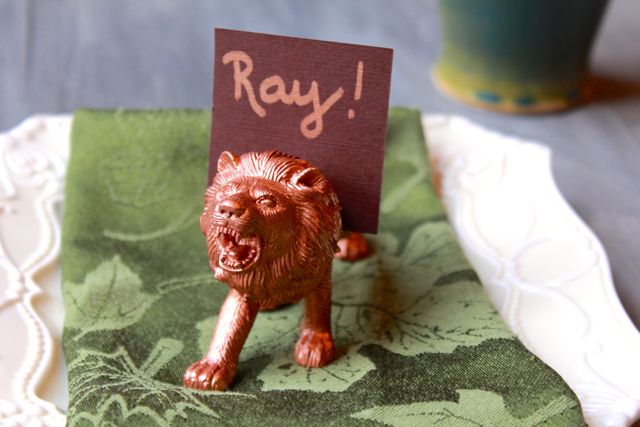
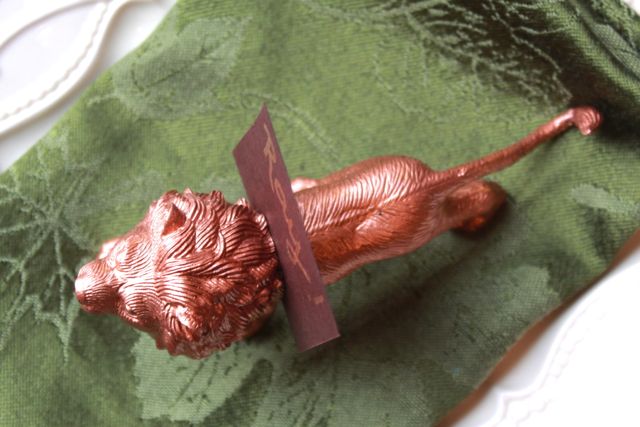
I love the idea of using different gilded animals on the kids’ table as place card holders. They can double as post-dinner entertainment for the kids as well, but you may be surprised at the number of adults (males, specifically) in your group that start to play with them. And think of how much fun you can have with these all year ’round: reindeer at Christmas, bunnies at Easter, a marine-life theme for a birthday party, etc., etc.!
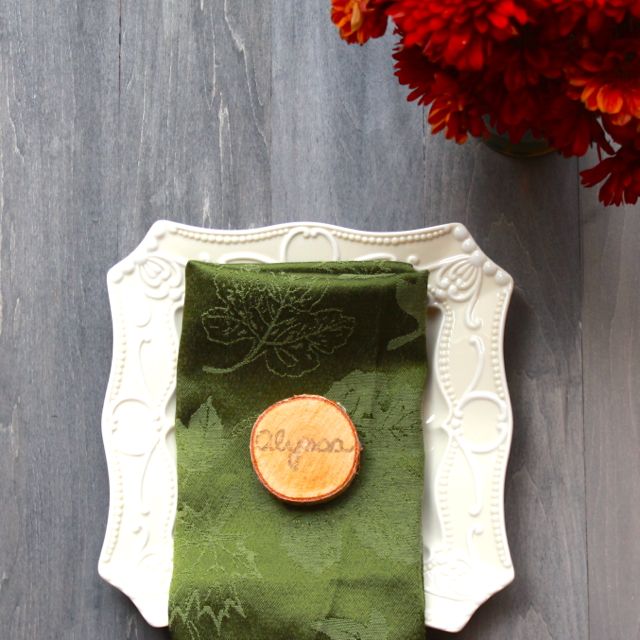
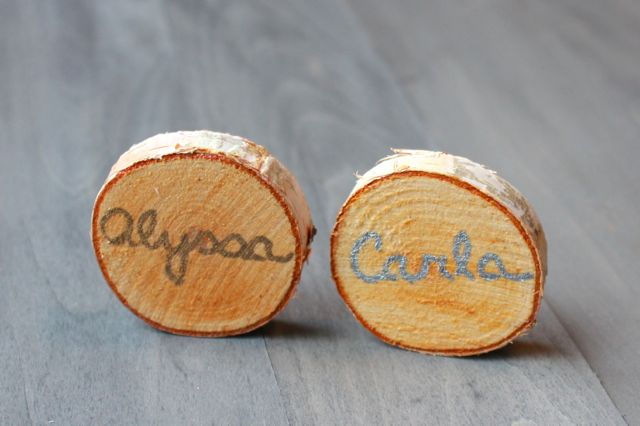
These birch rounds make a slightly more traditional (but super-easy) place card holder. They’re also a more affordable way (than the turkey) to label your dishes if you’re doing a buffet-style dinner. And you can always flip them over and reuse the other side for your next party! (We’re really into birch rounds right now, can you tell?)
You can get the small plastic animals at dollar stores, most craft stores or toy stores. I tried two different paints: a multi-surface craft paint and a liquid gilding paint. I needed FOUR coats of the multi-surface paint to sufficiently cover the color on the turkey, and there’s still slightly more paint showing through than I’d like. The gilding paint only took one coat, however, and it looks FANTASTIC. It’s a bit more of an investment, but it is seriously fun to use (you only need a tiny bit, it goes far) and I’m sure you’ll come up with approximately two hundred projects once you start working with it!
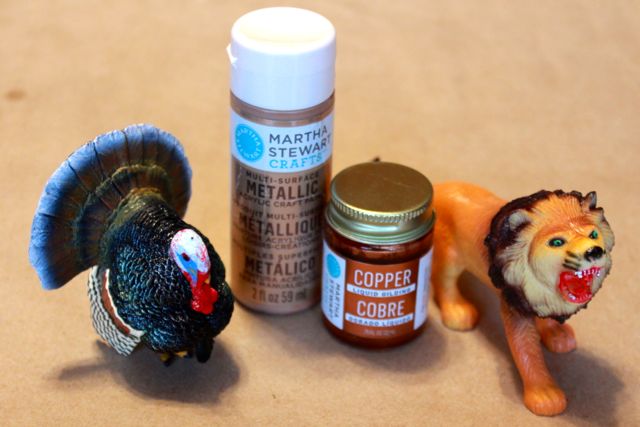
- Small plastic animals
- gilding paint
- a paintbrush
- exacto knife or sharp paring knife
- cardstock and a thick maker (I used metallic sharpies)
- Apply gilding paint to plastic animals with paintbrush. Let paint dry.
- Cut a slit in the back of the animal with an exacto knife or sharp paring knife.
- Cut place cards or tags out of cardstock and label accordingly with marker.
- Slide the cards into the slits.

- 2 inch birch rounds
- Permanent marker
- If you're standing the rounds on their edges, determine which edge will be down so you can center the names accordingly.
- Write the names of your guests or the dishes you're serving on the rounds in permanent marker.
Hi Alyssa and Carla,
What a cute project! I love it so much that I decided to feature it in our roundup of party crafts! Check it out here: https://www.www.favecraftsblog.com/diy-party-crafts/
Have a great day!
Thanks, Julia! We’re glad we discovered your blog, too!