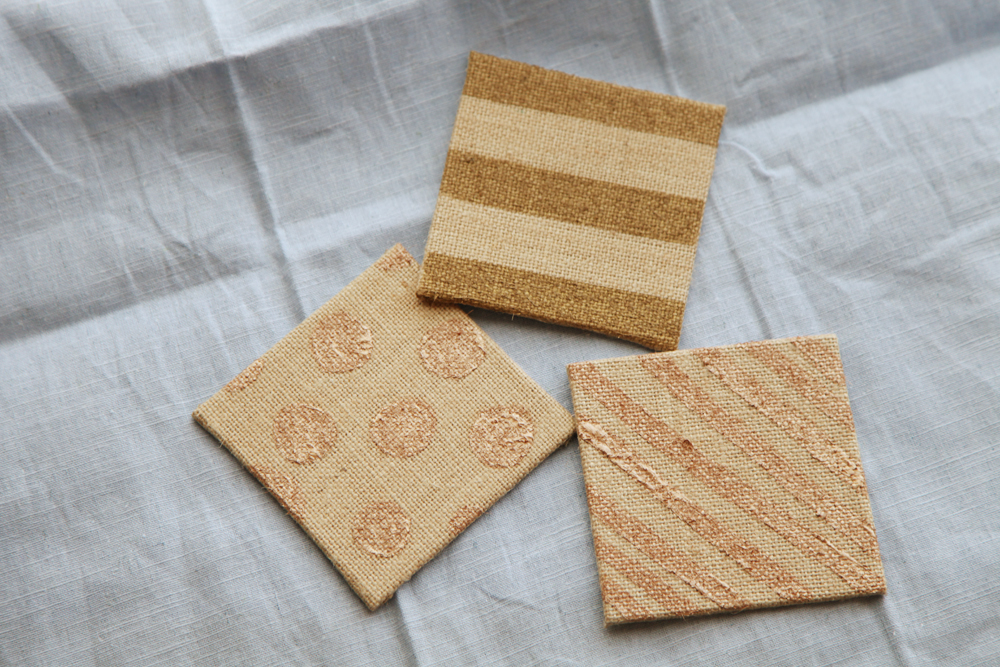
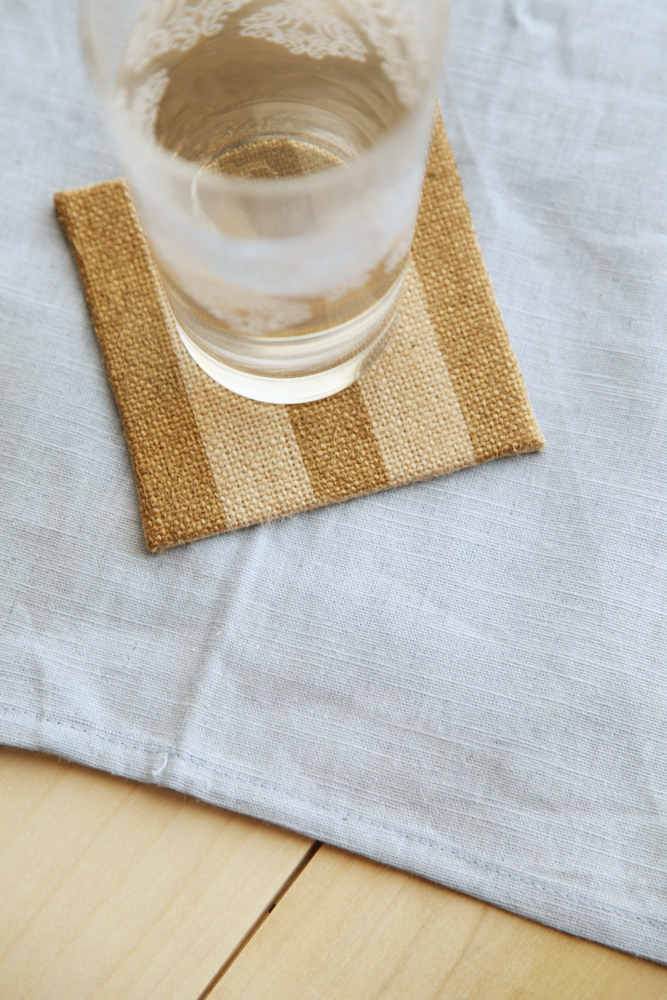
I’ve got to admit that I have a little bit of a coaster addiction. It’s less that I’m worried about rings on my furniture (although, yes, I guess I don’t love that) and more that they come in so many stinking cute varieties! I’ve made a cork-decorated tile option before (and we’ve got an idea or two ready to go in the next couple months), but today I want to tell you about these metallic-decorated burlap coaster beauties:
- burlap canvas panels (4x4 inches square)
- metallic paint
- painter's tape
- foam paintbrush
- stencils
- Using stencils and/or painter's tape, block off areas of the panel that you don't want to get paint on. Alternatively, you can freehand! Both the dot and thin stripe pattern in the photo at the top of the post were freehand!
- Paint directly onto the burlap. Dabbing works better than brushing since the burlap fabric will start to bunch up if you work it too much.
- Allow to dry. If the color is not as rich as you'd like it, apply another coat or two.
- Remove stencil/painter's tape and pour yourself your favorite drink!
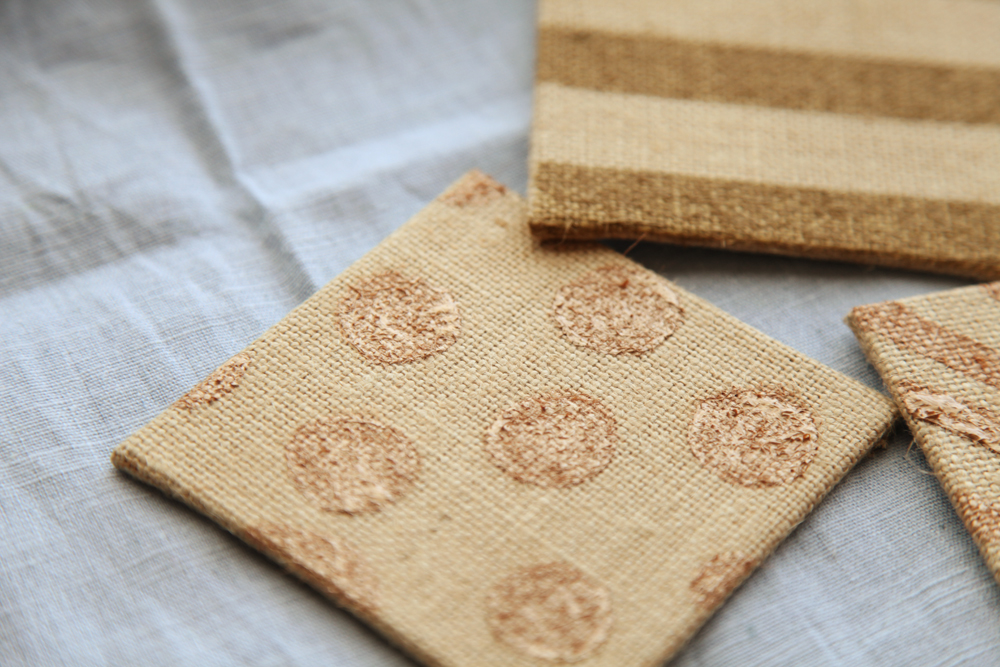
A couple of tips which might be helpful in attempting to use metallic paint: it is nowhere NEAR as metallic as you think it will be. The thick stripe coaster picture above was made with a metallic gold paint, but looks a lot more like a very slightly luminescent medium brown. When I moved on to the thin stripe and dots patterns (both using a metallic rose gold), I tried to layer on the paint for a higher metallic impact. I think it worked- to an extent. If you’re looking for lots of sparkle, I would recommend looking for an acrylic paint which uses a high concentration of extra fine glitter (or mica) in the mix.
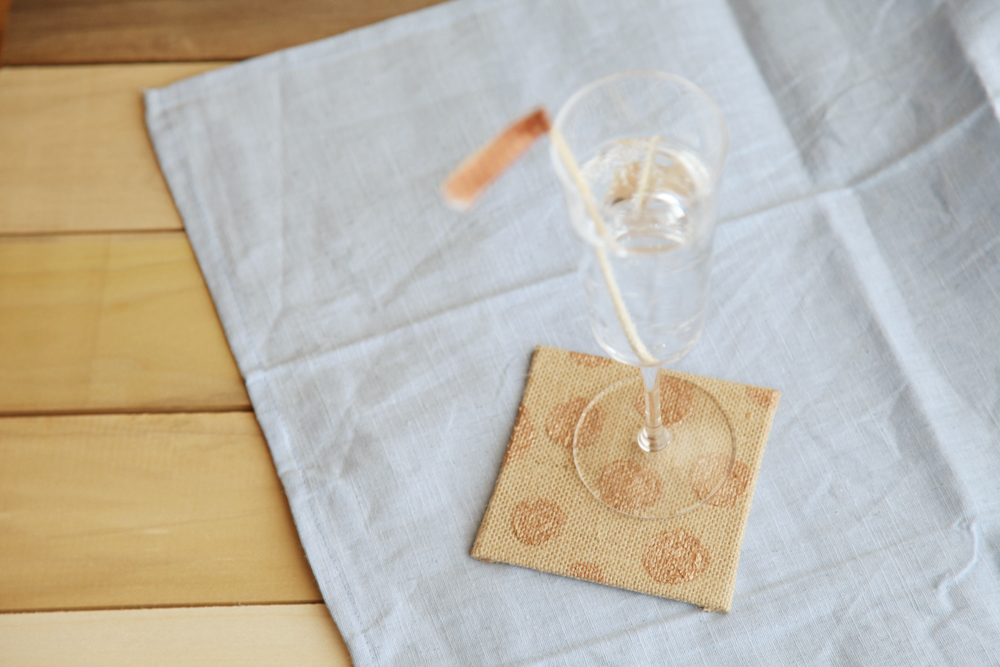
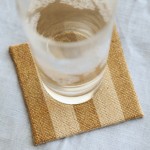
Using burlap panels for this DIY is extra-perfect for a coaster craft since the fabric on these panels is super-absorbent! I’ve already used my coasters for some frosty glasses of ice water and they were pretty and functional. Cross my heart.
One last note: these are definitely super cute in this metallic version, but I’ve got a housewarming gift I need to check off my to-do list and I’m making those babies in NEON. How great will the bright colors against the natural feel of the burlap?! (Got an even better color option? Let me know! I feel like I’ll be making a lot of these…)
This tutorial is just as simple as lovely! <3 Can't wait to see the neon version. Love how bold colors look on natural fabric!
Ah! So glad you love it! I’m super excited about the neon set too, thinking some of geometric shapes like triangles in lieu of the polka dots. 🙂
Dots and stripes and small curly coils would be great. I will make a larger one to place under her BIG, Neon lighted “V” placed center stage on her table 🙂
Oh, I LOVE these ideas! I hadn’t thought of curly coils, but it’s a super fun pattern. I’m sure she’ll love them!
Thank you so much for stopping by. 🙂
Neons and metallic would ROCK! Doing these for my daughter’s graduate with her doctorate from Univ. of Tenn. Team is the Volunteers and “T’s” and “V’s” will be featured as well as some stripes. Love this! She has other burlap décor so will be perfect. Thanks so much for sharing.
So cute! Love it!
Yay! So glad. 🙂 Thanks for swinging by!
These are so cute! Where did you get the burlap canvas panels?
Hi Michelle! So glad you like them! I found the panels at Michael’s with all the other canvasses, they look like this: https://www.www.michaels.com/artists-loft-burlap-panel-value-pack/M10319933.html 🙂
This is a great idea! Now how did you cut up the canvas? I’m thinking box blade, but….. maybe a scroll saw?
Hi Debbie! I bought the panels pre-made at the craft store, but if you were hoping to DIY the whole project I would try wrapping burlap around a 4×4 piece of craft wood! 🙂
How are the edges of these panels finished and what are exact sizes.
Hi Reda! These panels are 4×4 and are sold in store as one piece. It looks like they are just wrapped around a piece of wood, but I am not too sure! Check out the link in the comment above for the exact product I bought. 🙂
I have some burlap left over from some curtains. What do you put in side the coaster to make it .
I used burlap canvases- they are pre-bought and very sturdy. If you wanted to wrap your own with burlap, I would try a canvas panel like these or very stiff cardboard! 🙂 Good luck!