I love decorating Easter eggs. It takes me back to my childhood, and let’s face it, it’s just plain fun.
But the kits just don’t give me the flexibility I want. I want to be able to make my own mix of colors and have more control over the vibrancy. And as much as I like the effect of using a crayon to create designs, I also want to be able to actually paint the egg. So I thought I’d try watercolors as a new option.
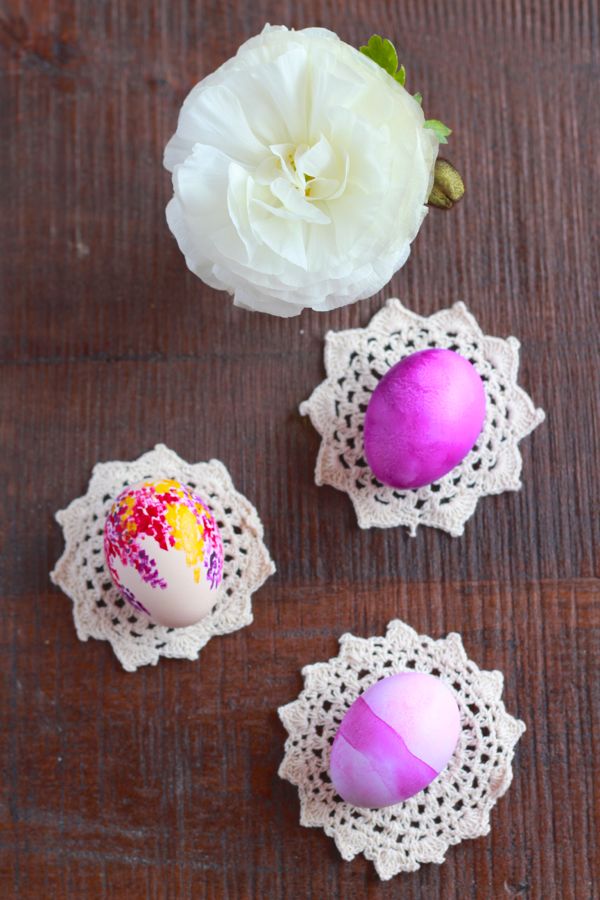
They did exactly what I wanted. I could mix my own colors, control the vibrancy, and paint.
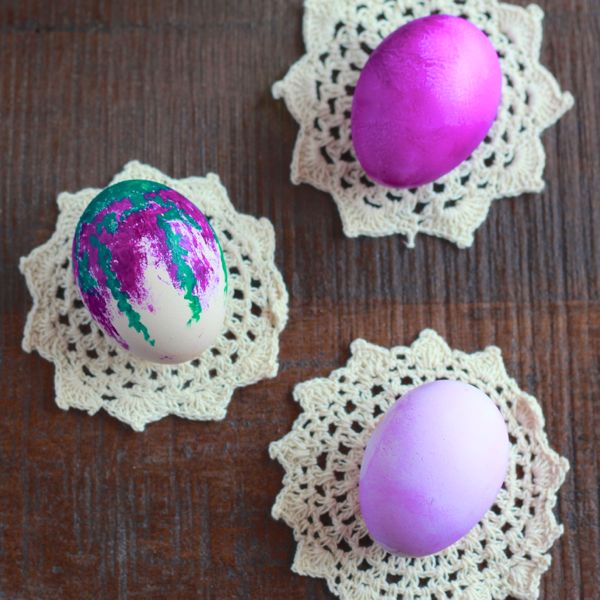
You can make the dreamy, pastel colors that you typically think of with watercolors:
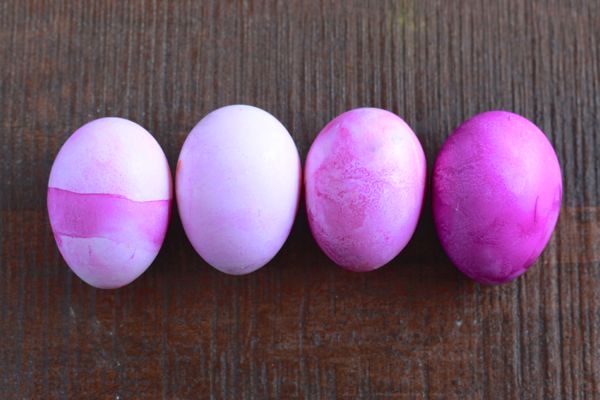
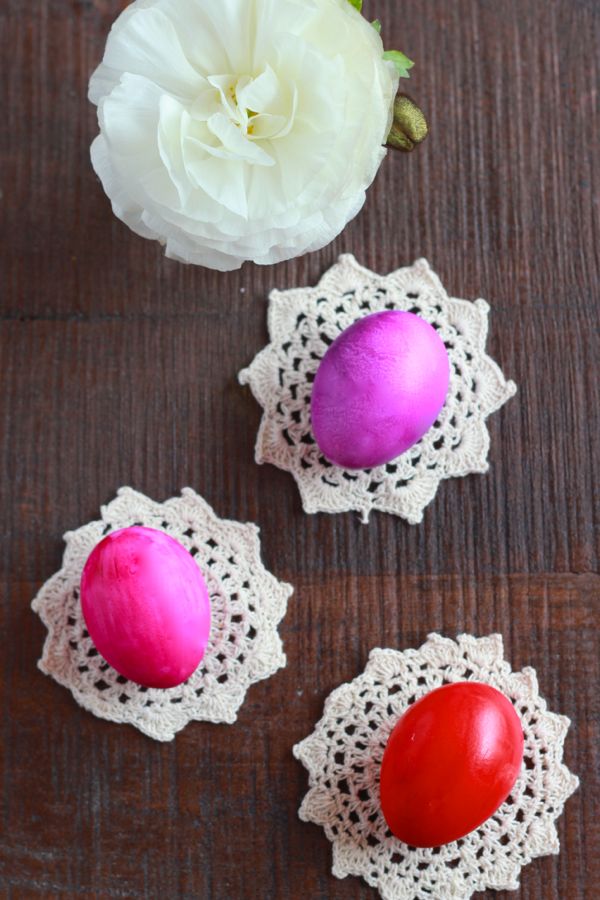
You can make vibrant, bright colors with a highly concentrated paint:
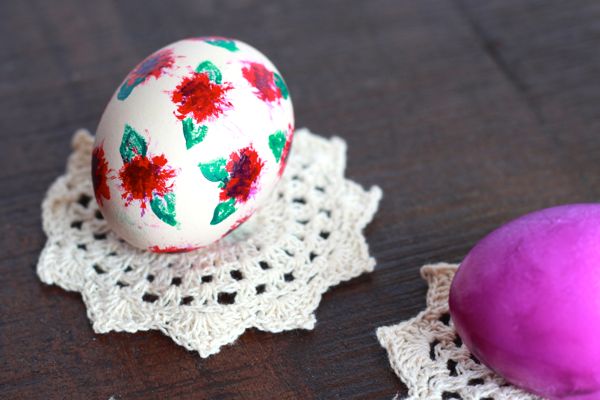
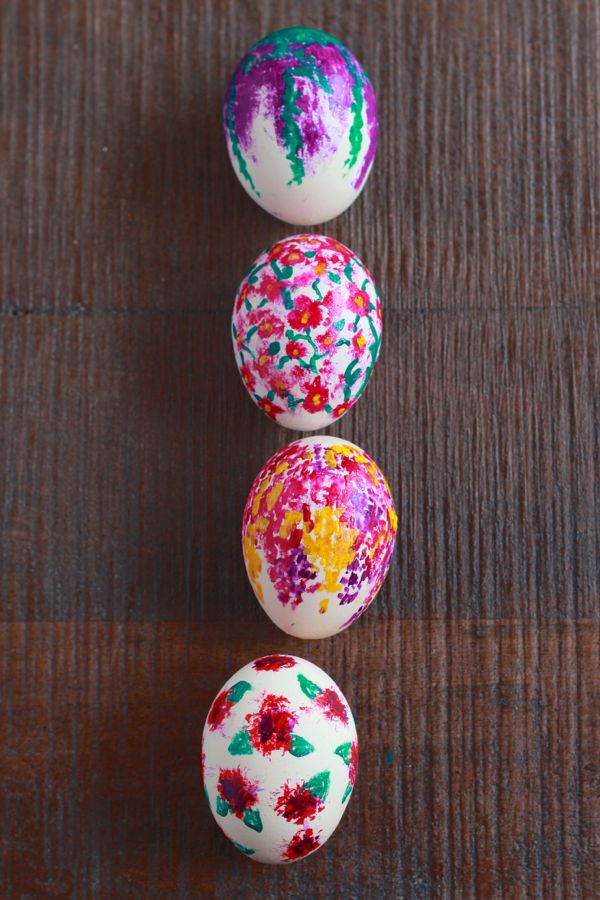
Or you can use the tube watercolors (or even acrylics) to paint really lovely floral designs.
- 1 dozen hard boiled eggs
- Tube watercolor paints
- Paintbrushes
- Water
- Wire rack for drying
- Mix your desired color using the tube paint only, no water. Add only a small amount water and paint the color directly on the egg. Dry on the rack.
- Paint the egg with a more diluted version of the color you used in the "vibrant" color section. For very pale colors, create a bath by putting the desired color in a cup. Add just enough water to cover an egg. Submerge and let sit for 5 minutes. Dry on the rack.
- Start with a high concentration of the desired color. Paint your eggs. Add slightly more water and paint another egg. Continue diluting until you reach the lightest shade you want. Dry on the rack.
- Use the undiluted watercolor paints and brushes to paint highly concentrated watercolor onto dry eggs. Try to avoid any clumping of paint on the surface of the egg, since watercolor doesn't dry the same way other paints do. Dry on the rack.
- Store eggs in the egg carton in the refrigerator.
- Warning! Handle with dry hands! Or the colors WILL rub off on you! You could use an acrylic spray to finish the eggs if you're concerned about it.