You have probably already figured out that Alyssa and I are huge washi tape fans. I am going to have to figure out some sort of storage solution because I have SO MANY ROLLS. Washi all over the place!
I often use washi tape to wrap presents- a few strips of the designed tape on kraft paper looks so fancy! When I needed to wrap up a small gift recently, I knew that I could stretch that tape to create something cute and custom: a washi gift box!

To get started, you’ll need two items:
– a paper mache gift box (find these at any craft store or re-purpose any small box you have on hand)
– washi tape in your chosen design
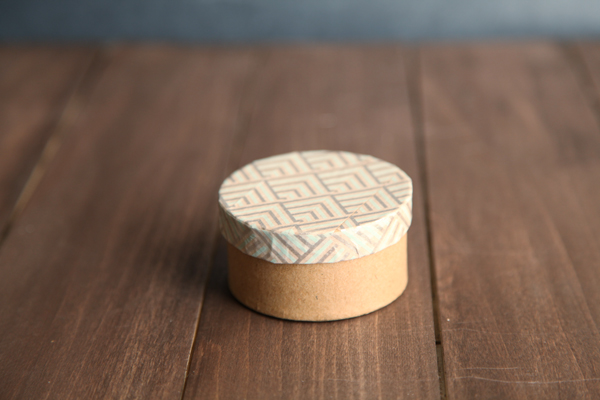
To begin, lay strips of washi tape along the top of the lid. Most washi tapes have a repeating design, so pay attention to that and line up the pattern! You’ll notice that I was lucky enough to have tape that made this gorgeous mint and silver art deco look.

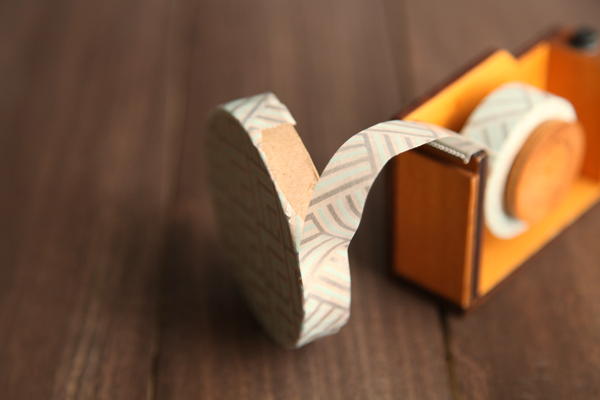
Fold over the edges of the strips onto the sides of the lid. I preferred to keep the strips just long enough to fold over without needing to fold under the lip by much in order to keep the tape as neat as possible.
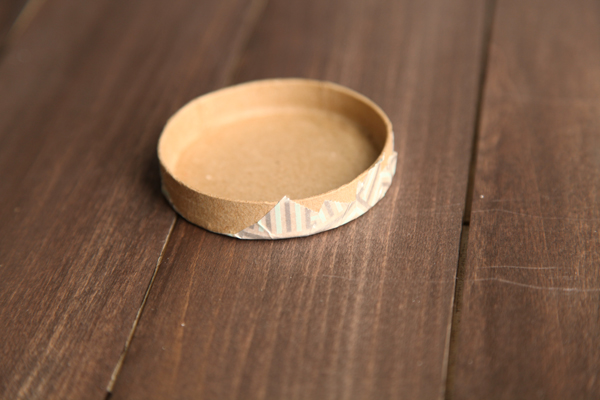
Line the side of the lid with a long strip of tape. You’ll want to line up the edge on the decorated side (so that the extra tape can be bent under the lid and hidden).
Fold any remaining tape under the edge. Press firmly all around your tape so that it adheres well and you can smooth out any huge wrinkles. Ta-da!
It would be extremely easy to decorate both box parts! I would start at the edge of the box (near the bottom) so that I could fold any excess into the box (just like we did with the lid). If you have contrasting colors (or patterns!), that would be a ton of fun too!
This is a great way to re-purpose old boxes that might be designed on top with a store name or logo! In fact, if you’ve been looking for a way to re-purpose your old Birchbox boxes, you could totally use masking tape in this same way and make something perfect for gifting or storage.

What a cutie idea! I have some kraft boxes that would be perfect for this.
I adore craft boxes and there is nothing better than one covered in washi tape! Please stop by and share at our link party going on now! https://www.www.delineateyourdwelling.com/2014/06/link-it-or-lump-it-party-number-40.html
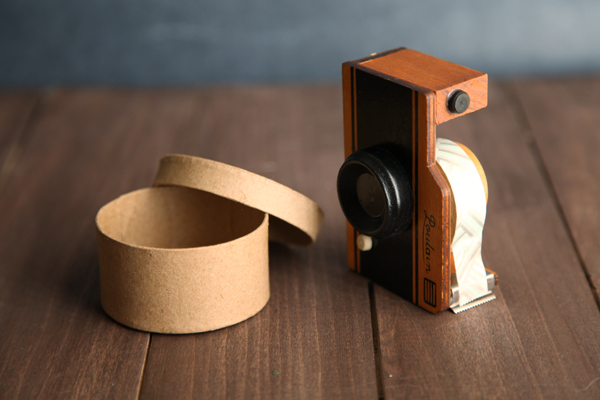
What a pretty little box! I’m a washi tape addict. And what is that amazing tape holder/dispenser? I need it! P.S. if you had a second to come by and link up at The Makers link party going on over on my blog, that would be awesome!
So glad you love the little box- they really do come out so cute!
The washi tape dispenser is this one: https://www.www.cutetape.com/shop/camera-tape-dispenser.html I LOVE IT TO DEATH. 🙂